New Macs generally come with solid-state drives (SSDs), which are extremely reliable storage devices with no moving parts. This means they’re less prone to wear and tear.
Still, like all electronic devices, SSDs have a limited lifespan. If they fail, you can lose all your data, which is why it’s worth monitoring your SSD frequently.
In this guide, I’ll walk you through three popular methods to check SSD health on Mac so you can keep your drive in good shape for as long as possible. Let’s roll in!
Method 1: Use Built-in SSD SMART Status
Your Mac has a built-in SSD SMART status that takes a quick health check to assess the functionality of your SSD drive. However, finding this status is a bit tricky because it is located in the System Information on your Mac, which is hidden in the quick menu.
To simplify the process, here is an easy step-by-step tutorial to quickly check your SSD health on Mac:
- Click the Apple icon in the top-left corner of the screen to access the Quick menu. Hold down the Opt key till the “About This Mac” changes to “System Information” in the menu.
- Click on “System Information.”
- In the window that appears, select “Storage” from the left sidebar. If you don’t see “Storage,” click the drop-down arrow next to “Hardware” and click “Storage.”
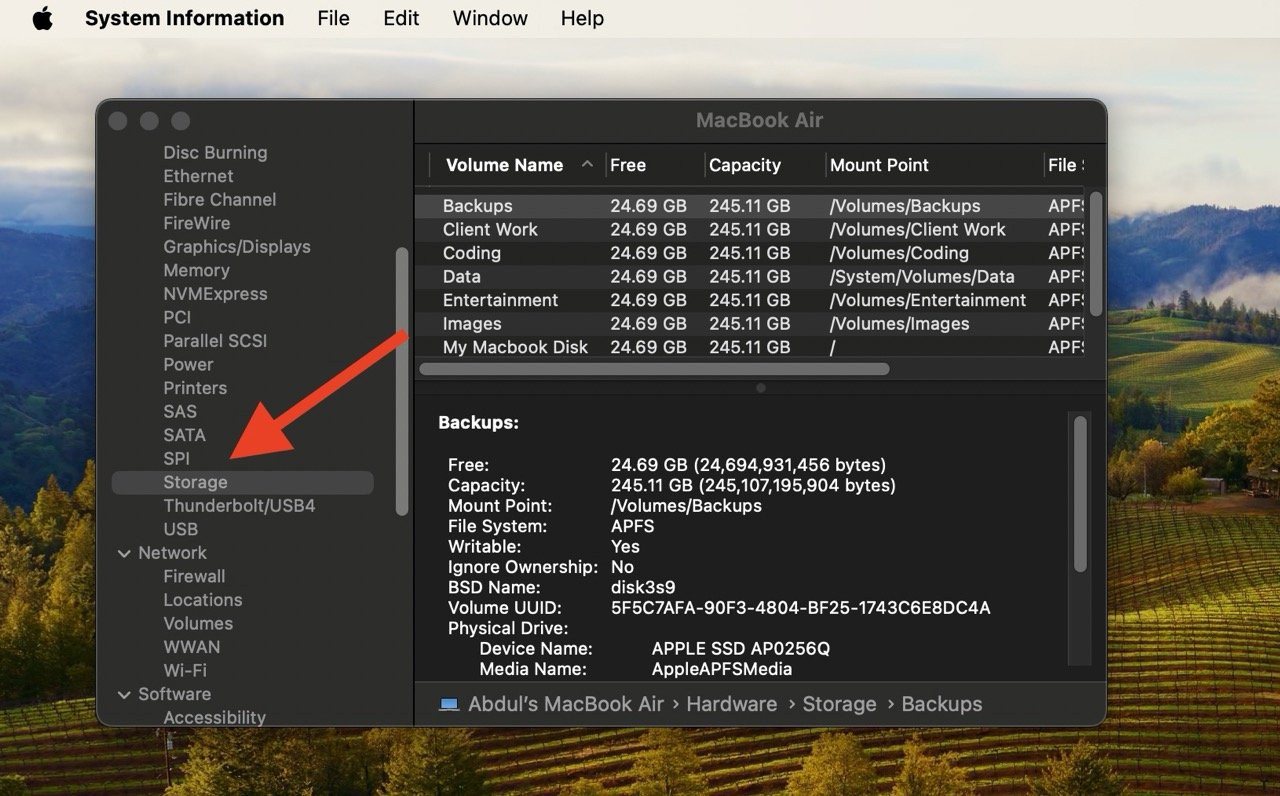
- Select the drive you want to view from the list in the right pane. This will open details about the drive.
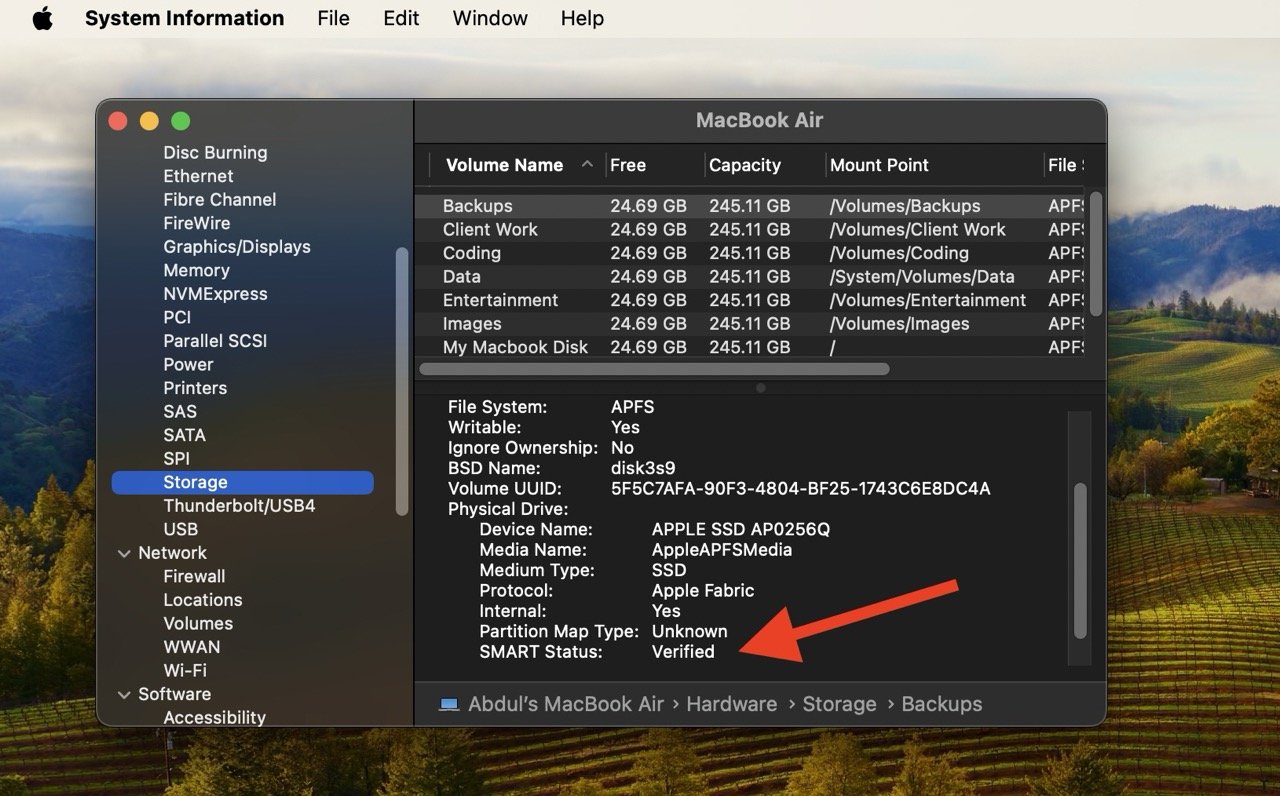
- Look for SMART Status in the details section, located below the drive list.
- If the SMART status is “Verified,” your SSD is working well. But if it says “Failing” or “Fatal,” you should back up any important data as there is an issue with your SSD, and it can fail anytime.
Method 2: Use Terminal
Terminal is a built-in command-line interface on Macs, which you can use to check SSD health. But Terminal alone is not enough, so you need to download some packages and run them with a tool called Smartmontools in Terminal.
The good thing is that we have simplified each and everything related to this in the following tutorial.
Before You Start…
Using Terminal to check Mac’s SSD health is a very lengthy process.
First, you need to download Apple’s Xcode developer tools. Then, you install a package manager called Homebrew. After that, you can download Smartmontools using Homebrew and then use Terminal to run Smartmontools and check the SSD health on Mac.
Because the process is too technical, here is a simple explanation of all the packages/tools you need for checking SSD health with Terminal:
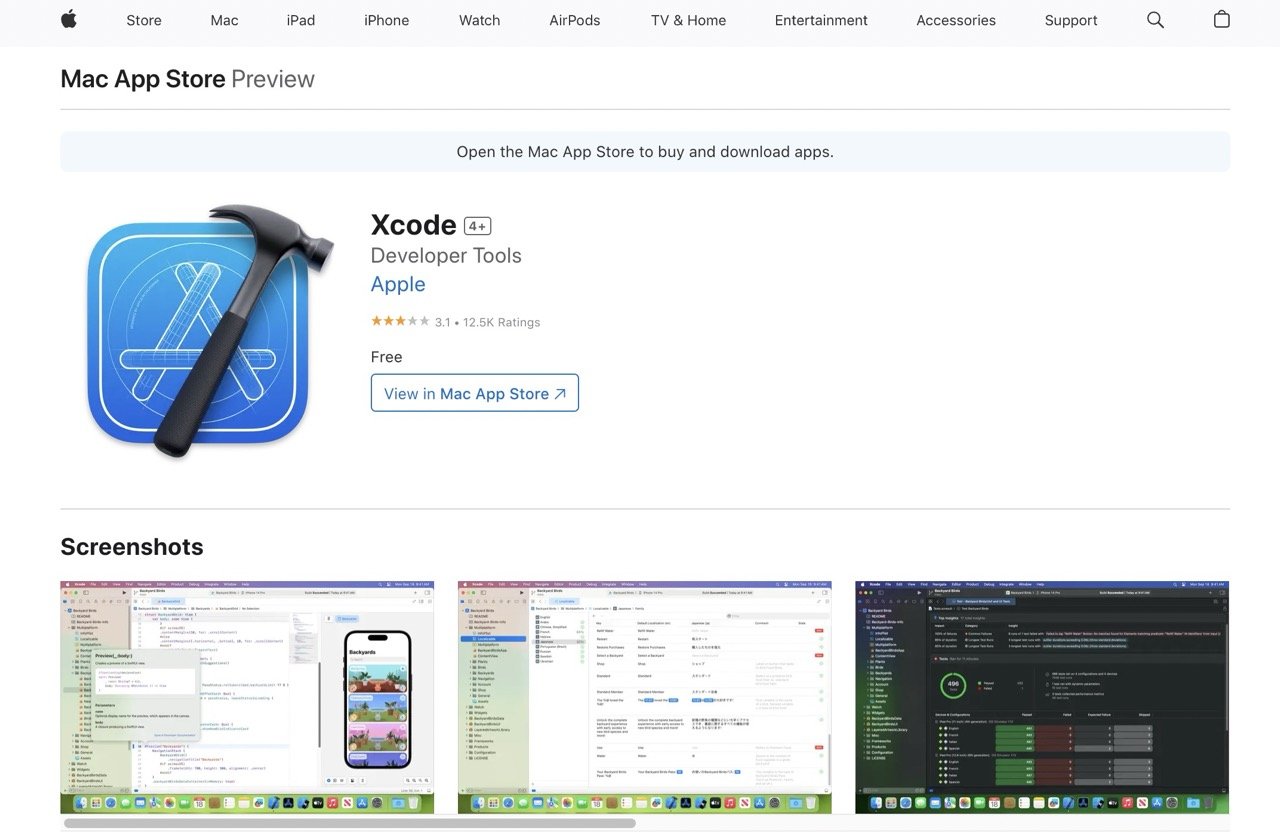
Download Xcode
The first thing you need to download is Xcode, a developer toolset needed for further installation processes. It provides important tools, like the command-line tools, needed for command-line tasks.
While Terminal is already a command-line interface, these tools from Xcode add extra functionalities and utilities that may not be included by default in Terminal.
In the case of checking SSD health, these tools by Xcode are used to download Homebrew.
Where to download: Developers usually already have Xcode, but you can download it from here if you don’t.
Download Homebrew
Homebrew is a package manager that makes it easier to install various software on your Mac.
When checking Mac SSD health with Terminal, Homebrew will be used to install Smartmontools (the software we need for checking SSD health).
Where to download: You won’t find Homebrew on the App Store. Once you have installed Xcode, it will work with Terminal to download Homebrew. In other words, you will download Homebrew by giving commands to Terminal. Xcode will give Terminal the special tools it needs, and Terminal will use those tools to download Homebrew.
Download Z Shell
After downloading Xcode and Homebrew, you will need to set up Z shell (Zsh). Doing so will provide a user-friendly interface for interacting with the command line.
In other words, when using Smartmontools to check SSD health on Mac, the whole process will be more straightforward and user-friendly because of a Z shell.
Where to download: You will enter specific commands in the Terminal to install and set up Zsh.
Install Smartmontools
Smartmontools is a command-line tool for checking the health of your SSD. After setting up the Z shell, you will install Smartmontools using Homebrew. Once installed, running Smartmontools will provide detailed information about your SSD’s status and performance.
Where to download: You will enter specific commands in the Terminal to install Smartmontools.
Let’s Start…
While there are many software/packages to download, the process is not as lengthy as it seems. Just follow these steps to download Smartmontools on your Mac, which you can later use to check your Mac’s SSD health.
Step 1: Install Xcode (Developer Tools)
- Go to the App Store on your Mac and install Xcode.
- After it is installed, open Finder > “Applications” > “Xcode.”
- Once inside Xcode, agree to the software license, enter your Mac password, and accept the terms and conditions.
- Lastly, quit Xcode.
Step 2: Install Homebrew
- Open Finder > “Applications” > “Utilities” > “Terminal.”
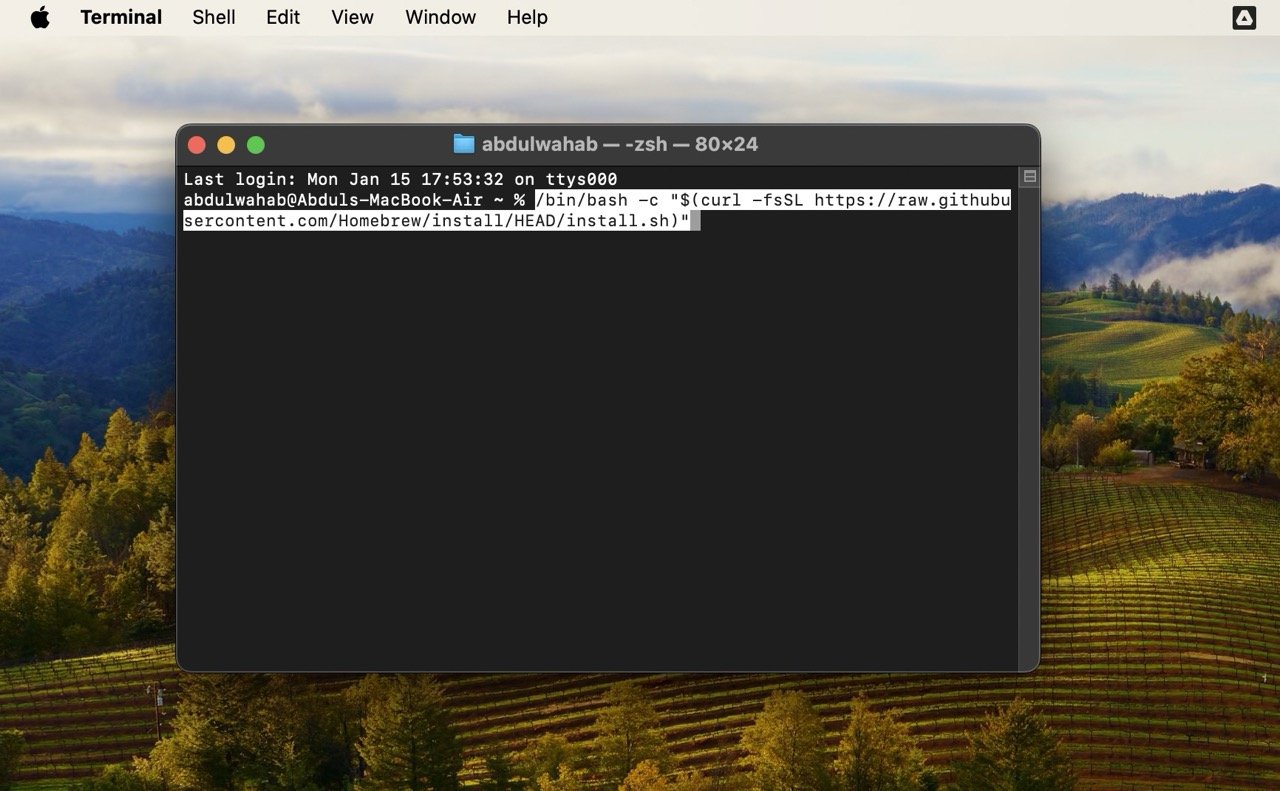
- Copy and paste the following command and press Enter:
/bin/bash -c "$(curl -fsSL https://raw.githubusercontent.com/Homebrew/install/HEAD/install.sh)"
- You will be asked to enter your password.
Type it and hit the Enter key. Once you do that, a lot of commands will start to flow in the Terminal. At some point, it might seem like nothing is happening, but you can see the command line indicating the download of “Command Line Tools for Xcode.” Wait for a while, as it will take some time.
After a while, you’ll be asked to enter your password again. Type your password again and hit the Enter key.
Now, your Mac will start downloading and installing Homebrew. Wait until you see “Installation successful!” in Terminal, indicating that Homebrew has been successfully installed.
After Homebrew has been installed, you will see somewhere on the screen:
“Next steps:
Run these two commands in your Terminal to add Homebrew to your PATH —”
It means that the two commands written ahead (echo ‘eval… and eval “$…) are required to add Homebrew into the PATH, which is where the Terminal locates executable code.
This makes sure that when you use Homebrew to install tools or programs, the system can easily locate and execute them, making these tools accessible from any directory in the Terminal.
You can copy and paste those commands (the ones that start with “echo ‘eval…” and “eval “$…”) into the command line. After pasting, just press Enter to run them.
However, if you’re not planning to use Homebrew much, you can skip these commands and move on to setting up the Z shell.
Plus, if you have installed Homebrew just to check your SSD health, you can skip it and move to the next step.
Step 3: Set up Z shell
- At the end of all the instructions on the screen, type the following command and press Enter:
nano ~/.zshrc
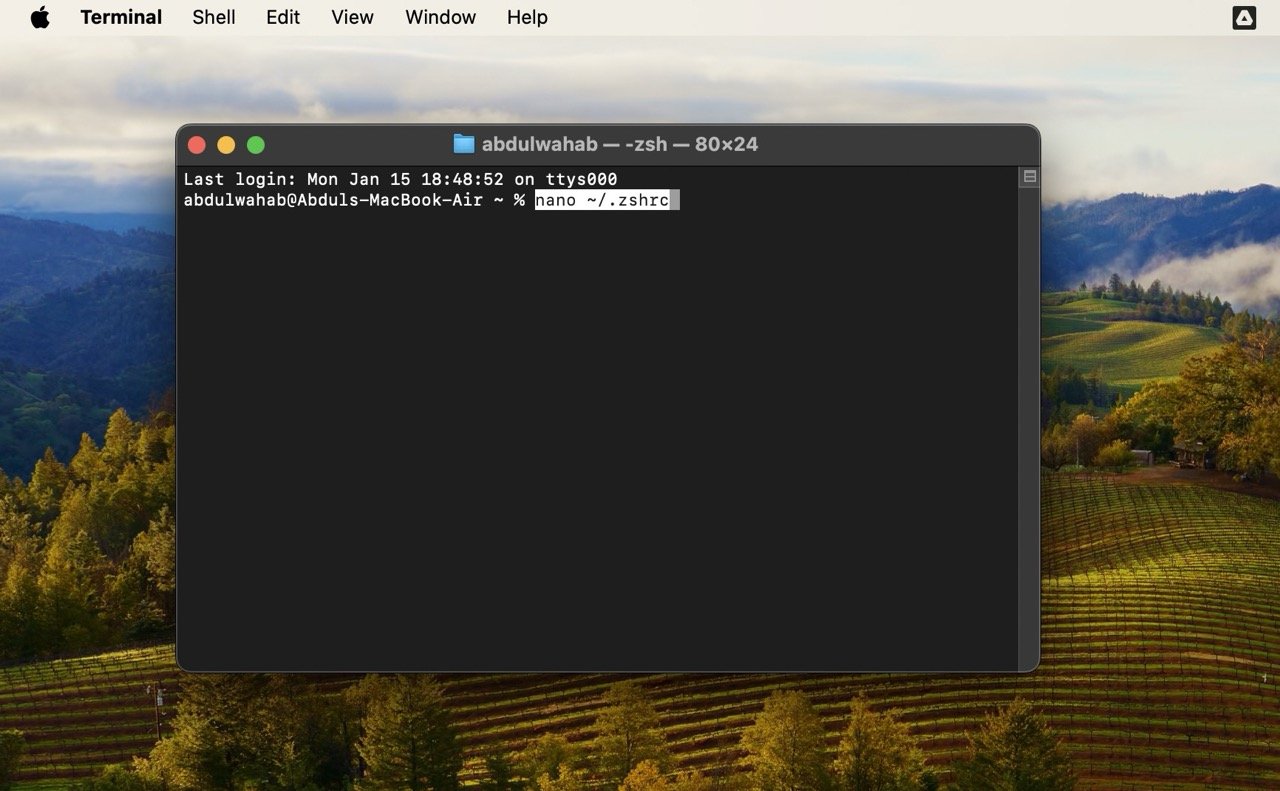 This will open a new Terminal window.
- Type the following command, but do not press Enter.
export PATH=/usr/local/bin:$PATH
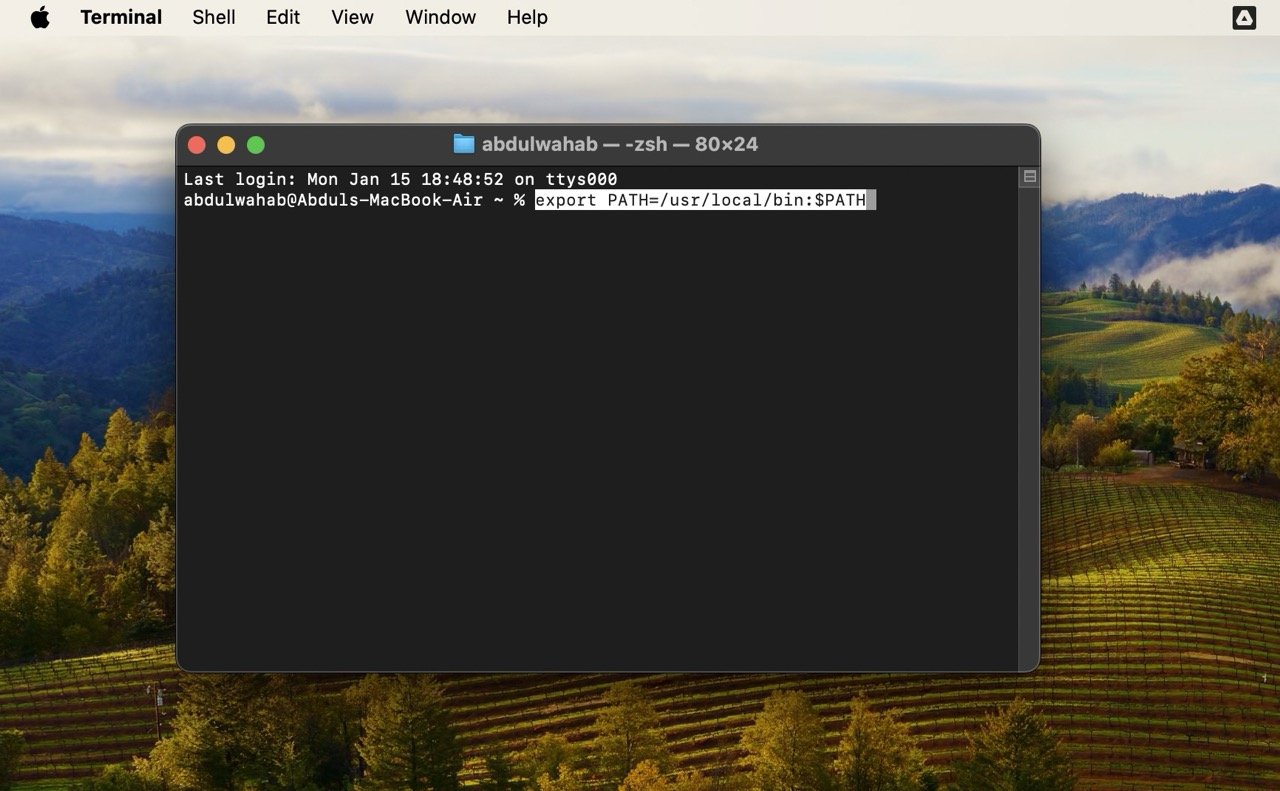 We need to save this file first.
- To save this file, press Control + O (letter O, not zero) on the keyboard. You’ll see the file name that will be written.
- Press Return.
- Quit the Z shell by pressing Control + X on the keyboard.
Step 4: Install and Run Smartmontools
Now, it’s time to install Smartmontools, the software we need to check SSD health.
- Close the Terminal and open it again. This step is necessary for a fresh start.
- In Terminal, type the following command and press Enter:
brew install smartmontools && sudo smartctl --all /dev/disk0
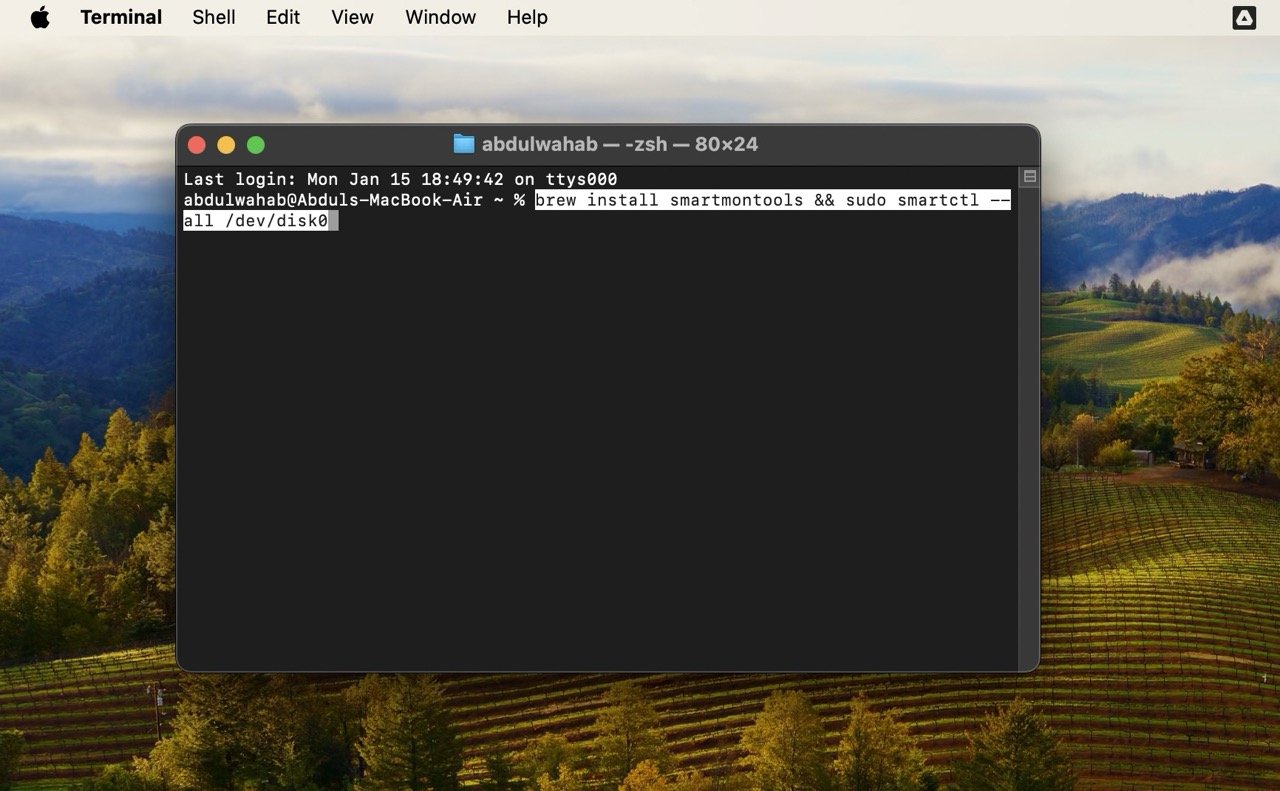
- You will be asked to enter your Mac password. Type it and hit the Enter key.
Step 5: Check SSD Health on Mac
Once installed, Smartmontools will run and display the health of your SSD. You need to scroll down to see the S.M.A.R.T. information; it will be mentioned in the “START OF SMART DATA SECTION.”
This section provides all the details about your SSD, such as the percentage used, power cycles, unsafe shutdowns, etc.
Checking SSD Health in the Future With Smartmontools in Terminal
Using Terminal to check your Mac’s SSD health is a long and tiring process, as you have to download and run several software/packages.
But once the process is done, you don’t need to do it again to inspect your SSD health.
Just follow these simple steps the next time you want to check the health of SSD on your Mac:
- Open Terminal.
- Type the following command and press Enter.
diskutil list
This reveals details about both internal and external drives linked to your Mac. For instance, the internal drive may be labeled as /dev/disk0, and the external SSD as /dev/disk4. You can find both with the keywords “internal” and “external, physical” next to the drives’ names.
- Note the disk number of your SSD.
- To get the SSD health information, type the following command and press Enter:
smartctl -a diskX
Here, replace X with your disk number.
After that, if you want to inspect the internal drive, you would need to note its disk number. Next, simply type the following command and press Enter:
smartctl -a diskX
Again, replace X with your disk number.
Method 3: Use Third-Party Tools Like DriveDX

The built-in SSD SMART Status on your Mac provides basic information about your SSD health. On the other hand, using Terminal for SSD checks is more of a hassle.
In such a case, third-party tools like DriveDX offer a premium solution. It is free, easy to use, and doesn’t require a complicated setup to check your Mac’s SSD deeply.
DriveDX supports macOS 10.9+ and comes with lots of features, like:
- It analyzes various drive health indicators for a detailed assessment.
- It detects issues earlier than other tools so that you can save important data beforehand.
- It runs in the background and gives immediate alerts when problems with the SSD are detected.
- It helps you take diagnostic self-tests to identify faulty drives quickly.
- It uses different algorithms for assessing the state of HDDs and SSDs based on the drive model and firmware.
- It sends problem notifications and drives status reports automatically via email.
Moreover, DriveDX calculates ratings for drive health, performance, and SSD lifetime left indicator. With its user-friendly interface, you can easily monitor your SSD and quickly take action in case of drive failure.
Frequently Asked Questions
Why should you check the SSD health on your Mac?
Checking your SSD health on your Mac is important to see if your storage drive is functioning well. Regular checks can help you identify any issues beforehand, allowing you to take necessary precautions like data backup or SSD replacement before any significant problems occur.
What is the typical lifespan of an SSD?
The lifespan of an SSD is based on usage, but on average, most modern SSDs can last for several years (5-10 years or more). Some factors that can influence the lifespan of an SSD are the amount of data written to the drive (write cycles), manufacturing quality, and overall usage patterns.
When should you replace my SSD?
If your SSD is showing problems or if it’s getting old, it’s a good idea to get a new one. Signs such as a deteriorating SMART status or receiving “Failing” or “Fatal” warnings, or if your data keeps getting corrupted means it’s time to replace your SSD.
Final Words
Regularly checking your Mac’s SSD health goes a long way in maintaining the reliability and longevity of your storage drive. While they are more durable than traditional hard drives, they are still prone to issues and failure.
An easy way to avoid that is to monitor your SSD health frequently. This way, you can take quick measures in case issues arise. Also, keep a practice of regularly backing up your data to avoid accidentally losing your data later.
If you've any thoughts on How to Check SSD Health on Mac, then feel free to drop in below comment box. Also, please subscribe to our DigitBin YouTube channel for videos tutorials. Cheers!


