Recently, Apple has introduced the Journal app along with the roll-out of iOS 17.2. Those who have updated their devices must have already seen the application. However, a lot of users are still unaware of what this app is all about. Moreover, Apple didn’t mention much about the Journal app except for the announcement in the keynote, so, there’s not enough information from the official sources either. As a result, iOS users are still wondering what it does and how to use the Journal app on iPhones.
Well, worry no more; we are here to address all your questions in the next few minutes. This article will cover almost all the essential information related to the Journal app on iPhone. We will start by looking at what this application is meant for. Slowly, we will move to the best practices for using this application. So, if you are also excited about the all-new Journal app, here is everything you need to know.
What is Journal App on iPhone?
People nowadays emphasize maintaining their digital portfolio a lot. Hence, the Journal app from Apple is focused on offering you a platform where you can keep up with your everyday moments. Do not confuse it with other social media platforms or your Instagram portfolio. Rather you can think of it like maintaining a diary but in a digital form.
Initially, you can start by writing a simple text about your day and later keep adding photos, videos, music, and much more. If you ever get stuck, Journal is trained to offer you personalized suggestions to include in your Journal entries. Its on-device AI algorithms make it a special partner that comes up with user-specific suggestions. Apart from that, the Journal app also excels in terms of privacy keeping all your entries encrypted. In other words, the Journal app is your modern-day interactive diary where you can maintain a copy of all your days and special events.
How do you use the Journal App on your iPhone?
Now that we know what this Journal app is all about, let us find out how to use it as well. So, to begin with, the Journal has quite a few essential features to offer. Therefore, to leverage the application to its fullest potential, we will review each of them and see how to use them.
Getting Started with the Journal App
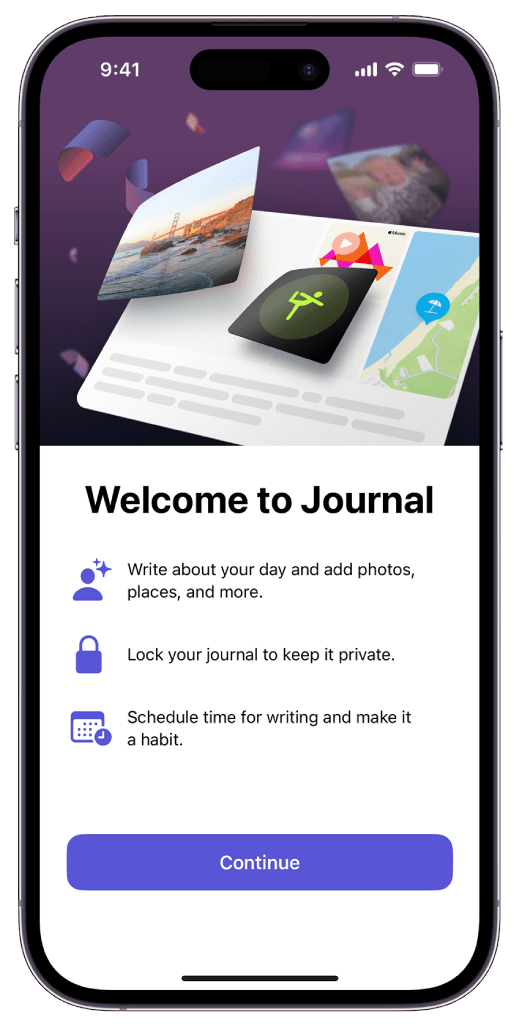
The first time you launch the Journal app, you will come across a pretty basic interface. Click on the ‘+’ icon and you will see a list of instructions. Follow the on-screen suggestions and customize them as per your requirements. You can select from Activities, Photos, locations, contacts, etc to showcase your Journal suggestions. Once you select your requirements, you are all set to use the Journal app daily.
Create your first Journal Entry
Now that you are all set to go, let’s create your first Journal entry. Fortunately, creating an entry is extremely easy. Since the app features a straightforward UI, you will mostly find things in their place. So, to create your first entry, here’s what you need to do.
- Firstly, click on the + icon.
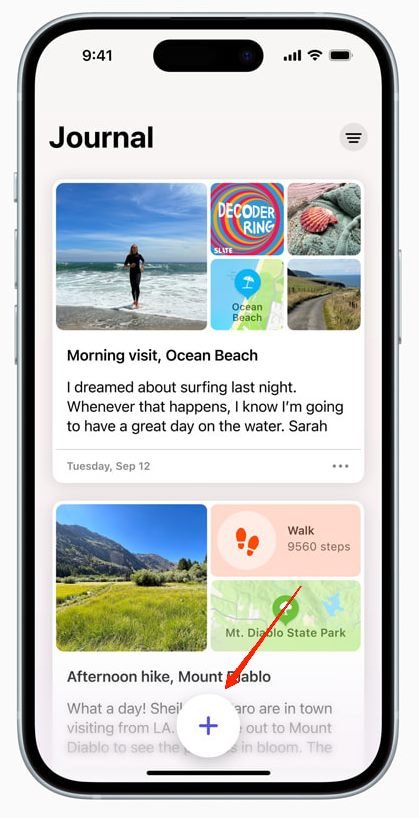
- Now, you can either tap on the New Entry option or simply select from one of the suggestions.
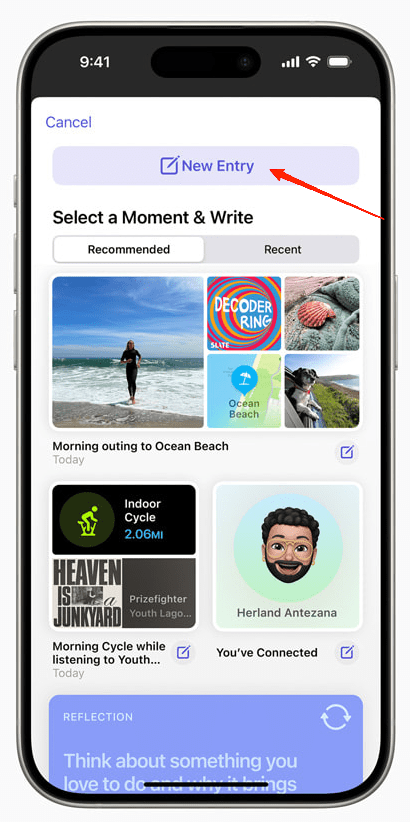
- Add a few lines of text of your wish.
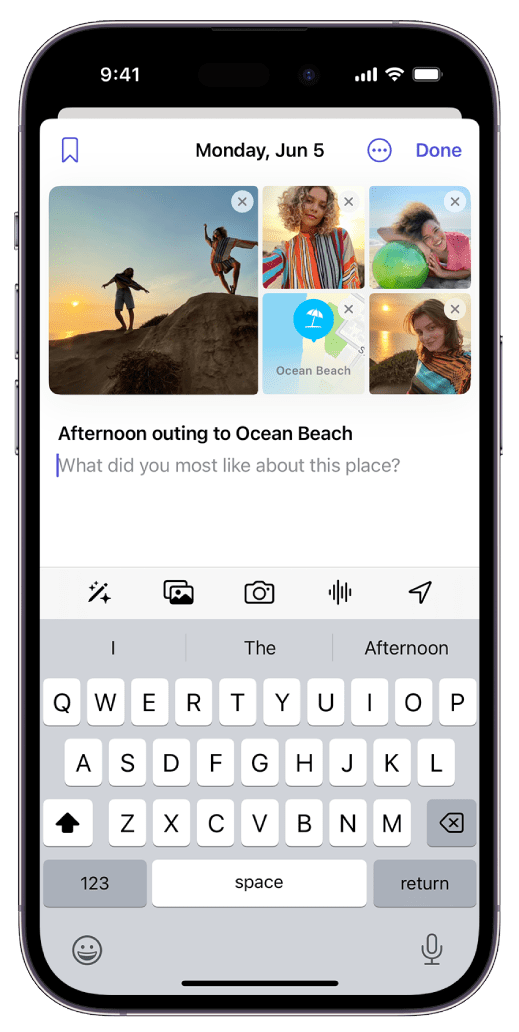
- Add photos, locations, videos, or audio recordings to keep your memories intact.
Isn’t that easy? Well, that’s all you need to do to create a Journal entry. Note that the Journal suggestions are mostly based on your recent outings, the kinds of music you listened to, and so on. So, you will always find suggestions related to your situations and will never run out of new entries to add.
Review your Journal Entries
Once you start creating entries on Journal, you can review them anytime. To review your entries, simply launch the app and the first thing you will see is your list of entries. Keep scrolling, and you can see all your entries in a sorted manner.
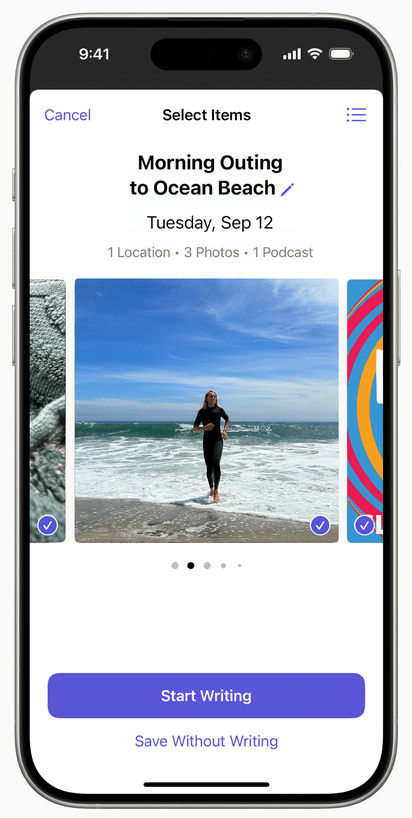
In case, you wish to review your Journal entries of a particular category, you have the option for that as well. Tap on the filter icon in the top-right corner and choose from one of the categories.
Use Journal Suggestions like a Pro
As mentioned earlier, journaling suggestions use AI algorithms that consider your recent outing, photos, workouts, etc, to generate the suggestions. They simply highlight your best moments from the day and help you curate your best experiences. Therefore, if you don’t have anything creative on your mind, you can undoubtedly use these suggestions to make some good entries.
- Start by tapping on the + icon.

- Now, scroll through to find out some quick suggestions. You can also tap on the ‘Recent’ tab to see the suggestions sorted by time.
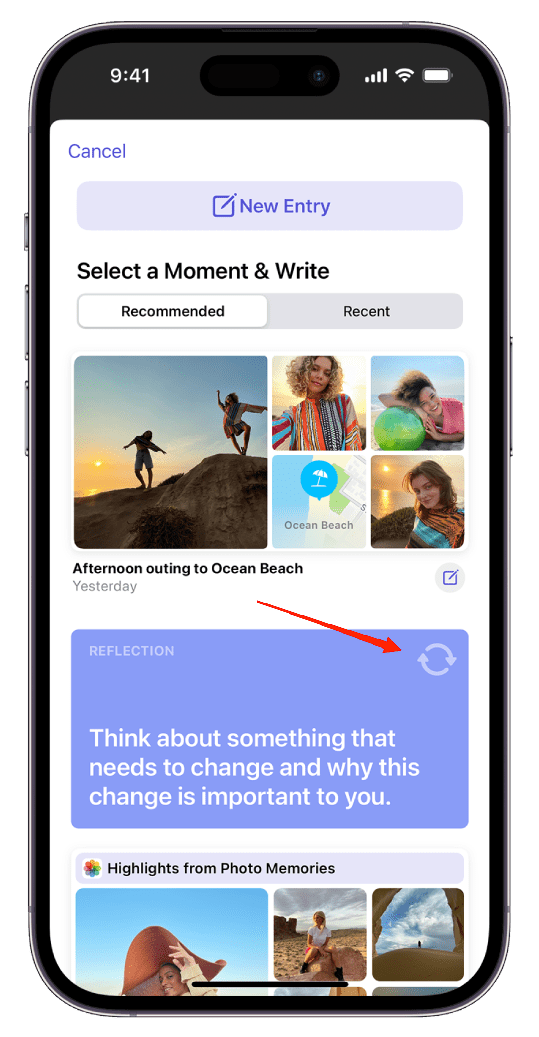
- If you like the suggestion, tap on it and create a new entry.
While typing your entry, you will find other options to upload photos, take pictures, upload audio files, etc., just above the keyboard itself. Click on them to start adding more resources to your entries and save them to your Journal account.
Create a Journal Entry from another app
Did you know you can also start creating a new Journal entry directly from a different app as well?
Suppose you are listening to a particular music on an app and suddenly come up with a nice idea for an entry. All you need to do is click on the share icon, select Journal app, and that’s it.
You will have a basic setup to create an entry on the music, just start adding your thoughts to it and save it to the Journal. Luckily, you can use this trick with multiple apps and maintain your daily life Journal on your iPhone.
Lock Journal App
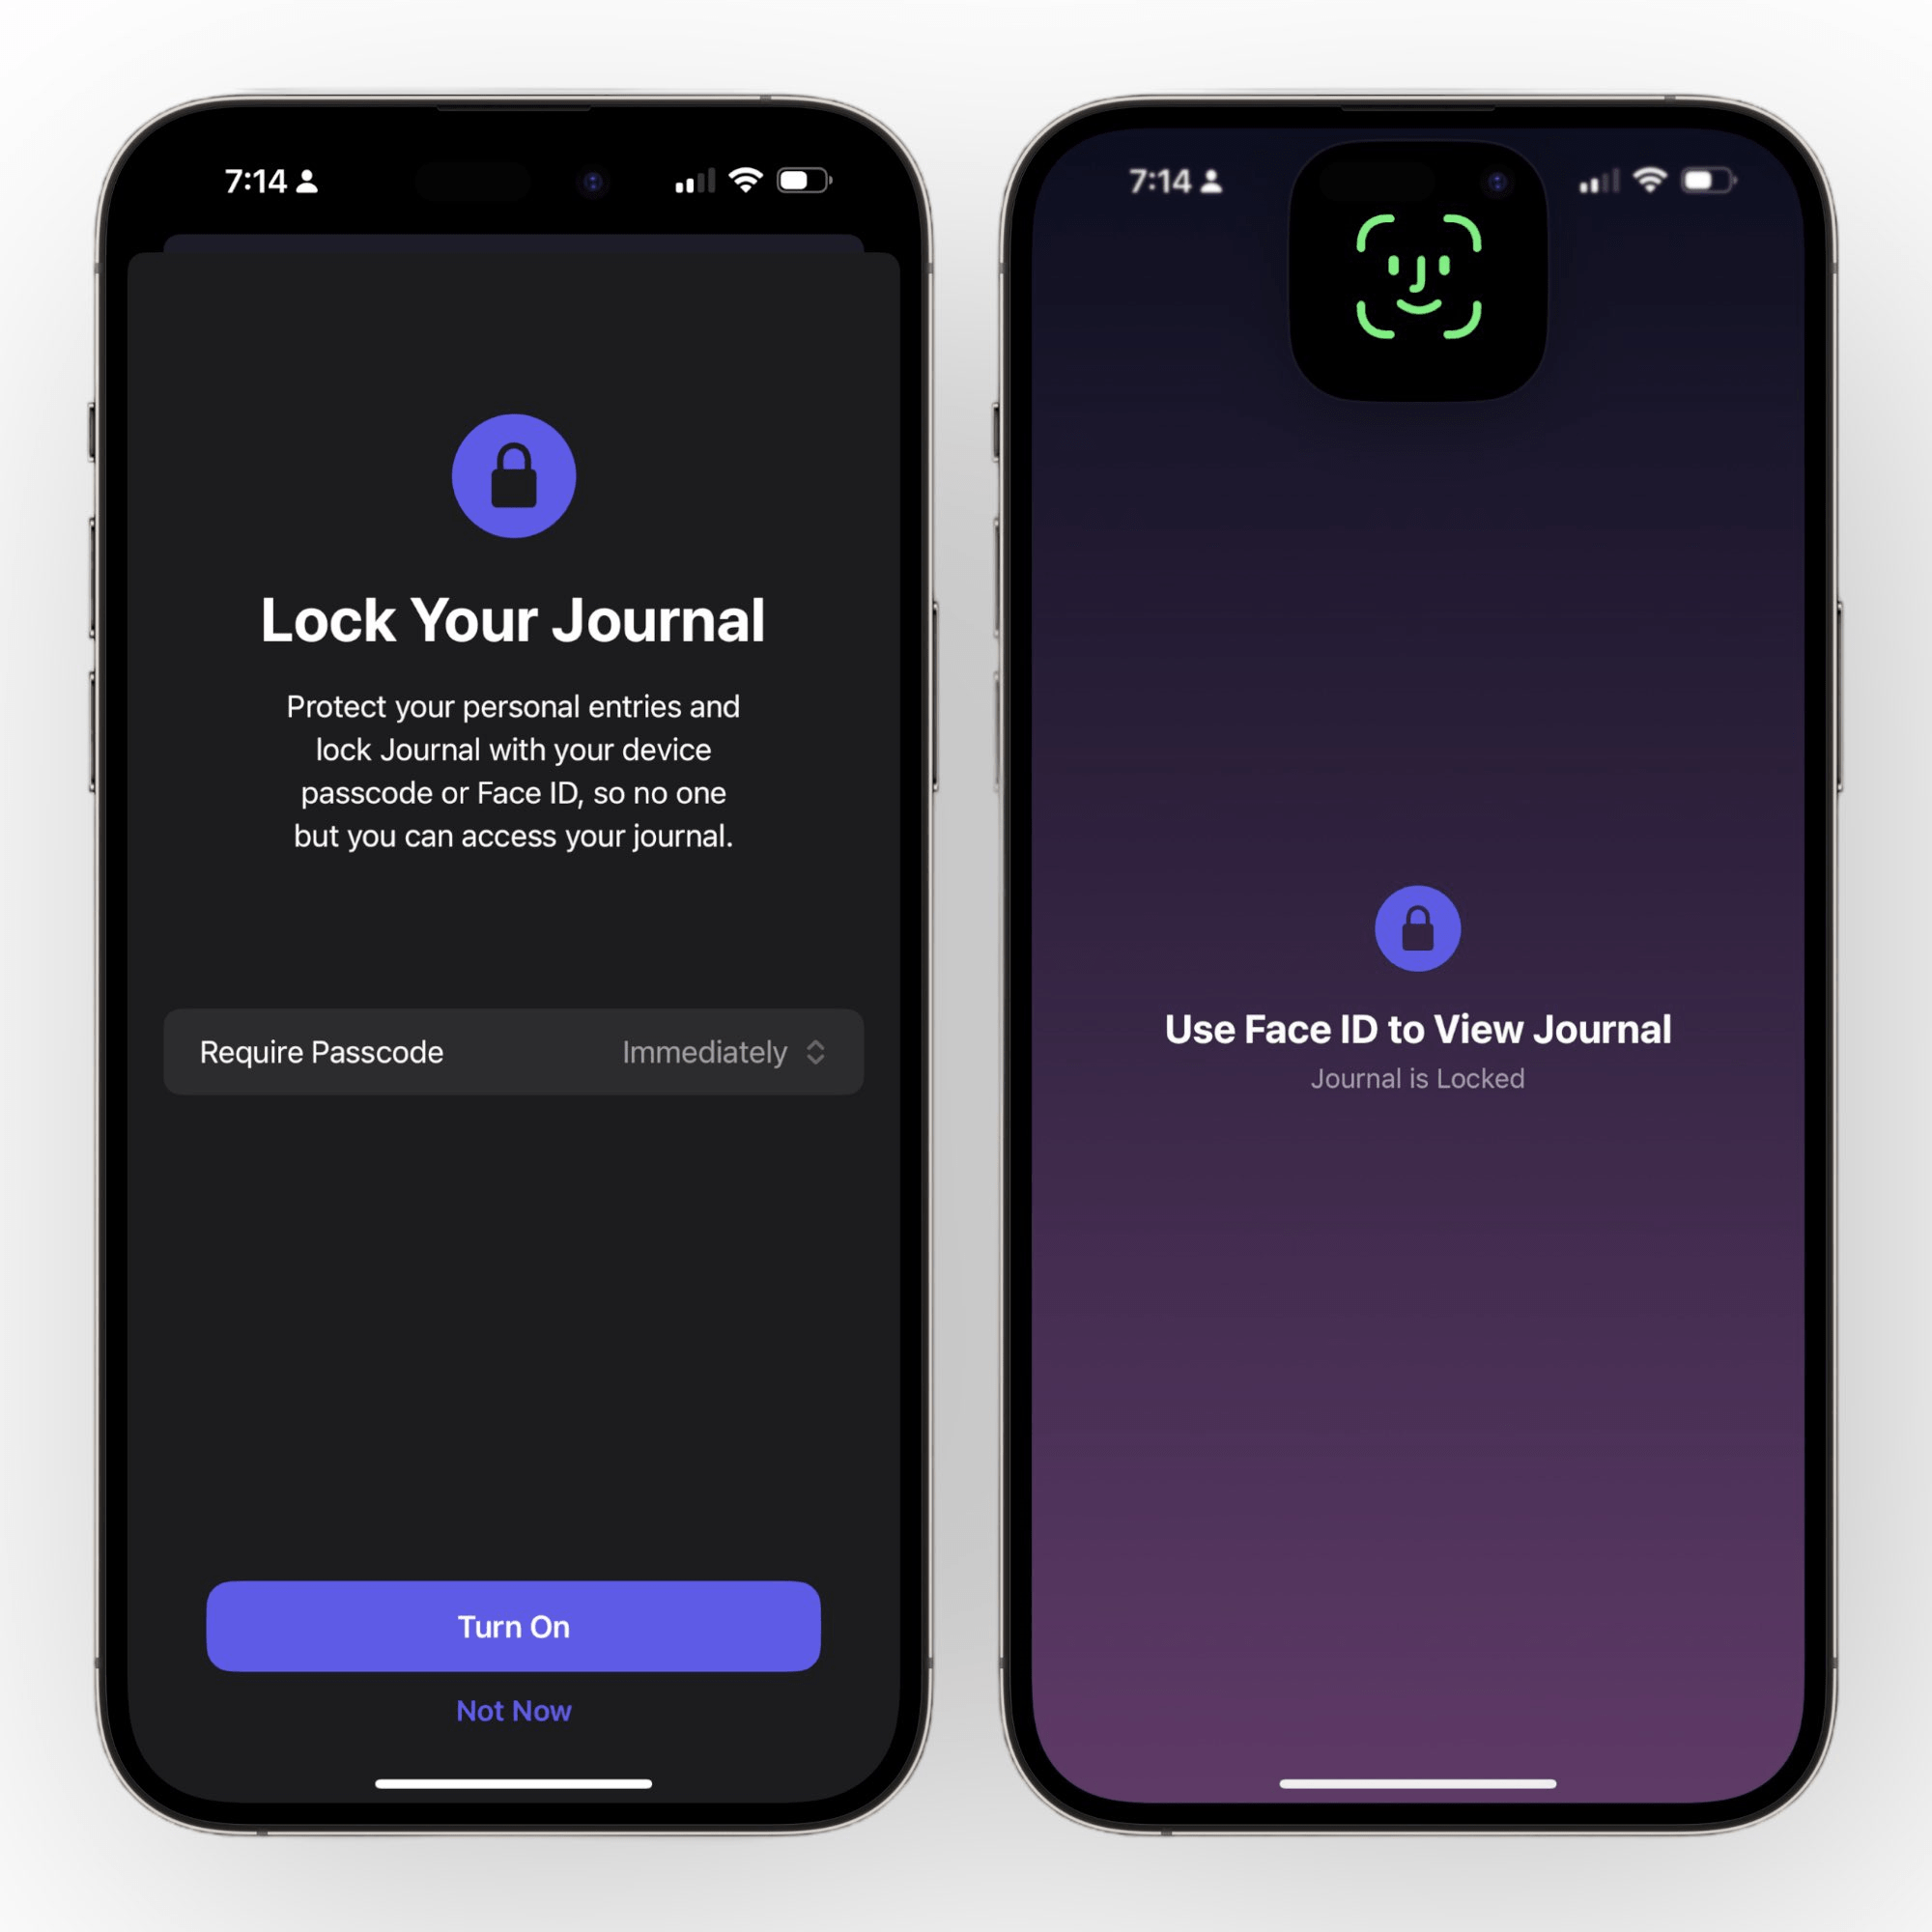
Finally, if you don’t want others to see your Journal entries, you have the power to lock the app too. Apple allows you to lock the Journal app just like any other application. You can protect your entries with your Face ID, passcode, or touch ID. To lock the Journal app, go to Settings, select Journal, and tap on Lock Journal. And that is all.
Final Words
Simply put, Journal seems to be a pretty basic app that basically allows you to note your special moments in the Journal app. You can write a few lines on those moments and add other media to create a collection of memories. Hopefully, if you liked this idea from Apple, this article will be helpful for you to get started with the app. Besides, let us know your opinion on how you liked the Journal app. Do you think you can update your Journal entries frequently? Or are you the type ‘Once in a blue moon’ just like me?
If you've any thoughts on How to Use the Journal App on iPhone, then feel free to drop in below comment box. Also, please subscribe to our DigitBin YouTube channel for videos tutorials. Cheers!


