Well, Snapchat is no new thing, as it has already made its place among the top social media platforms with its unique concept of keeping people connected. Maintaining Snap streaks has become an important part of everyone’s life. And undoubtedly, you people are all aware of the various features Snapchat has to provide to us. But little did you know that Snapchat is now also available in the web version as well. Yes, you heard it right. The platform can now be accessed right from your PC through your preferred browser.
Snapchat web provides you exactly with all the features that come with its app. You can scroll through your contact list, check your previous snaps, as well as create new snaps using your webcam and apply the all-time fun Snapchat filters, etc. However, our topic of the day is how can we use filters on the Snapchat web. Like you access your favorite filters on the app and use them on your snaps, the process might be a little different on the web version. So, without any further delay, let’s check out the steps to use filters on the Snapchat web.
Use Filter on Snapchat for Web
If you have used Whatsapp web, you should know the differences in features between the web and the app version. Likewise, Snapchat was also launched as an app dedicated to mobile users only. However, finally, the company has launched the web version as well, and it works just fine if we unsee the few limitations that come with it. For instance, you cannot view anyone’s snap from the Snapchat web. It will specifically open on the mobile application only.
Fortunately, there’s no such condition when it comes to sending snaps. You can simply access your webcam, take snaps, add filters, and send them to people. Wanna know how? Well, here is a step-by-step guide to help you get started with the Snapchat web and create your first snap using filters on your PC itself.
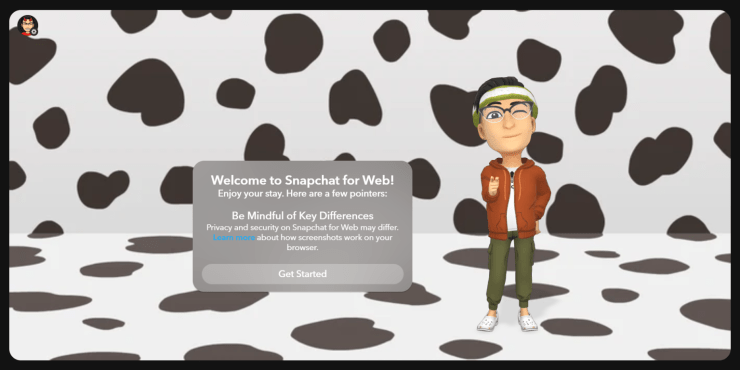
- Go to web.snapchat.com
- Login to your Snapchat account using your username/ email/ phone number and password.

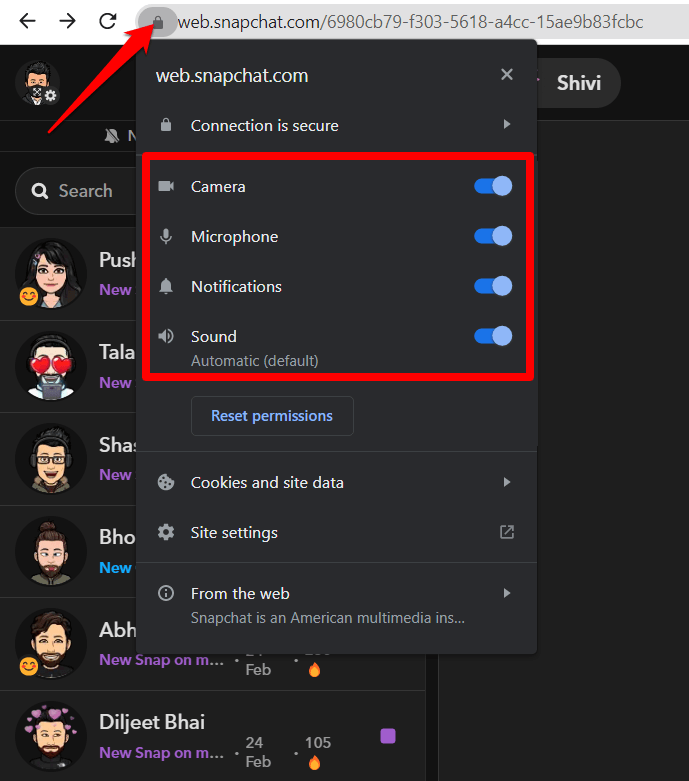
- Click, select “Site settings.”
- Scroll down to “Camera” and “Microphone” and ensure that they are both set to “Allow.”

- You can access your webcam to create snaps.

- Now, click on the arrow icon at the corner-bottom of your camera screen to select from the available filters.
- Select the filter you want, and make sure to get a good snap.
- Finally, click on the select button and send it to anyone on your list.
Well, that’s how easy it is to add filters to your snaps on Snapchat Web. However, note that there are only a few filters available as of now. And the explore filter option is not available on the web version as it appears on the Snapchat app. So, for now, if you are using the Snapchat web, you can select from a few options only. If you want something specific, it is better to use the mobile app itself.
Final Words
At last, now you know all about using filters on the Snapchat web. Basically, Snapchat’s mobile-like interface makes it much easier for users to interpret the web app and access its features without any difficulty. Although Snapchat is more applicable to mobile users, trying out the web version is worth it once in a while. So, hopefully, these steps will guide you to achieve your purpose and have some fun with Snapchat on your PC.
If you've any thoughts on How to Use Filters on Snapchat for Web?, then feel free to drop in below comment box. Also, please subscribe to our DigitBin YouTube channel for videos tutorials. Cheers!


