Accidentally deleting files on your Mac is a common mishap, but thankfully, there are many ways to recover deleted files. From using built-in tools like Trash or Terminal to advanced third-party software such as Disk Drill and PhotoRec, you have various options to recover deleted files on your Mac. We’ll dive deep into them in this guide. Let’s roll in.
Which File Types Can Be Recovered on Mac?
You can recover any file type on a Mac using the solutions mentioned in this guide. Most commonly, you can easily restore the following file types:
| File Type | File Extension |
| Video | 3G2, AVI, CRM, FLV, M4V, MKV, MOV, MP4, MPG, OGM, RM, WEBM, WMV |
| Audio | AA, AAC, CDA, FLAC, M4A, MP3, MP2, MPA, OGA, OGG, RA, WAV, WMA |
| Images | AI, BMP, C4D, CR2, DJVU, ICO, JP2, JPG, NEF, PNG, PSD, SVG, TIFF, WMF |
| Documents | DOC, DOCX, ENL, EPUB, FB2, HTML, ICS, NUMBERS, ODT, ODS, ODP, PAGES, PPT, PPTX, QBB, RTF, TTF, XLS, XLSX, XML |
| Archives | 7Z, ARJ, CAB, DMG, ISO, JAR, MBX, PST, RAR, RDB, TAR.XZ, ZIP |
If you want to check the file extension or type of a file on your Mac, follow these steps:
- Right-click the file or hold the “Control” key while clicking the file.
- In the drop-down menu, click “Get Info.”

- A window will appear with detailed information about the file. You can see the file type or extension under the “Name & Extension” section here. It will be listed next to “Kind.”

Now, let’s move to step-by-step tutorials on how to recover deleted files on Mac.
Restore Deleted Files from the Trash (Not Emptied Yet)
When you delete a file on your Mac, it goes to the Trash. If you haven’t emptied your Trash, you can easily locate and recover the file.
This method is quick and efficient and takes less than a minute to recover files. Once you restore the file, it will go back to the same place from where it was first deleted.
Let’s see how to recover files from Trash on your Mac:
- Click the Trash icon located in the Dock of your Mac.
- Inside the Trash Bin, you will find a list of deleted files. Find and select the files you wish to recover, or use the search bar to locate a file quickly.
- Once you’ve selected the files, right-click on any of them. Select the “Put Back” option from the drop-down menu. This will recover all the selected files to their original locations on your Mac.

It’s worth noting that while you can find most deleted files in Trash, some files may not be stored in the Trash and are immediately deleted. Plus, Mac automatically empties the Trash after 30 days, so make sure to recover any file before 30 days.
Use Undo Command on Mac
If you are quick enough, you can recover a deleted file with the Undo command on your Mac. The Undo command works in virtually all Mac applications.
However, there are also a few limitations to this method. First, the Undo command can recover only the latest deleted file. So, if you have deleted multiple files, you won’t recover all of them.
Second, you must use the Undo command before exiting the application from which the file was deleted. Also, the approximate time to use the Undo command is within 10 seconds; after that, you may not be able to recover the deleted file.
Noted? Let’s see how to use the Undo command to recover deleted files on Mac:
- Stay within the application that was used to delete the file. For example, if you deleted the file using Finder, make sure Finder is open.
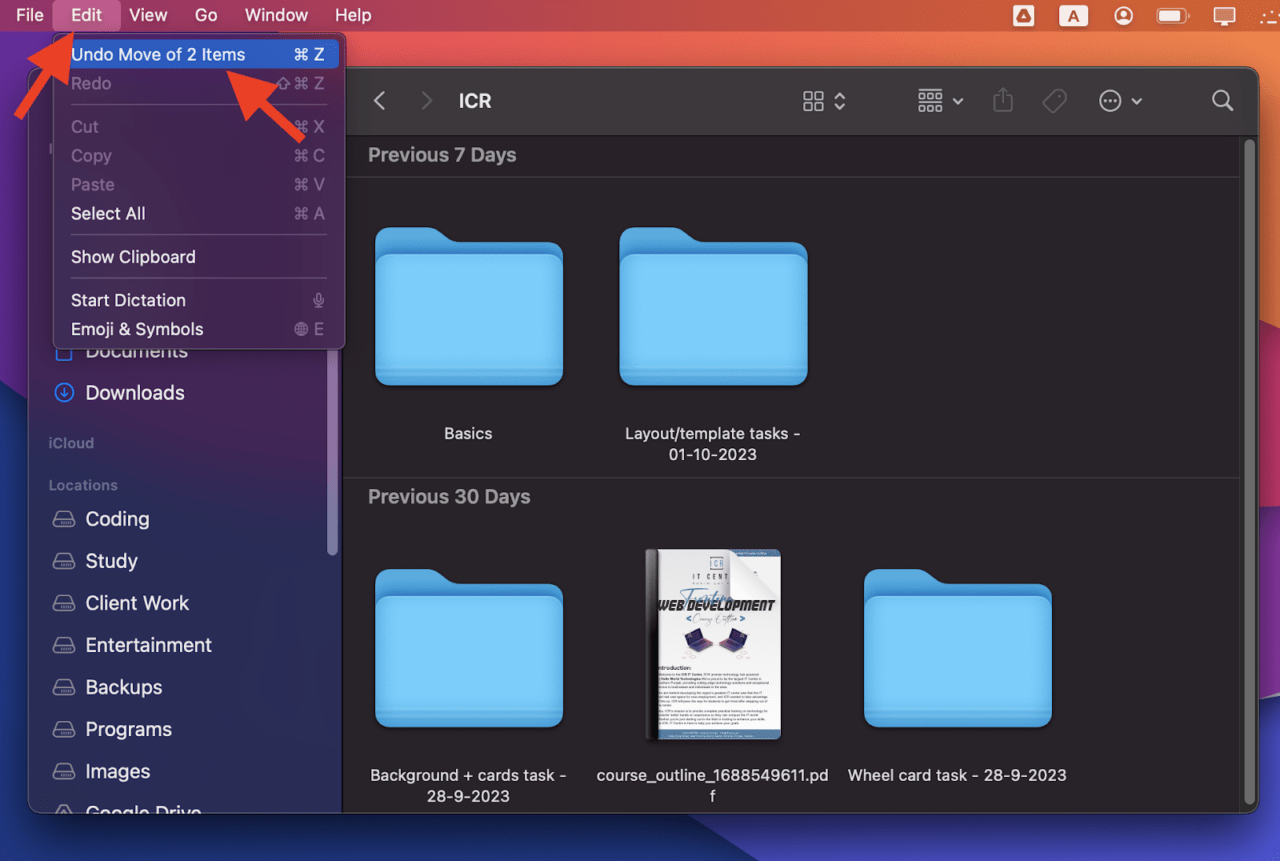
- Navigate to the menu bar at the top of your screen and open the “Edit” menu.
- Inside the “Edit” menu, you will find the option to “Undo Move of [filename].” Click it to Undo the deleted action, where “[filename]” represents the name of the deleted file.

Alternatively, you can use a keyboard shortcut by pressing “Command + Z.” However, remember that this shortcut only works if the correct application is currently in focus on your Mac screen.
Recover Deleted Files Using Terminal
Another way to recover deleted files on Mac is using Terminal, a powerful command-line interface in macOS. This method is faster than other file-retrieving solutions but requires you to remember the exact name of the deleted file.
This means you can only bring back one file at a time using a single Terminal command. But the advantage is you can recover multiple files if you know their names, which differs from the Undo command, which can only retrieve the last deleted file.
This is how you can recover files on Mac using the Terminal command:
- Open Terminal.
- Type the following command and hit Enter to open the Trash folder:
cd .Trash
- Once inside the Trash, type the following command to see the contents of the Trash folder and press Enter:
ls -al ~/.Trash
- You’ll see a list of deleted files. Find the one you want to recover and type the following command in Terminal:
mv filename ../
In this command, replace “filename” with the exact file name you want to recover. Also, replace “../” with the location where you want to recover the file.
- Once done, press Enter to recover the file.
It’s important to note that Terminal commands cannot recover files from a completely emptied Trash. In other words, you can only use Terminal to recover deleted files if they are in your Mac’s Trash. This is why we recommend you first to check Trash for deleted files and then go for Terminal.
Recover Files from Time Machine
Recovering deleted files on your Mac is super-easy when you have a backup in place. Every Mac running macOS 10.5 or a newer version has a handy backup tool called Time Machine. With this tool, you can bring back your whole operating system or particular files from a backup saved on a backup drive.
But before you move to the tutorial, note that you can only recover files from Time Machine if you had previously set up Time Machine to back up your data. If you haven’t used Time Machine on your Mac, it won’t have a record of the files you want to recover.
But if you have Time Machine set up on your Mac, here are the steps to recover deleted files:
- Open the folder where your deleted files were originally stored.
- Click the Time Machine icon in the Menu Bar and select “Enter Time Machine.”
- Inside the Time Machine, you’ll see a timeline on the right edge of the screen. Use it to navigate to the most recent version of your files and select the ones you want to recover.
- After selecting the files, click the “Restore” button to recover them to their original locations on your Mac.
Other than the Time Machine tool on your Mac, some users also rely on cloud backup solutions like Google Drive, iCloud, or Dropbox. These third-party backup tools have a more user-friendly interface and let you access backups anytime, anywhere.
Use App-Specific Recovery Features
In some cases, apps like Photos have their built-in Trash. This makes it even easier to recover deleted files, as you can find them directly within the app’s interface.
Simply carry out the following steps:
- In the Photos app on your Mac, click “Recently Deleted” in the sidebar.
- If the “Recently Deleted” section is locked, you’ll need to use Touch ID or type in your password to unlock it.

- Select the photos you want to restore and click “Recover.”

Note that if you’re using iCloud Photos, you can restore your photos and videos for up to 30 days before they’re deleted from iCloud, your Mac, and other Apple devices connected to iCloud. But if you’re not using iCloud Photos, deleted photos and videos will only be removed from your Mac.
Use Mac Data Recovery Software/Third Party Software
Using third-party data recovery tools like Disk Drill and PhotoRec is another easy and effective method to recover deleted files on your Mac. These applications offer a user-friendly way to restore lost files and can also recover data that may be challenging to restore using built-in methods.
Here is a quick review of both options to help you understand better about them:
Disk Drill – Available for macOS 10.15.7–14.x. [Paid]

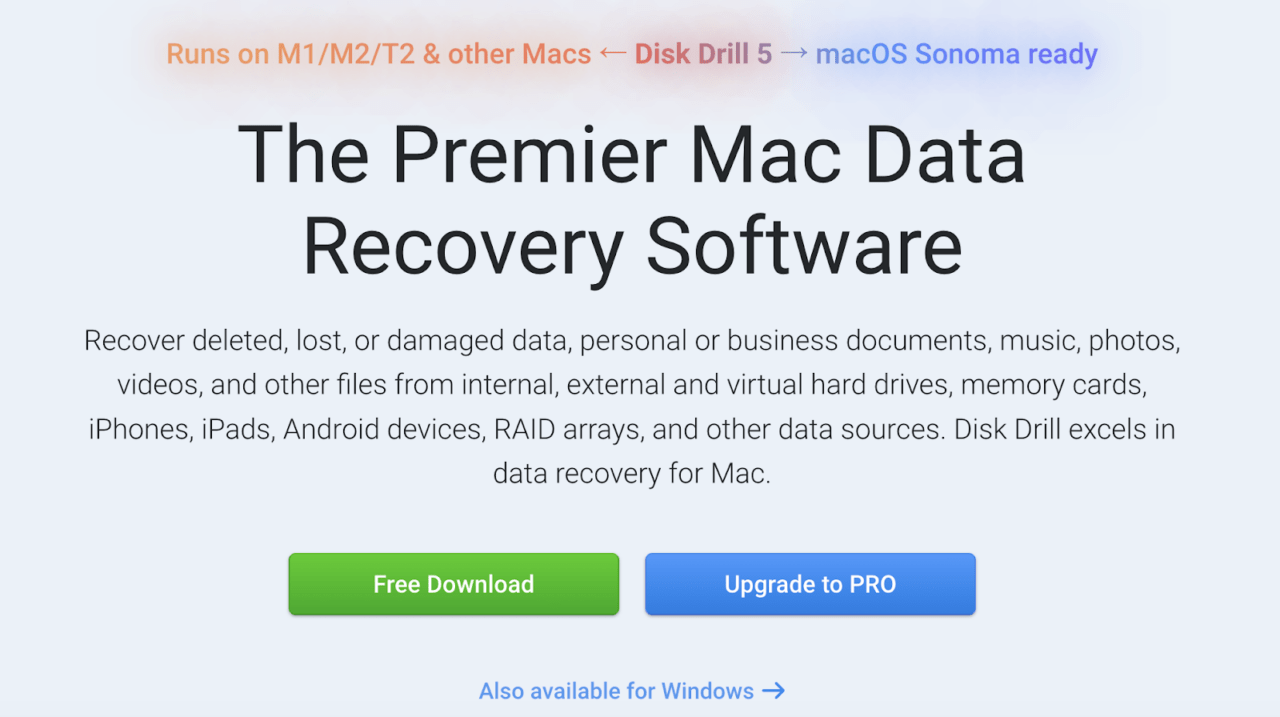
Disk Drill is a paid tool that excels in Mac data recovery. It can restore deleted, lost, or damaged data, including personal or business documents, music, photos, videos, and more. Besides that, it can recover virtually any file or folder and reconstruct over 400 file types using multiple recovery methods.
Even if you’re not a tech expert, Disk Drill’s user-friendly interface makes it super-easy to recover deleted files on Mac. You can scan for lost data and preview recoverable files with just a few clicks. You can even perform deep scans on your Mac (this feature is available for Intel, Apple T2, M1, and M2 chips Macs).
PhotoRec – Available for Mac OS X 10.14 and later [Free]

If you are looking for a free Mac data recovery tool, try PhotoRec. It can recover permanently deleted files and supports a wide range of file types and file systems, including FAT, NTFS, exFAT, ext2/ext3/ext4, HFS+, and more.
The best thing about PhotoRec is that it doesn’t rely on the file system. So, you can even recover deleted files from severely damaged or reformatted media. On top of that, PhotoRec uses read-only access when recovering data to ensure safety and minimize the risk of overwriting lost files.
To sum up, Disk Drill offers a more user-friendly interface and extensive features for Mac data recovery. Even though it’s paid, all the features are worth it. On the other hand, PhotoRec is an excellent option for users looking for a free tool, especially when trying to recover permanently deleted files.
Frequently Asked Questions
Where do deleted files go on Mac?
When you delete files on your Mac, they are moved to the Trash. You can recover them from there until you empty the Trash. If you don’t recover your files, they will be automatically deleted after 30 days.
What are the common reasons behind accidental file deletion on Mac?
Accidental file deletion on Mac mostly happens due to human error, like mistakenly hitting the delete key. But it can also occur during software updates, disk formatting, or system crashes. In other cases, you may accidentally delete files when accidentally emptying the Trash.
How to prevent data loss on Mac?
You can protect your files and prevent data loss by regularly backing up your important files using Time Machine or other backup solutions. Be cautious when deleting files, and consider using file recovery software as a safety measure.
Final Words
Recovering deleted files on Mac is easy if you know where to look for them. Trash is the first place to find a deleted file, where you can easily restore it to its original position. Another way to do that is using Terminal. However, to prevent the hassle of file recovery in the first place, it’s always a good idea to set up a backup system like Time Machine. This way, your important data is automatically saved, and accidental file deletion becomes less of a concern.
If you've any thoughts on How to Recover Deleted Files on Mac?, then feel free to drop in below comment box. Also, please subscribe to our DigitBin YouTube channel for videos tutorials. Cheers!


