PowerPoint is a popular and widely used application for creating a professional and top-notch presentation. In PowerPoint, you can add images to your slides which enhances the overall look and makes your presentation more appealing. But there’s a time when you want to extract images that you have utilized in your PowerPoint.
Whether you want to extract one image or more than one from your PowerPoint slide, you can effortlessly extract those pictures on your computer with a simple step. Here, we will show you different ways to extract images from a PowerPoint presentation. Without further ado, let’s get started.
Best Ways to Extract Images from a MS PowerPoint PPPT
Here, we have outlined the two best ways to extract images from a PowerPoint Presentation.
1. Extract Images Using the Save As Picture Option
In PowerPoint, the “Save as Picture” option is the simplest way to extract Images. This is a useful method if you want to extract one or two images from your slides. Here’s how you can use this option to extract the images that you want.
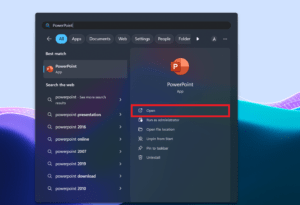
- Navigate to the Windows search bar and type PowerPoint and then click Open.
- Open the PPT from which you want to save images.
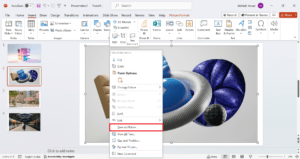
- Find and select the image you want to extract. Then, right-click on it and select Save as Picture option.
- Under the Save as Picture dialog box, locate where you want to save the image.
- Click on the drop-down menu next to Save as type and choose your preferred file image format.
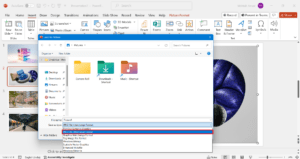
- Next, click the arrow next to Save and then select Save Original Picture to extract the image in the high-resolution.
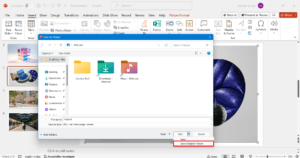
- Repeat the same steps with other images that you want to extract, and it’ll save to your chosen location.
2. Save the PowerPoint Slides As Images
If you are looking to extract all the images from the PowerPoint slides, then you have to save your slides as images (in JPEG or PNG format). Follow the below steps to do it.
- Open the PowerPoint presentation or file from which you want to extract all the images.
- Click on the File menu located at the top-left corner.
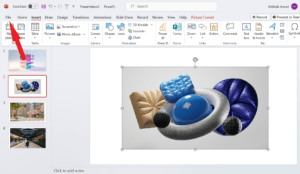
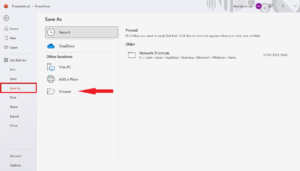
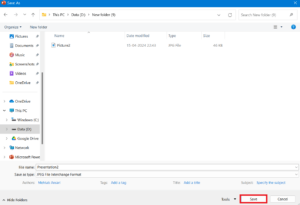
- On the left-hand side, select Save As option and then choose Browse option.
- Click on the drop-down menu next to Save as type and select “JPEG File Interchange Format” or “PNG Portable Network Graphics Format” from the list menu.
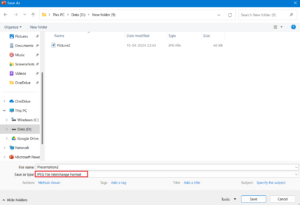
- Then, click on the Save button.
- Once the prompt appears, select “All Slides” from the menu.
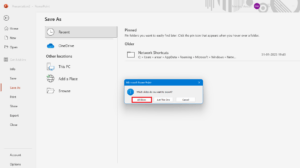
Once you complete the above steps, your images will automatically be saved to the specified location you have chosen on your computer.
Final Words
Microsoft PowerPoint is a great application to organize your presentation to make it to a professional level. However, many users loved to create a professional presentation with images. If you’re one of them and want to extract those images, you can effortlessly save the images with ease.
We have listed the two different ways to extract images from PowerPoint slides. By following any of the outlined ways, you can save the images to your specified location on your computer.
If you've any thoughts on How to Extract Images from a PowerPoint Presentation, then feel free to drop in below comment box. Also, please subscribe to our DigitBin YouTube channel for videos tutorials. Cheers!
