My friend asked for my PC but I was worried if she connected any external drive, any malicious file may get installed on my PC. While looking for a solution to prevent her from connecting any USB or Pendrive, I found that we can disable ports on the Windows system.
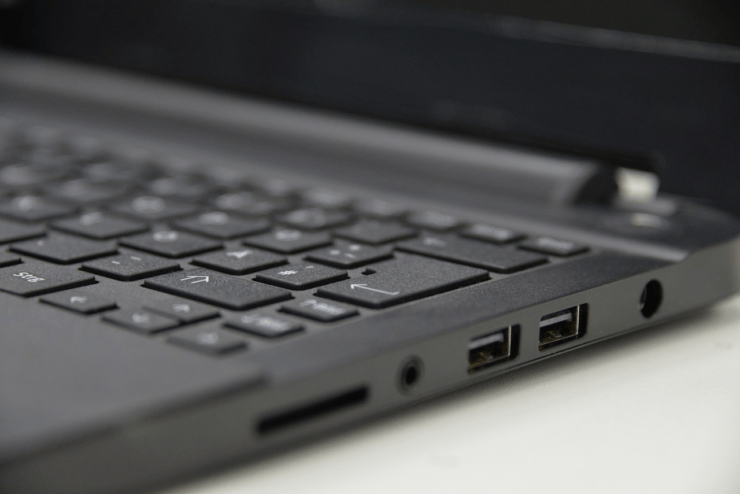
In the era of modern technology, USB devices, thanks to the inbuilt USB ports, are still the most convenient tools when it comes to quickly transferring data between two computers. Apart from the USB devices, USB ports also enable you to connect external peripherals to your Windows PCs if the need arises.
While USB ports are important for use, for certain reasons such as data privacy, disabling them becomes necessary. Similar to the previous versions of Windows, Windows 11 also allows you to disable USB ports in multiple ways.
If you are looking for ways to disable the USB ports of your Windows 11 PC citing privacy and data protection reasons, you are at the right place.
Top Ways to Disable USB Driver Ports in Windows PC
Here is the guide you can follow to make your PC USB ports non-functional. You can follow any method below to disable the ports on PC.
1. Disable USB Ports using Device Manager
One of the quickest ways to disable the USB ports is by disabling the USB control using the Device Manager app installed on your Windows 11. Here is how you need to proceed:
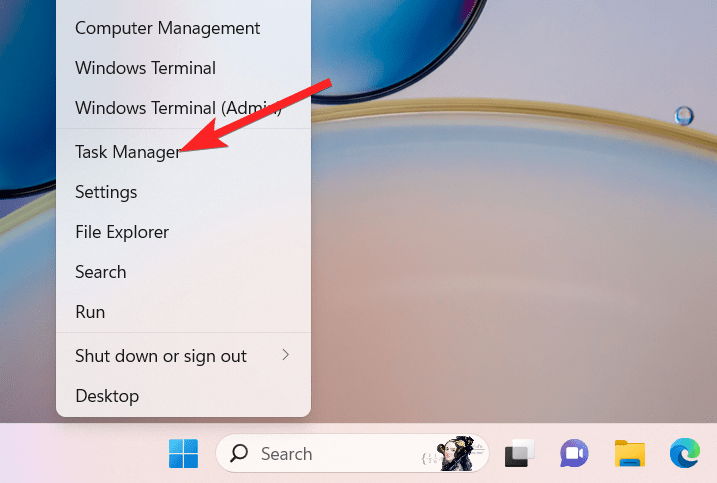
- Press the Start button and type Device Manager in the search bar on top. Click the Task Manager application in the result section below to launch it.

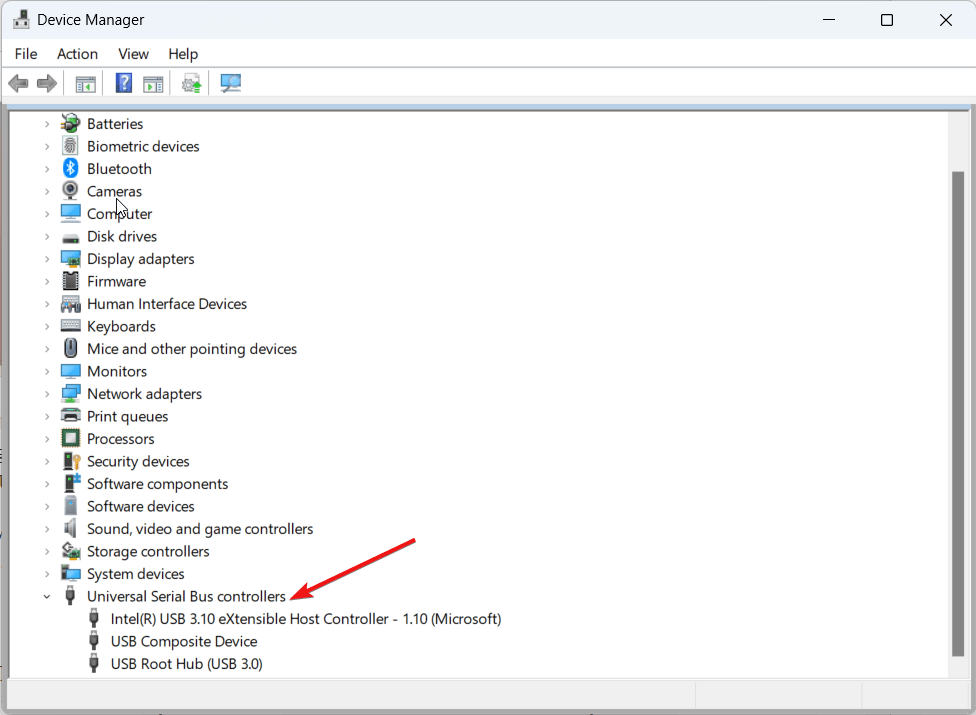
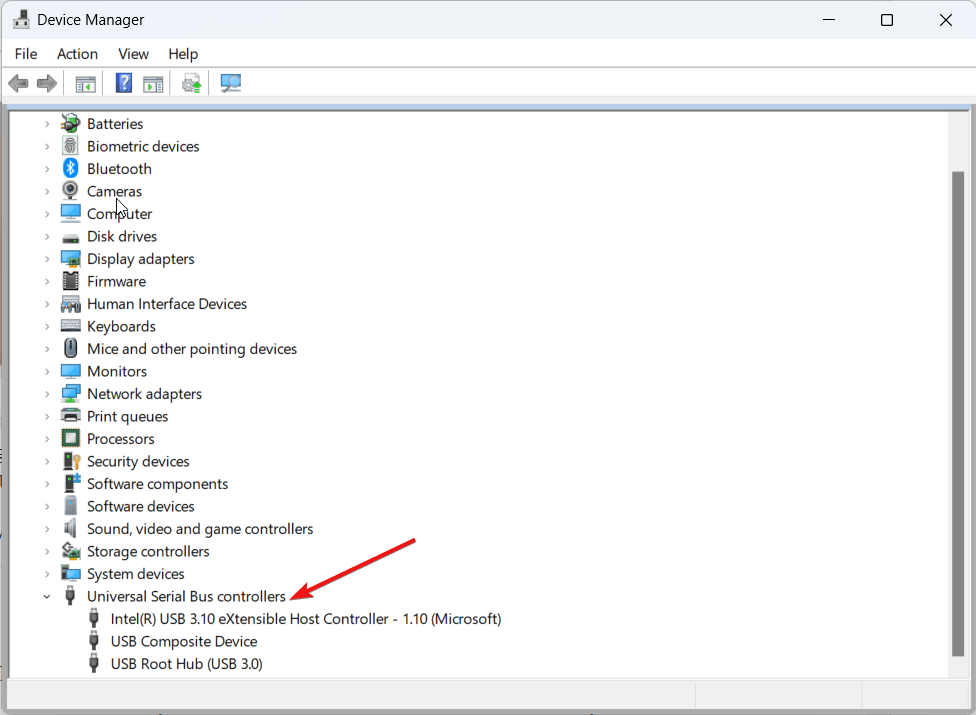
- Look for the Universal Serial Bus controllers category in the Device Manager window and click the arrow next to it to expand it.

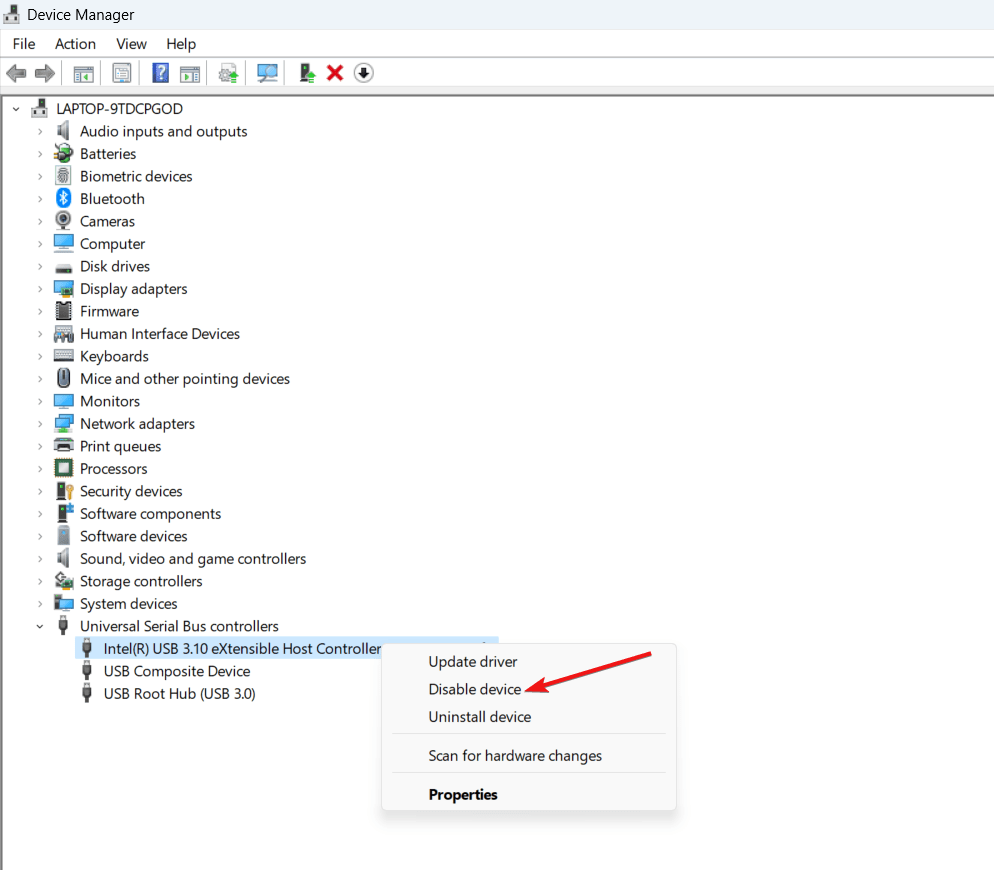
- Now right-click to access the context menu of the USB port you intend to disable and choose the Disable device option from the context menu.

Now exit the Device Manager window and reboot your Windows PC. Try inserting a USB device in the USB port you disabled previously. Your PC won’t detect the USB device anymore and hence you won’t be able to retrieve the data.
2. Uninstall the USB Drivers
Another way of disabling the USB ports is uninstalling the USB drivers from your Windows 11 PC. Just like disabling the USB ports, you need to access the Device Manager app to uninstall the USB drivers as well. This is what you need to do to uninstall the USB drivers from your Windows 11 device.
- Right-click the Windows icon on the taskbar and choose Device Manager from the Power User menu.
- Look for the Universal Serial Bus Controllers category and expand it to view the list of drivers.

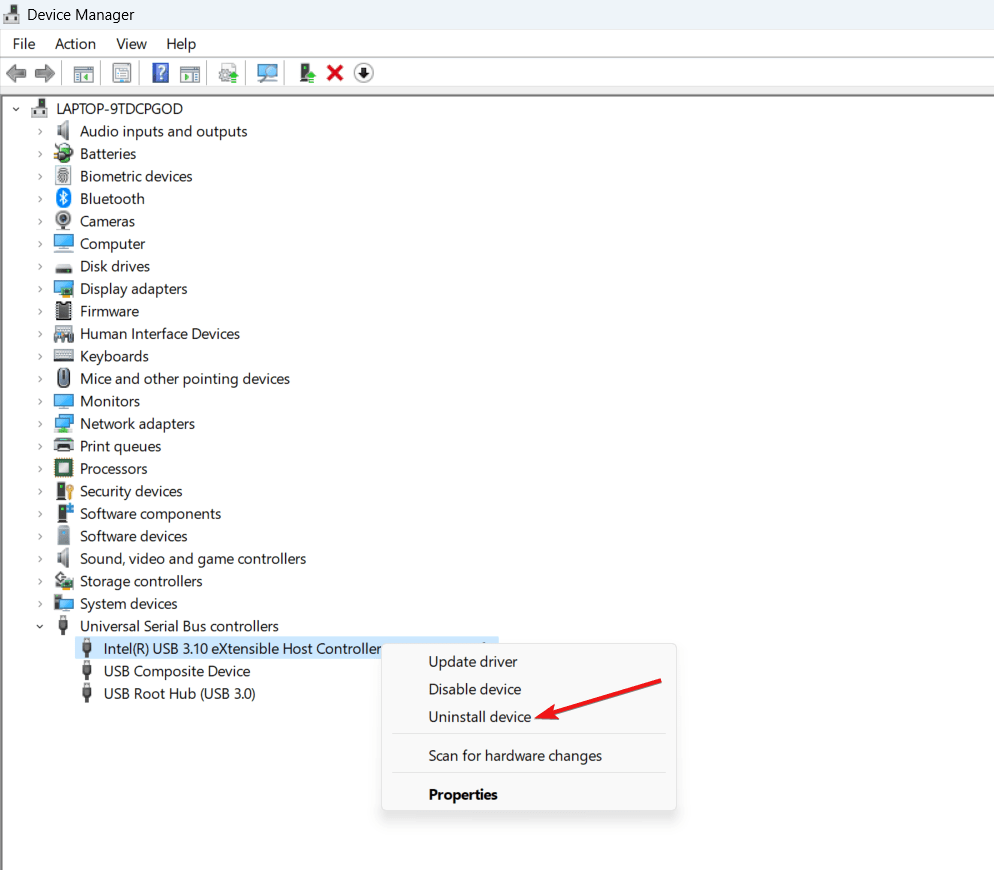
- Now right-click the USB Mass Storage Device driver and choose Uninstall Device from the context menu.

- A confirmation dialog box will pop up. Click Yes and doing so will uninstall the USB drivers and remove the USB device from the list.
Now insert a USB device into the USB port. Your computer will automatically look for the missing drivers and prompt you to install them on your PC. Here, all you need to do is to exit the driver installation prompt and you are good to go!
Note: We recommend backing up the driver installation files so that you can easily reinstall the USB driver whenever you need to use the USB ports.
3. Using Local Group Policy Editor
In case you need to disable USB ports on multiple computers connected via a network, you can do so easily using the Group Policy Editor. However, this method will only work on the Pro, Enterprise, or Education edition of Windows as Group Policy Editor is not a part of the Home edition of Windows.
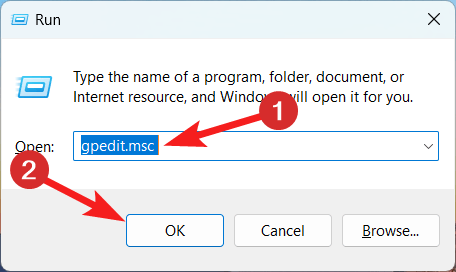
- Launch the Run dialog box using the Windows + R shortcut key. Type gpedit.msc in the text box and click the OK button.

- Now, on the left side panel of the Local Group Policy Editor, expand the Computer Configuration section followed by Administrative Templates.
- Next, expand the Administrative Templates and then the System option.
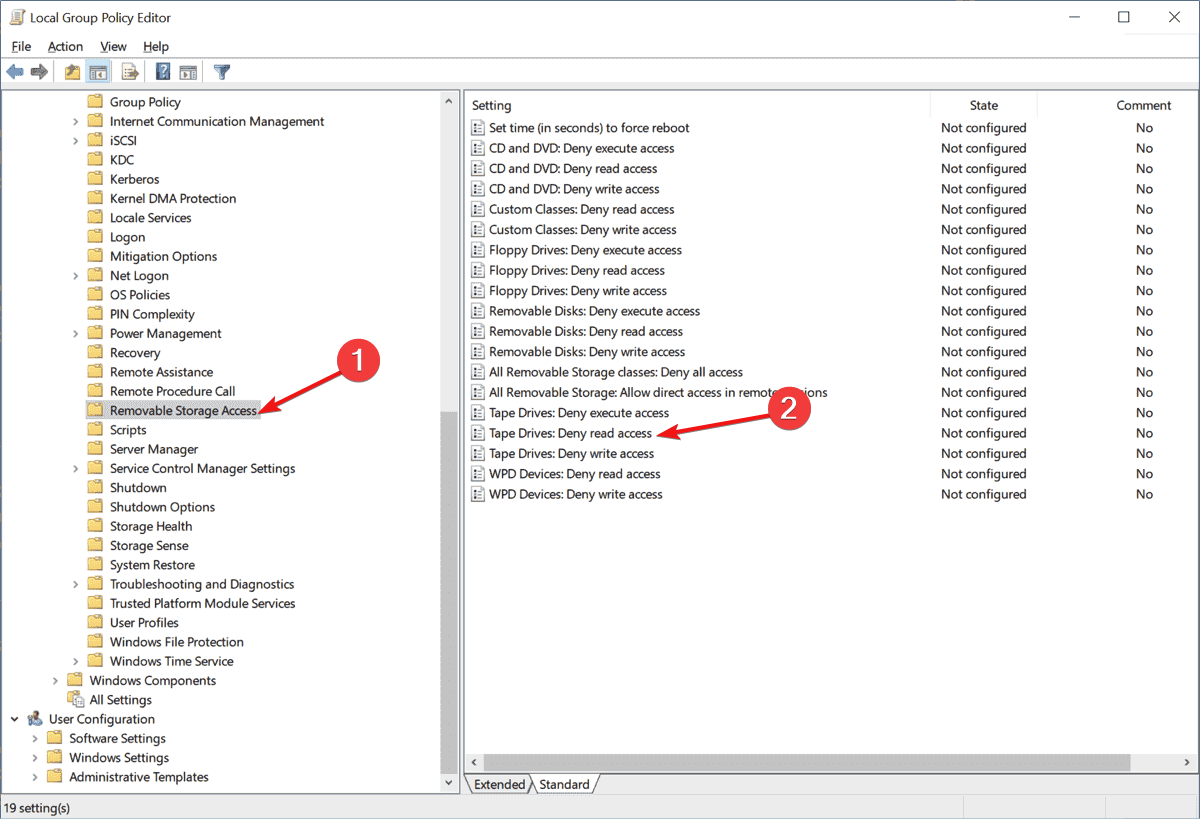
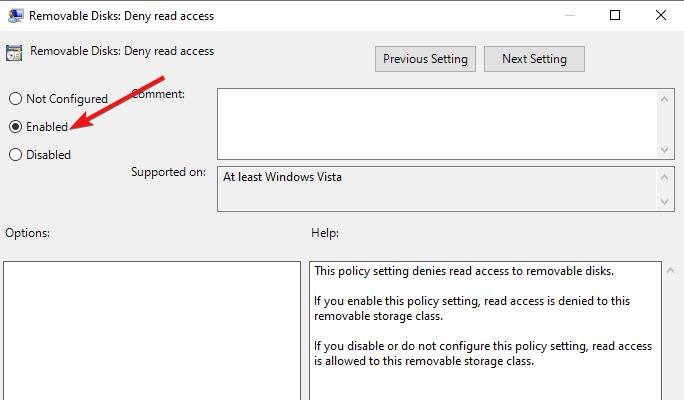
- Double-click the Removable Storage Access option and look for the Removal Disks: Deny read access option and double-click to open it.

- In the right section, select the radio button next to the Enabled option and press the Apply button to disable the read access of all the connected USB devices.

- Now double click to expand the Removal Disks: Deny write access option and follow the same procedure to revoke the write access as well.
- After this, exit the group policy editor app and reboot your Windows PC to apply these changes.
Now try inserting the USB device, both the read or write access will not be granted anymore.
4. Disable USB ports using the Command Prompt
Another quick way to disable the USB ports on Windows 11 computers is by utilizing the command prompt tool. This method is well suited for users who prefer CUI (Command User Interface) over GUI (Graphical User Interface).
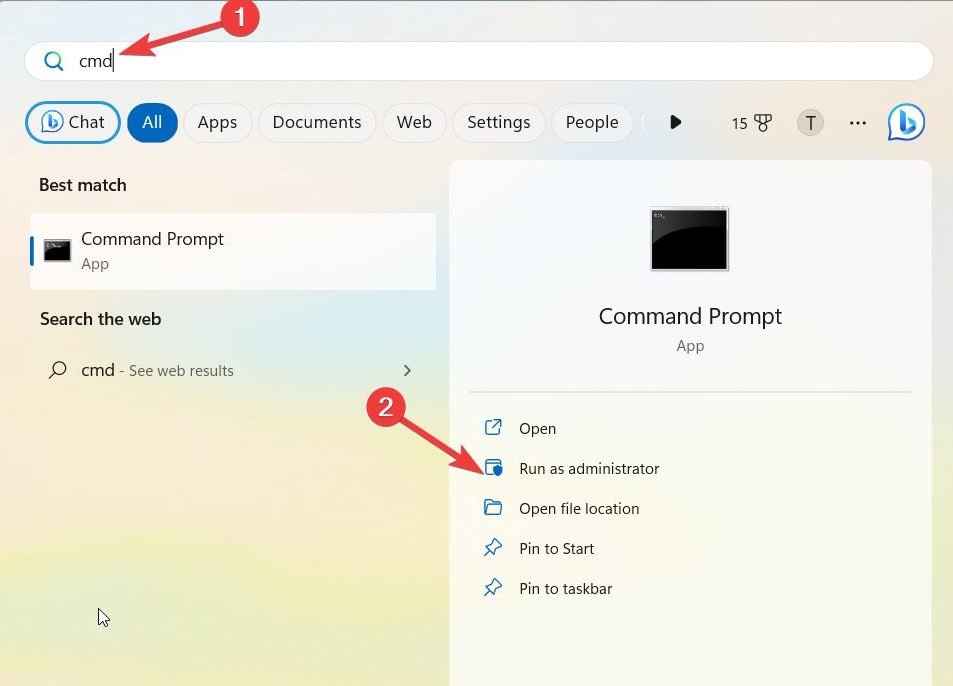
- Launch the Start menu by pressing the Start button. Type cmd in the search box and choose Run as administrator from the result section.

- Press Yes on the User Action Control dialog box to launch Command Prompt with administrative permissions.
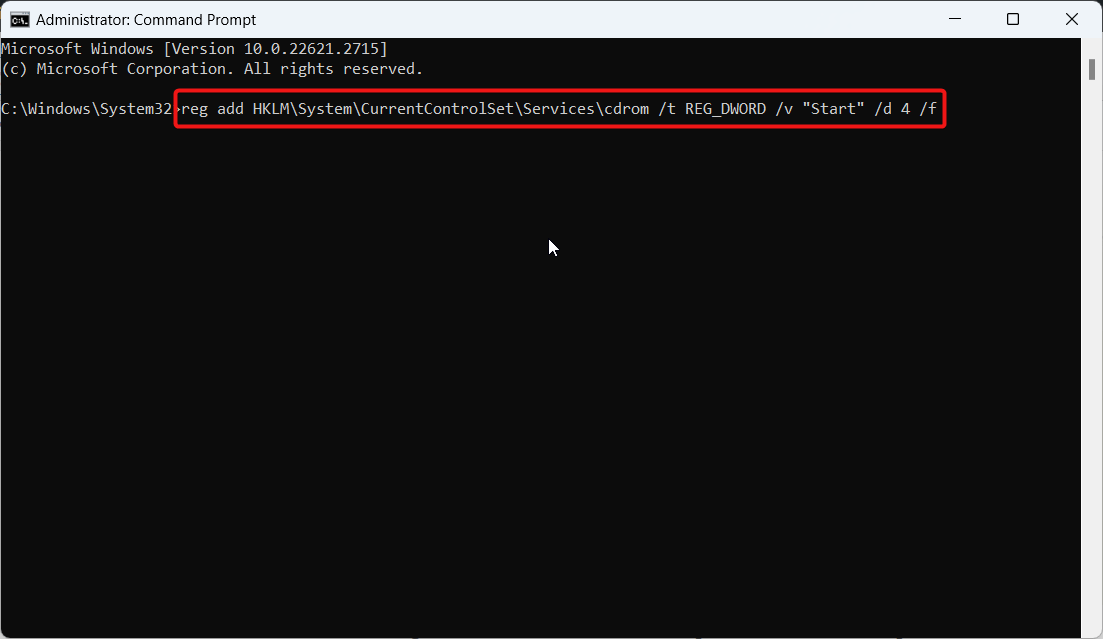
- In the command prompt window, type the following command and press the Enter button to execute it.
reg add HKLM\System\CurrentControlSet\Services\cdrom /t REG_DWORD /v "Start" /d 4 /f

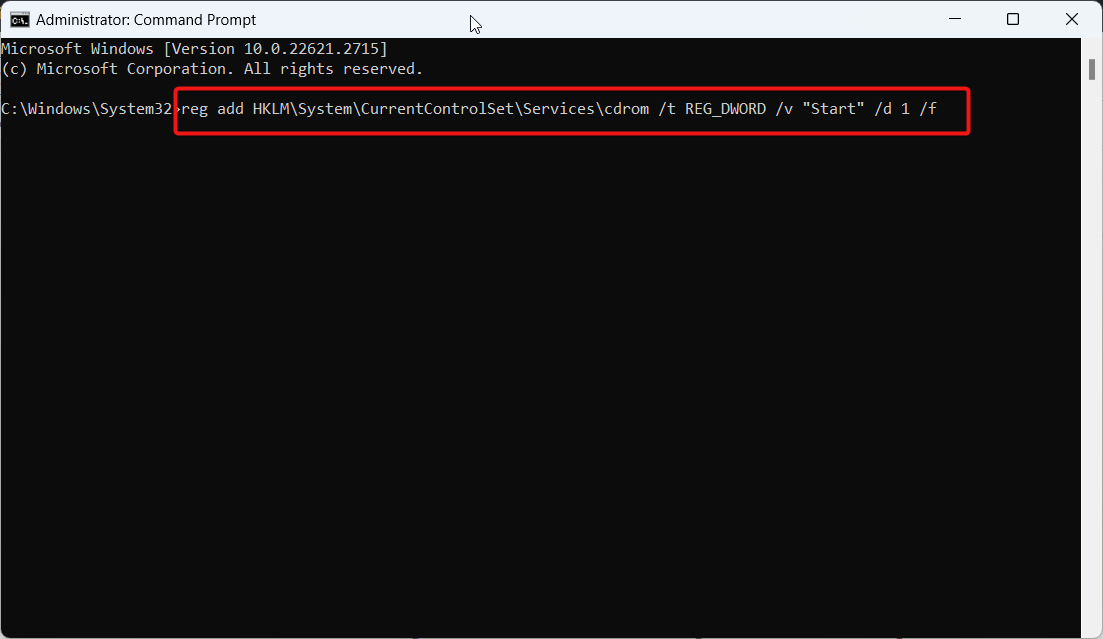
- The above command will disable all the USB Ports on your device. If you wish to re-enable the USB Ports later, execute the following command:
reg add HKLM\System\CurrentControlSet\Services\cdrom /t REG_DWORD /v "Start" /d 1 /f

5. Disable USB ports using Registry Editor
Hopefully, the methods mentioned above will work for you. But if you still cannot disable USB devices, another alternate method is disabling them using the Registry Editor application. Since editing registry entries is not recommended you can try this as a last option. Also, make sure to backup your registry before editing so that you can restore it if required.
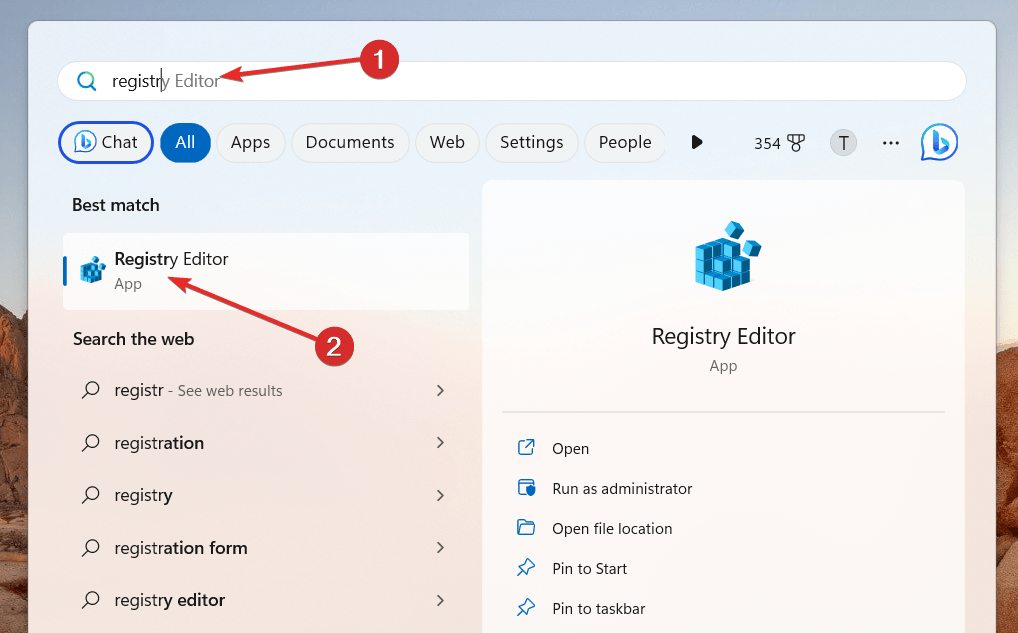
- Type “Registry Editor” in the search box and click the relevant search result to launch it.

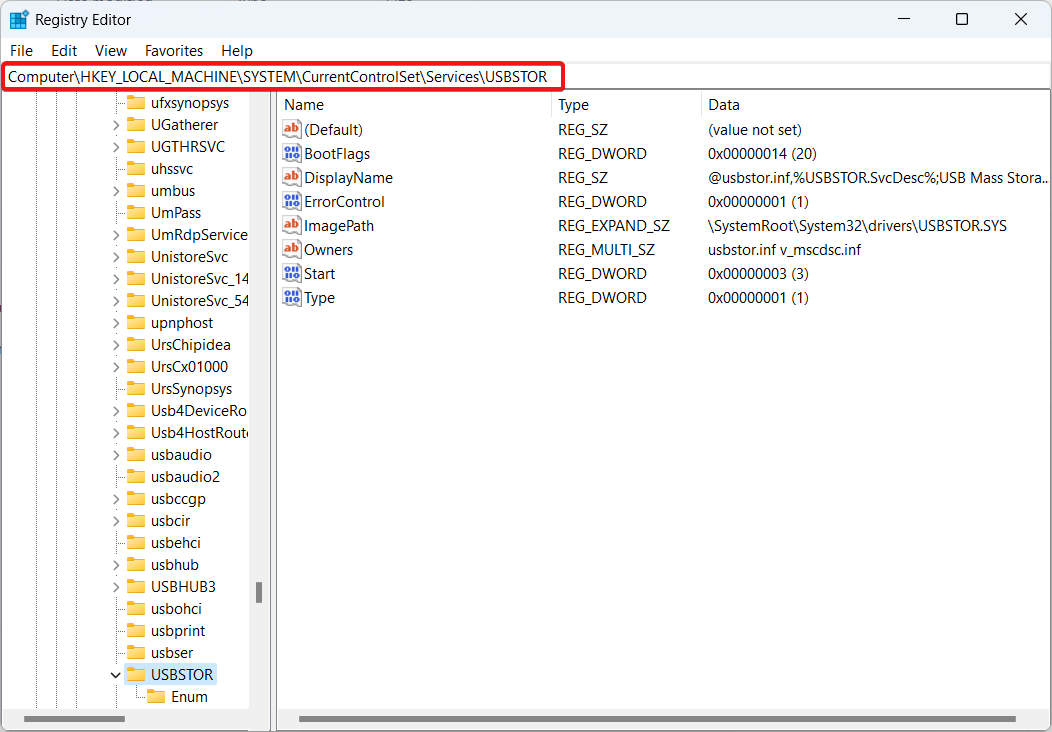
Now copy and paste the following path in the address path on the top and press the Enter key to access the location:

HKEY_LOCAL_MACHINE\System\CurrentControlSet\Services\USBSTOR

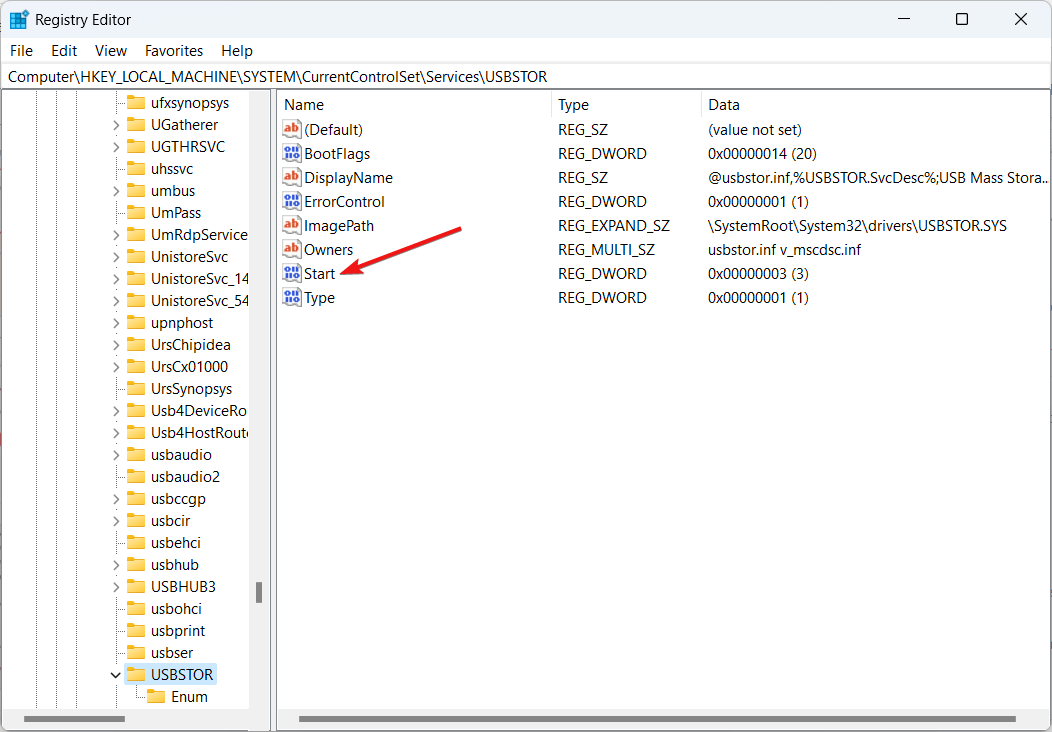
- Now look for the Start option on the right section of the Registry editor window and double-click to edit its value.

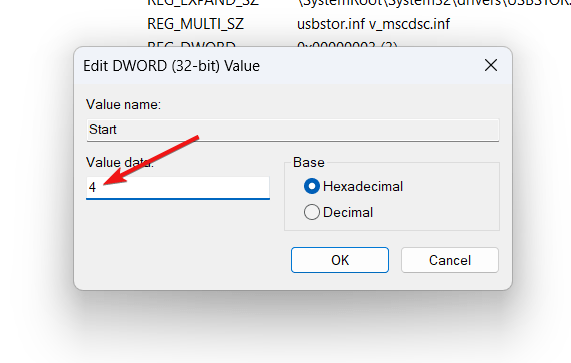
- Now assign 4 in the Value data field located on the popup and press OK to save the changes.

That’s it! Now the USB port has been successfully disabled and will not read any USB device inserted in it.
Conclusion
These are some of the ways by which you can easily disable the USB ports on your Windows 11 PC. These methods can come in handy when there is a threat of stealing your confidential data. Interestingly, the changes made are not permanent and you can easily enable the USB ports at any moment whenever you need to use them. If you have any other queries, do let us know in the comments section below.
If you've any thoughts on How to Disable USB Ports on Windows 11, then feel free to drop in below comment box. Also, please subscribe to our DigitBin YouTube channel for videos tutorials. Cheers!
