Service Host SysMain is, also known as Superfetch, is a naive Windows 11 utility service that optimizes system performance. These include a bundle of system processes, including Windows auto-updates and other system applications that usually run in the background. While it can boost the app’s launch time and performance, it can sometimes cause trouble.
Several users have reported the Service Host SysMain High Disk Usage in Windows 11. This problem can negatively impact your PC’s performance. Read this article to find out how you can fix Service Host SysMain High Disk Usage in Windows 11.
Fix 1: Stop the SysMain Service
Here are the steps to follow to stop SysMain Service from using Services.
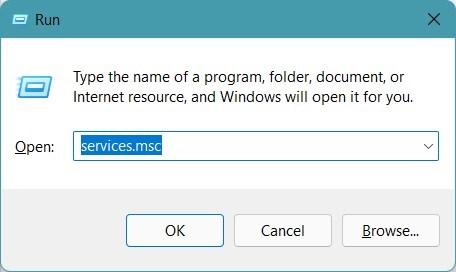
- Press Windows key + R to open the Run dialogue box.
- Types services.msc and press Enter.

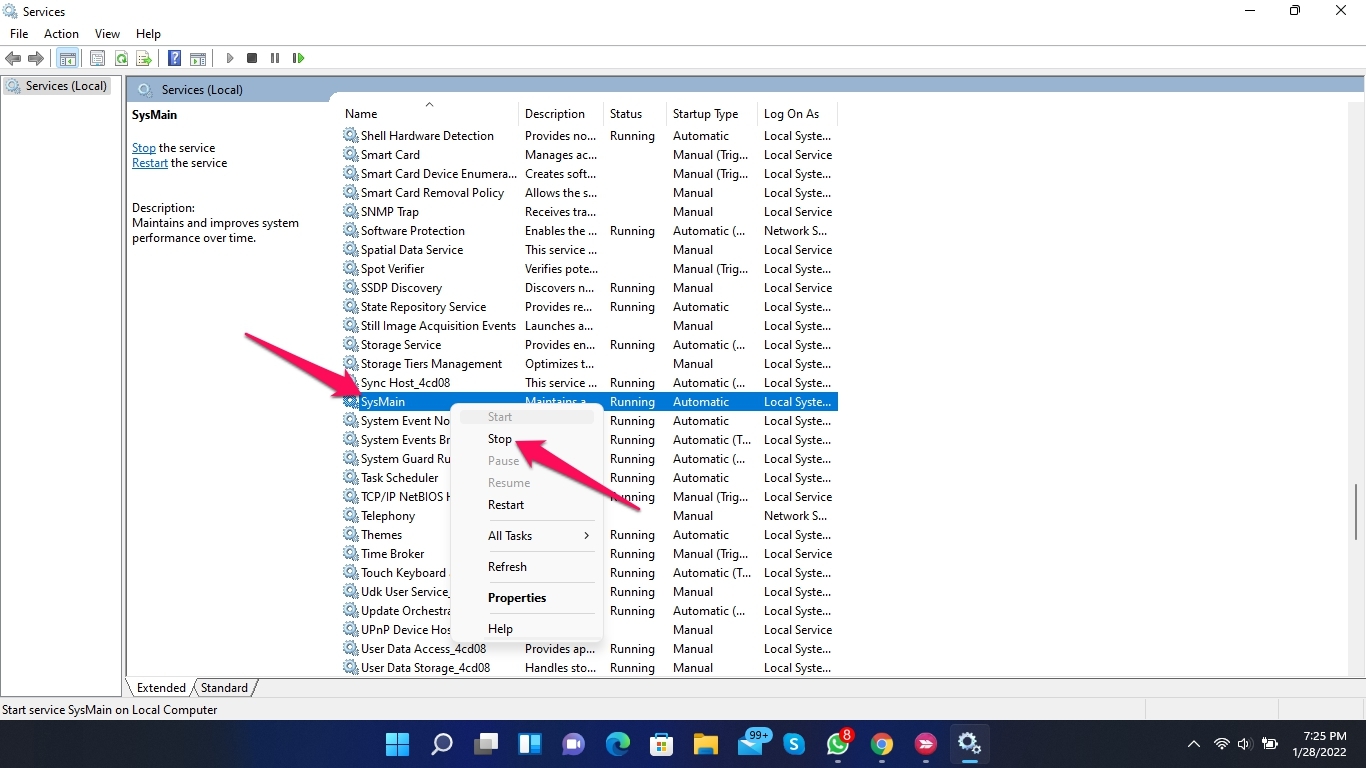
- Scroll down and find SysMain, then double-click on it.
- Click on the Stop button.

- Click Ok to save changes.
- Restart your computer and check if the problem is fixed or not.
Fix 2: Modify Registries Using the Registry Editor
Follow these steps to modify registries using the registry editor:
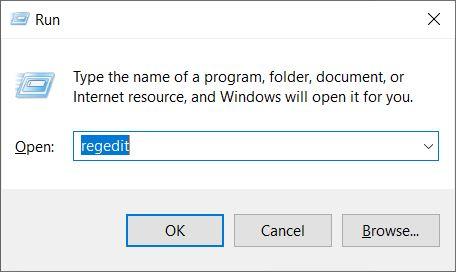
- Press Windows key + R to open the Run dialogue box.
- Type regedit and press Enter.

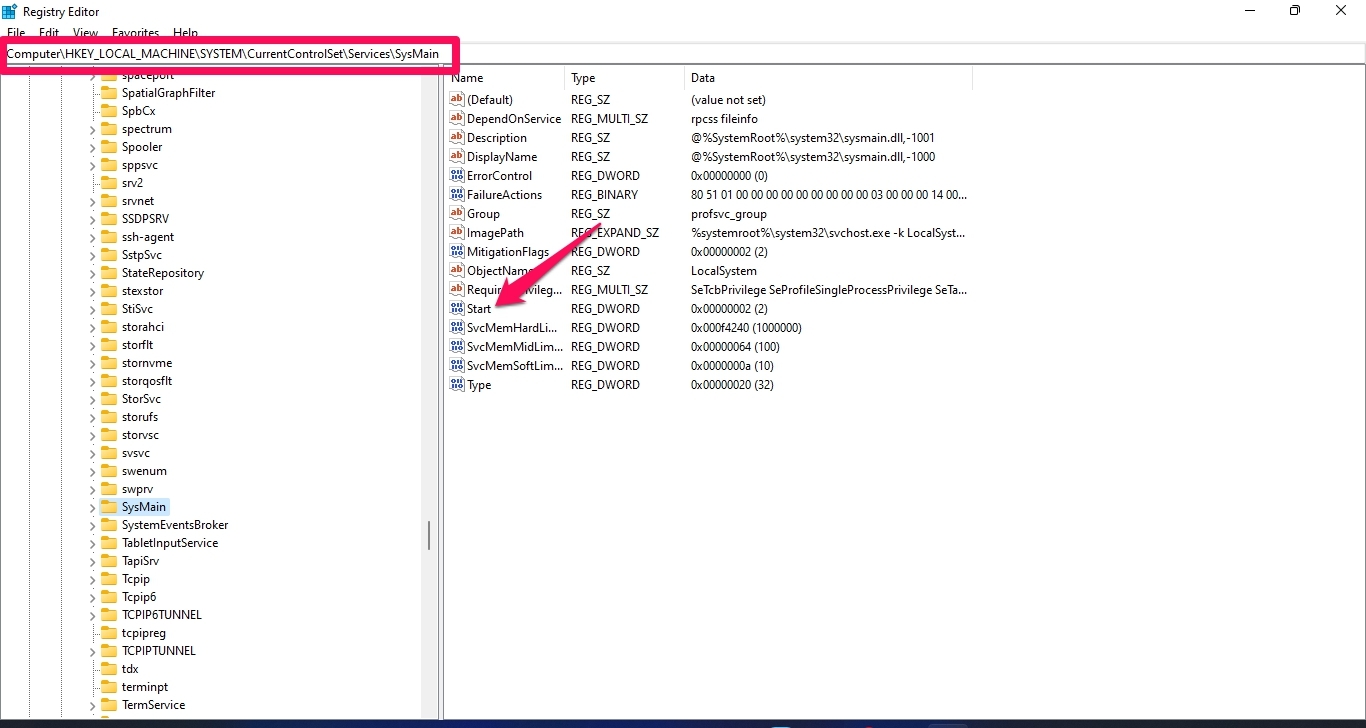
- Navigate to the following location in the Registry Editor.
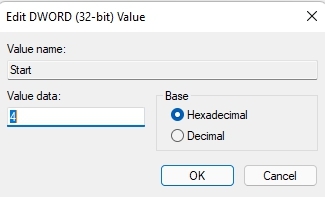
HKEY_LOCAL_MACHINE\SYSTEM\CurrentControlSet\Services\SysMain - Double click on Start in the right pane.

- In the Value Data field, enter 4 and click Ok to save changes.

- Close Registry Editor and restart your computer to see if the high disk usage problem has been resolved.
Fix 3: Use Command Prompt
Here is how you can resolve the high disk usage issue using command prompt:
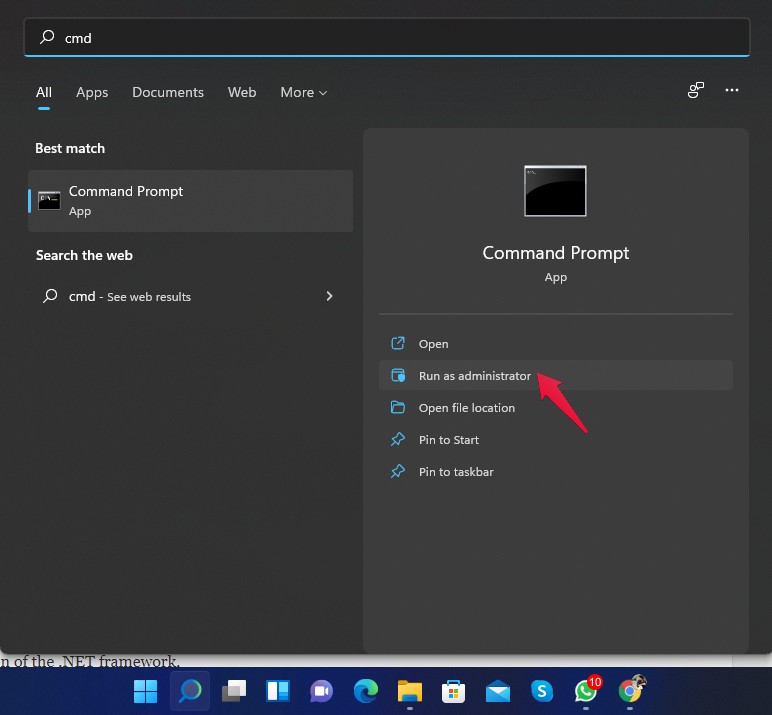
- Press Windows key and search for cmd.
- Click on Run as Administrator.

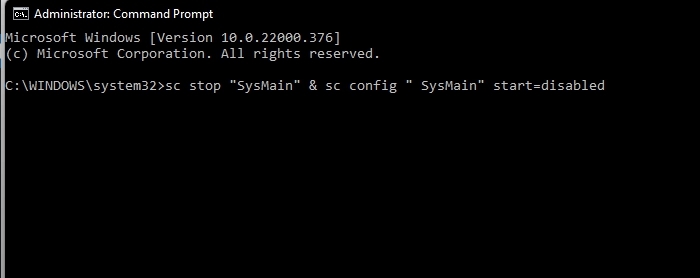
- Type the following command and press Enter.
sc stop "SysMain" & sc config " SysMain" start=disabled

- Restart your computer once the Change Service Config Message appears.
Fix 4: Run SFC Scan
Malicious and corrupt files present on my computer can also cause this issue. Run an SFC scan to get rid of the issue. Here is how you can do it:
- Press the Windows key and search for cmd.
- Click on Run as Administrator.
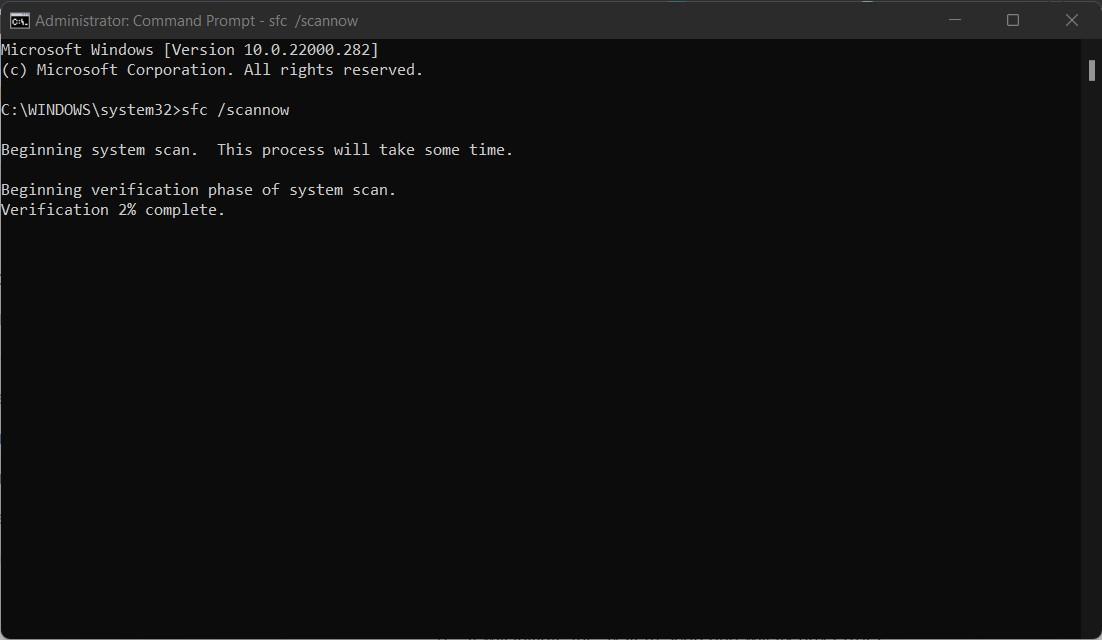
- Type the following command and press Enter.
sfc /scannow

- Restart your computer once the process is complete and check if the issue is resolved or not.
Fix 5: Disable the Superfetch Service
Follow these steps to Disable Superfetch Service:
- Press the Windows key and search for cmd.
- Click on Run as Administrator.
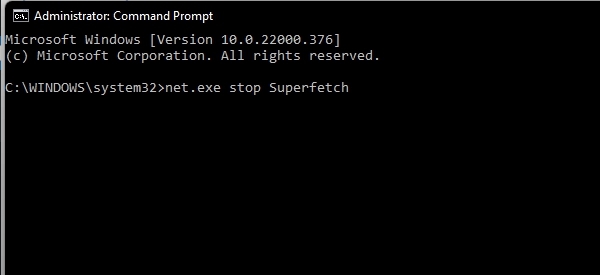
- Type the following command and press Enter.
net.exe stop Superfetch
- Close the command prompt and check if the issue is resolved or not.
Fix 6: Disable the Backup Intelligent Transfer Service
Here is how you can disable the backup intelligent transfer service:
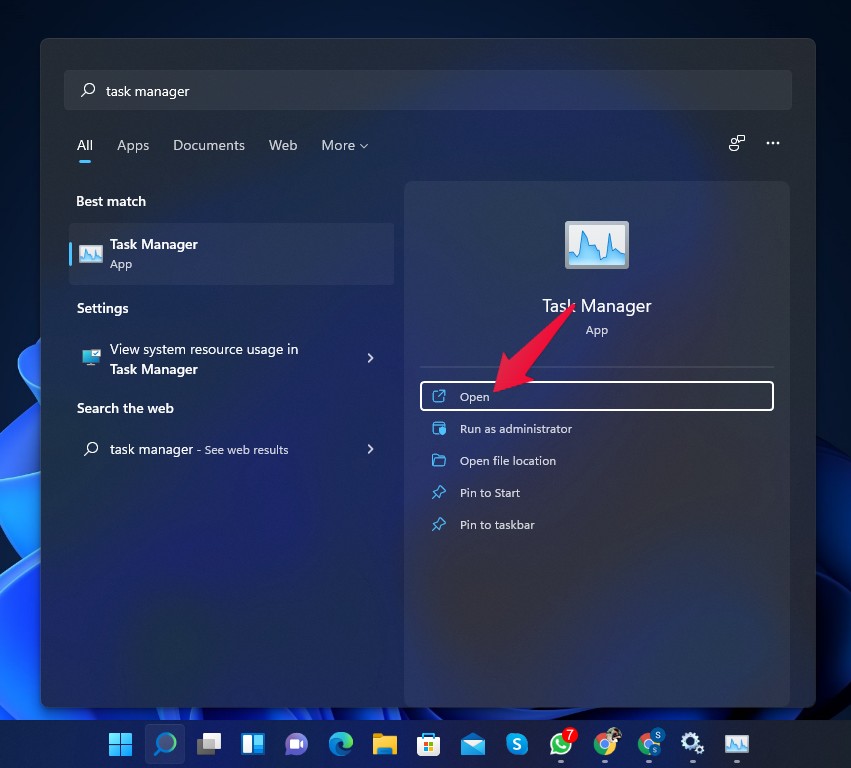
- Click on Start and search for Task Manager.
- Click on Open.

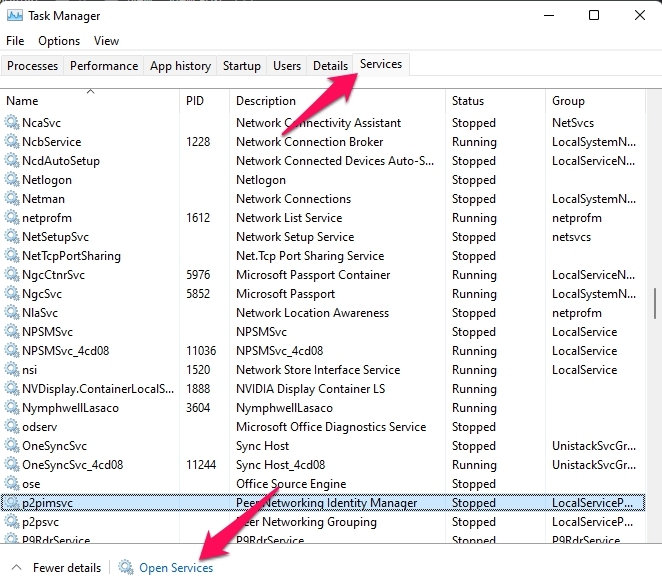
- Navigate to the Services tab and click on Open Services at the bottom.

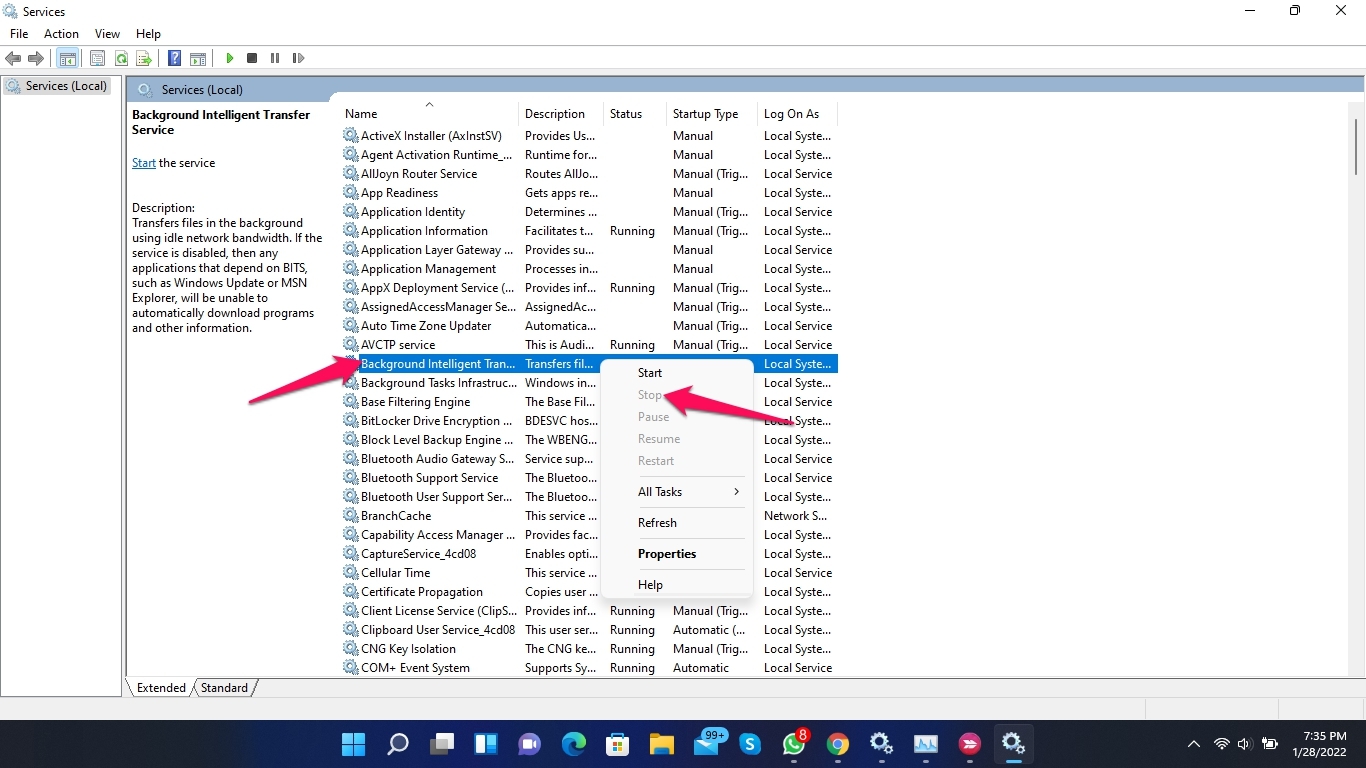
- Right-click on Background Intelligent Transfer Service.
- Click on Stop.

- Restart your computer and check if the problem is fixed or not.
Fix 7: Reset Windows
If none of those mentioned above steps could resolve the issue, try resetting Windows. Here is how you can reset your PC:
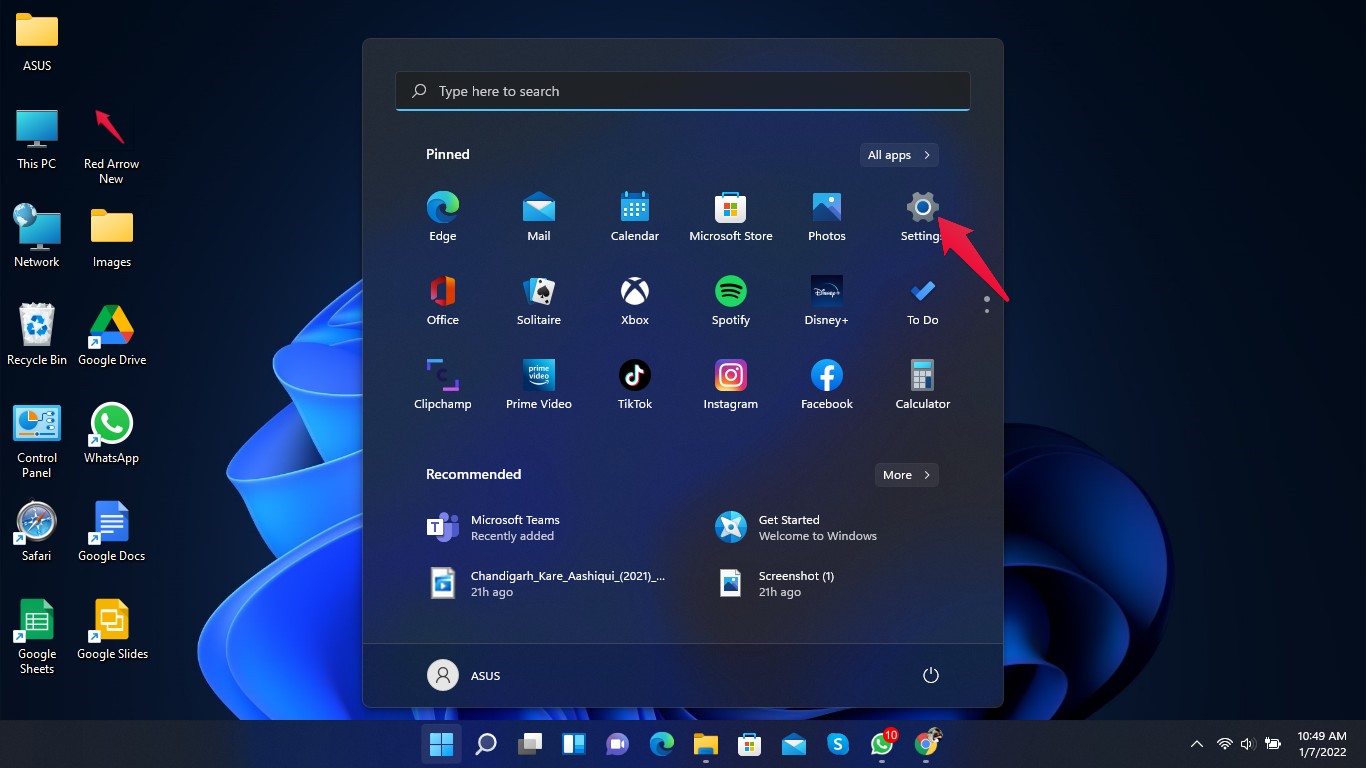
- Click on Start and go to Settings.

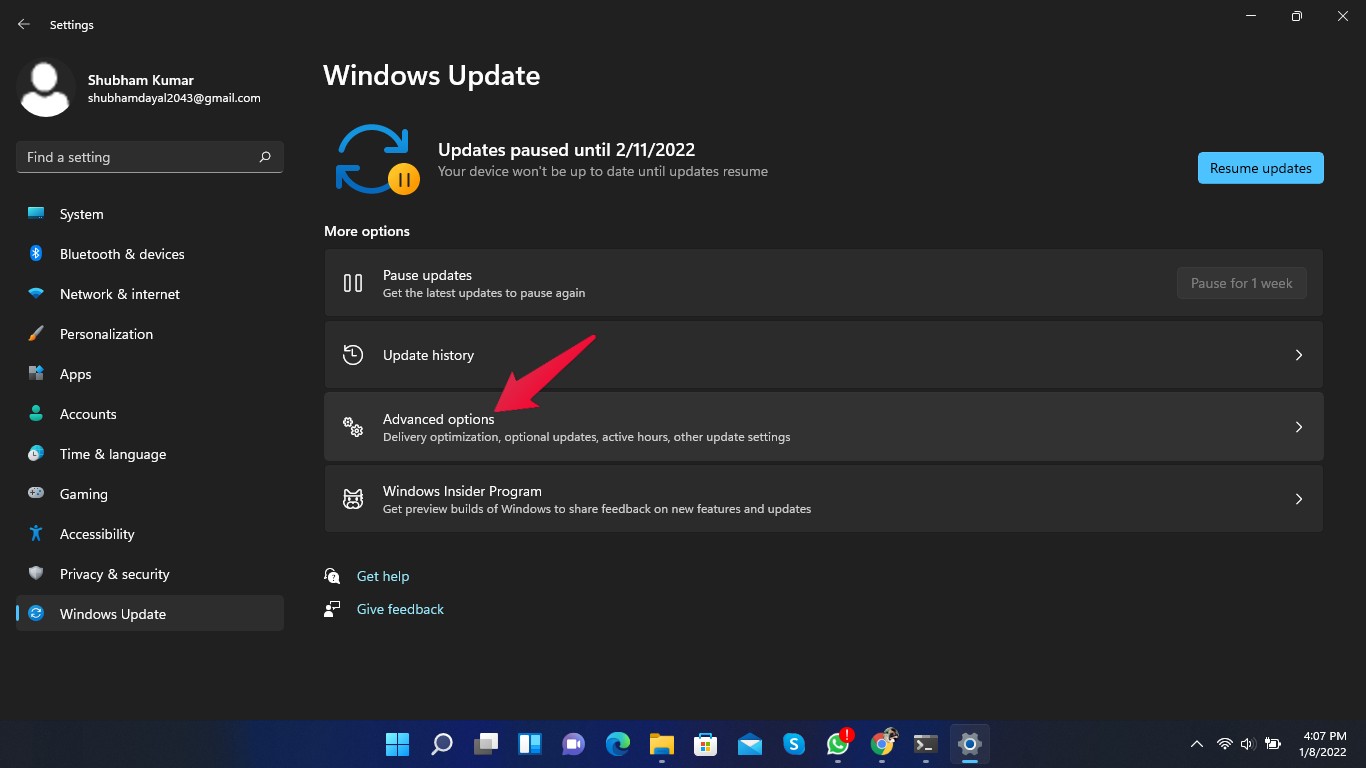
- Click on Windows Update.
- Click on Advanced Options.

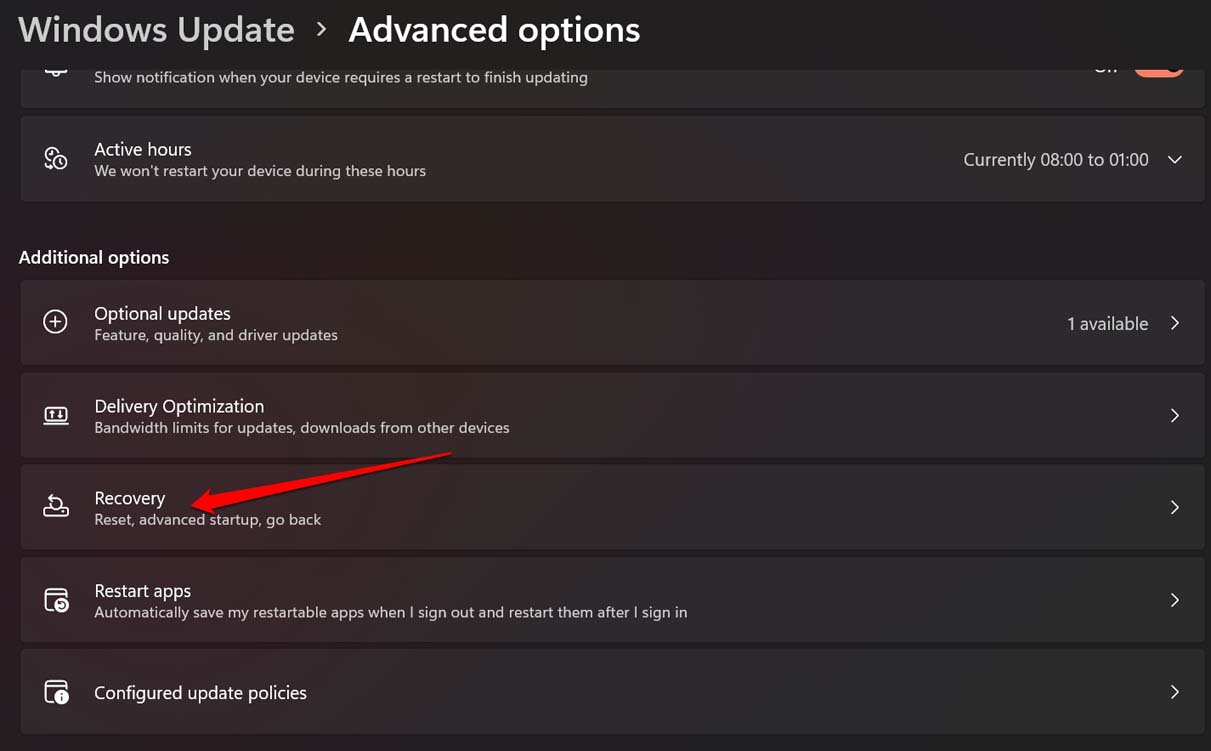
- Scroll down and click on Recovery.

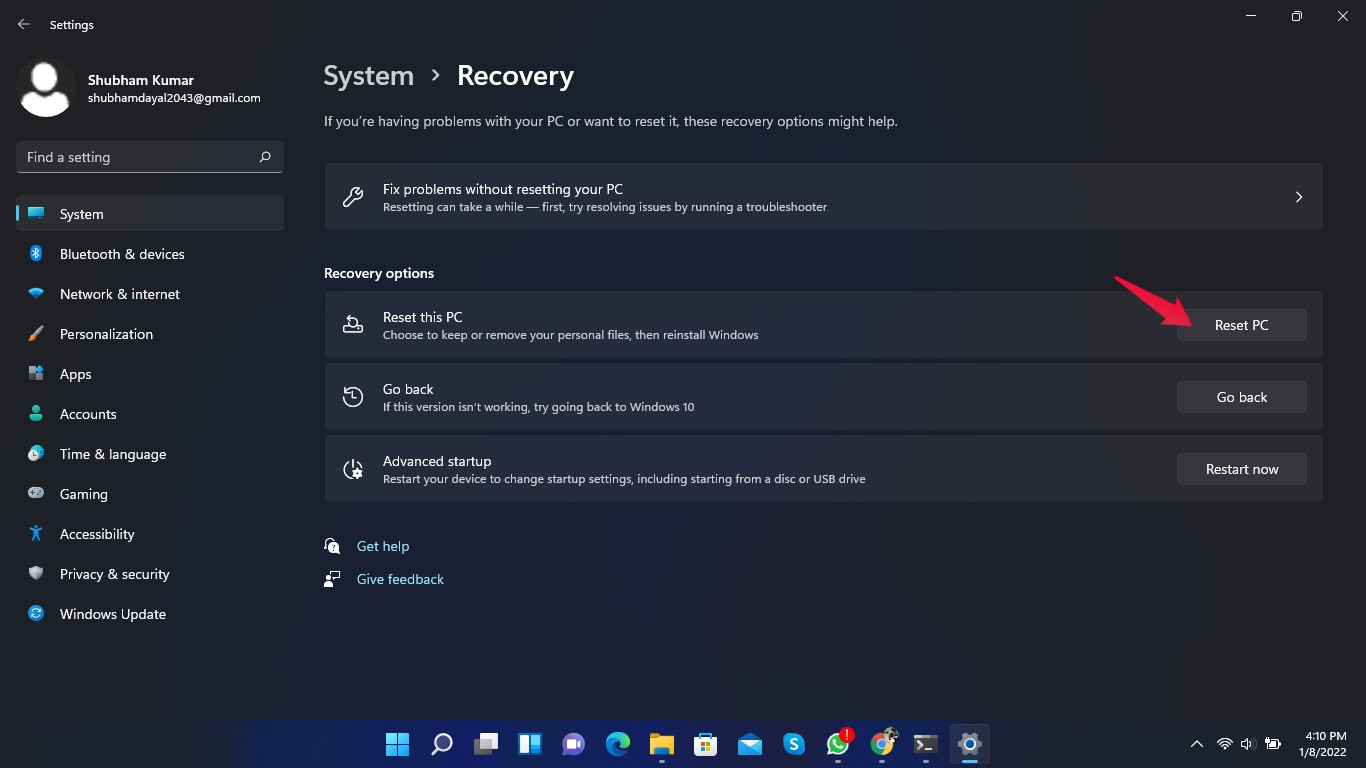
- Click on Reset This PC and follow the instructions on the screen.

Wrapping Up
This was how you could fix Service Host SysMain High Disk Usage in Windows 11. It is quite a complicated issue to fix, but following the troubleshooting methods mentioned above should help you resolve the problem.
We hope you could fix Service Host SysMain High disk usage in Windows 11. Still, if you have any issues, feel free to contact us in the comments section.
If you've any thoughts on Fix: Service Host SysMain High disk Usage in Windows 11, then feel free to drop in below comment box. Also, please subscribe to our DigitBin YouTube channel for videos tutorials. Cheers!





Thanks. Step 1 couldn’t stop the service. Step 2 worked fine though I am wondering what is the effect of this edit? Is my PC no longer optimising performance with Superfetch? If I reverse this registry edit (turn it back to default value 2) will I simply be back in the same old bad place or is there a chance Superfetch will behave itself this time?