Are you encountering an issue where Windows 11 keeps installing the same software update? Problems with the software update components can cause Windows to install the same update. Having one or more corrupt system files on your PC can trigger such problems.
Did your PC suffer a system crash recently during an update installation? Incomplete update installation can also lead to system errors that may reflect in the form of other problems. That may cause Windows to install the same update every time. I have shared a few troubleshooting tips to help you resolve this error.
Best Tips to Fix Windows Installing the Same Update
Implement these troubleshooting tips to prevent Windows from installing the same update repeatedly.
1. Scan for Corrupt System Files
Start the troubleshooting by scanning the PC for corrupt system files. For that, use the Command prompt tool.
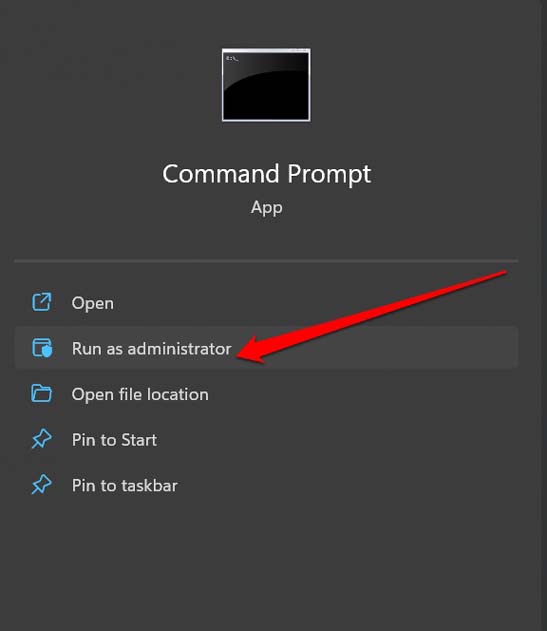
- Launch the Command Prompt on your PC with Administrator privilege.
- Enter the command
sfc/scannow
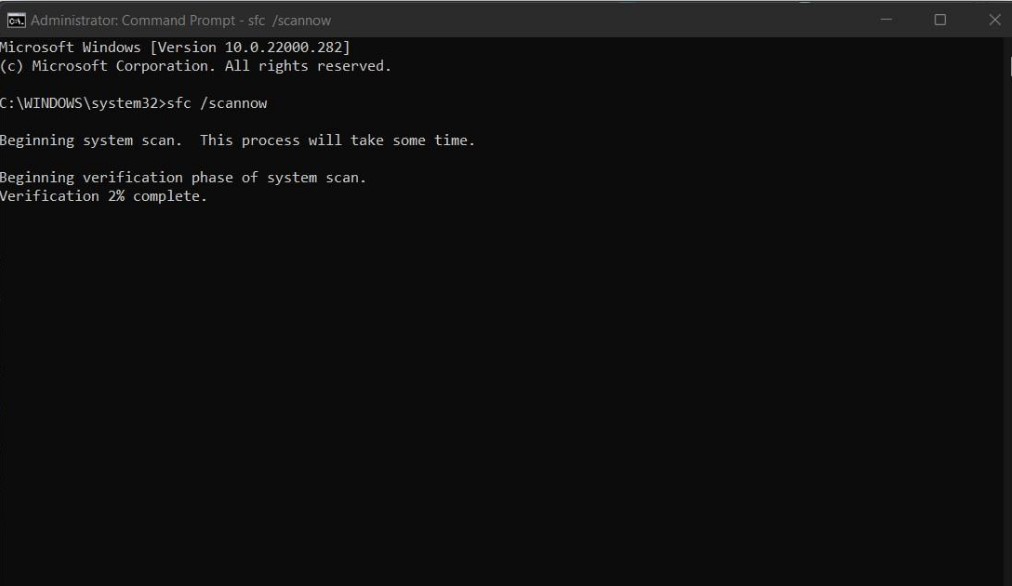
- Press enter.
Let the system take over from this point. It will scan for possible instances of corrupt system files and fix them.
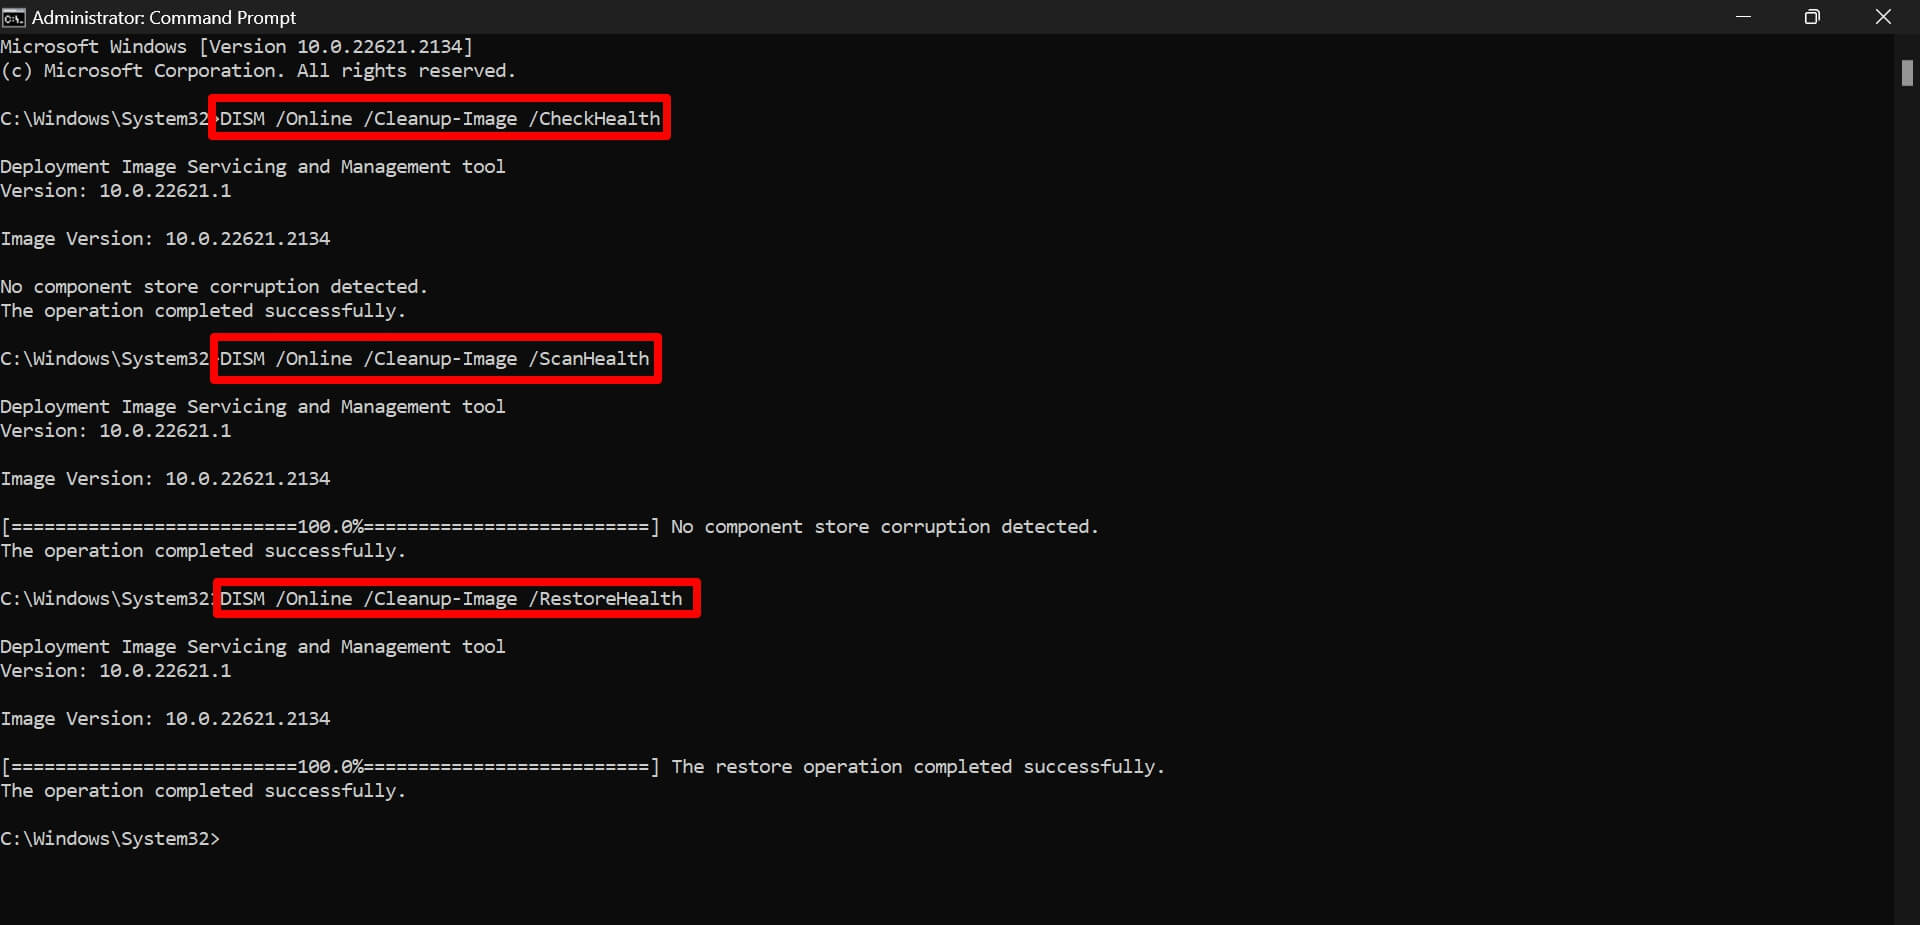
You may also run the DISM scan using Command Prompt to fix the corrupt files on your PC.
- Launch Command Prompt from the Windows search.

- Enter the commands one after another and execute them.
DISM /Online /Cleanup-Image /CheckHealth
DISM /Online /Cleanup-Image /ScanHealth
DISM /Online /Cleanup-Image /RestoreHealth
- The computer will restart after the scan and fix process is complete. Go to the Windows Update history to check if the system is again installing previous updates.
If the issue has been fixed, the system will now install the latest version updates on Windows.
2. Restart the Computer
If it was a case of a failed software update, often restarting the PC helps fix the issue.
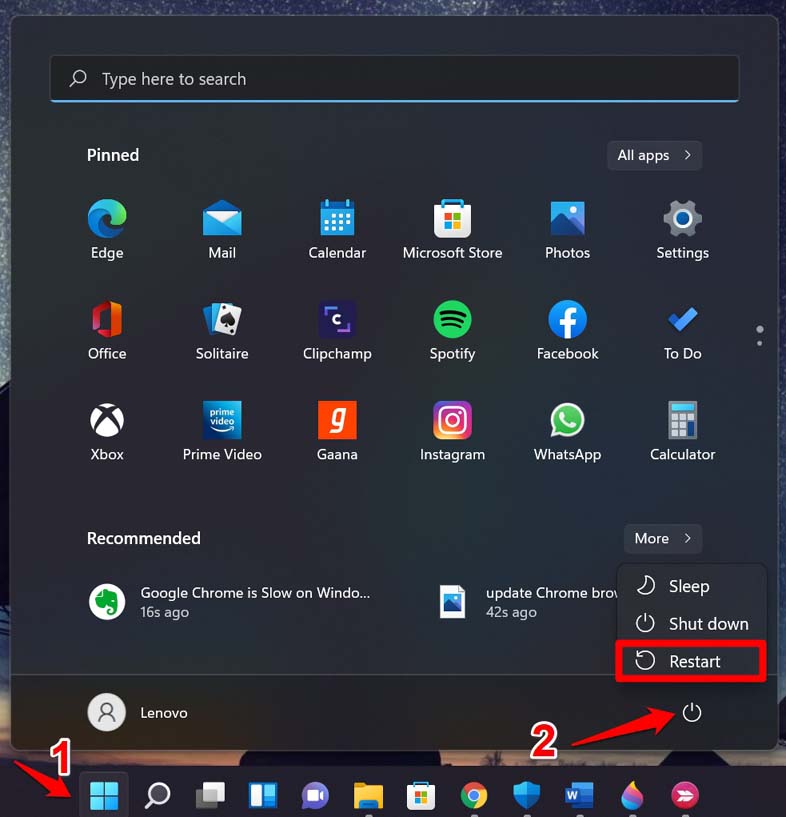
- Press the Windows key on the computer keyboard.
- Once the search console appears, click the Power icon.
- From the context menu, click on Restart.
Once the computer reboots,
- Go to system settings by pressing Windows + I.
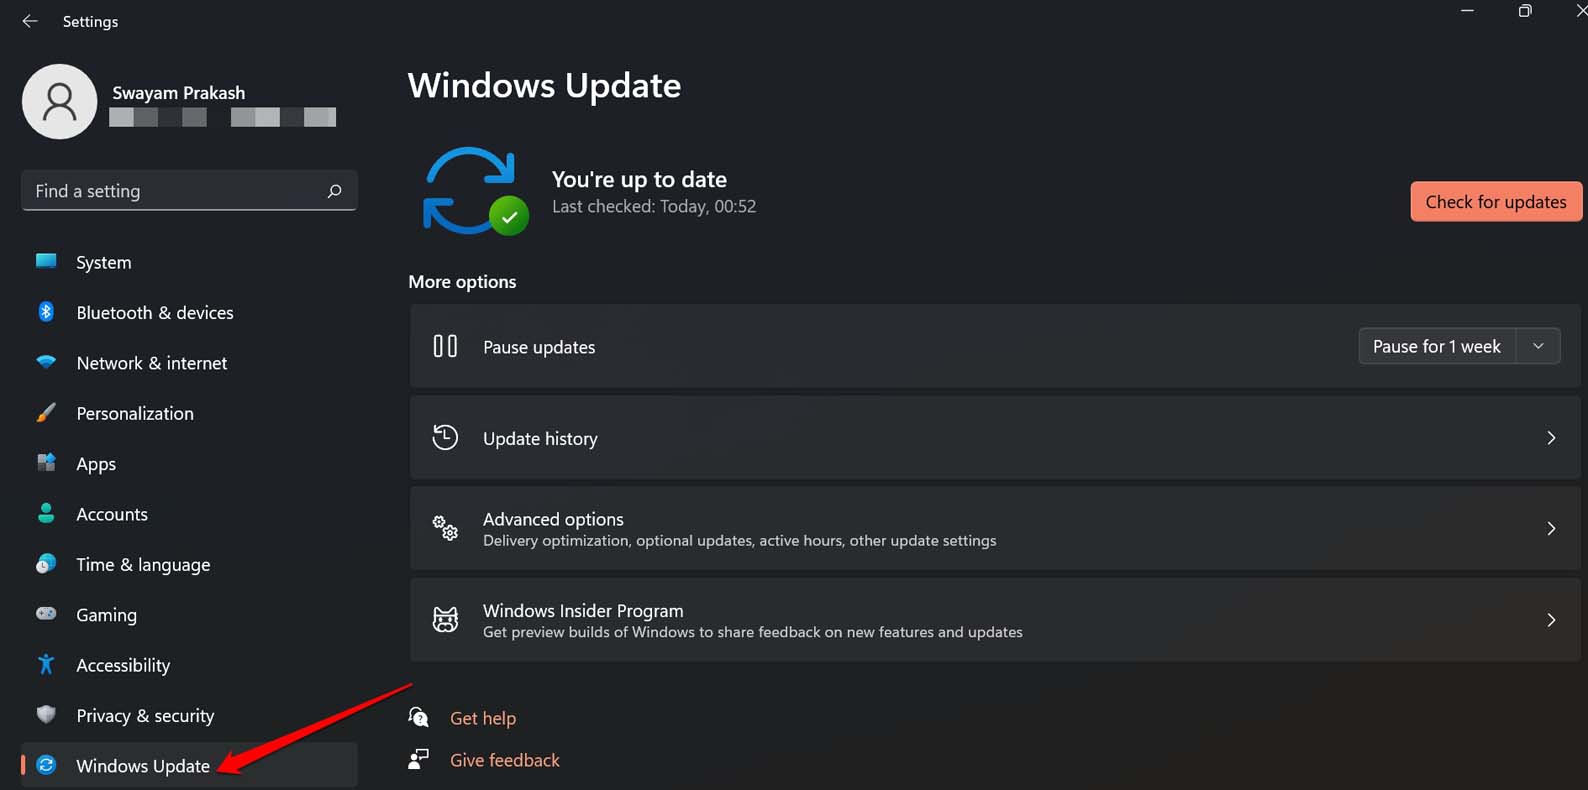
- On the left-hand sidebar, click on Windows Update to see the available updates and any current updates your computer may be installing.
- To your right, click on Update History.
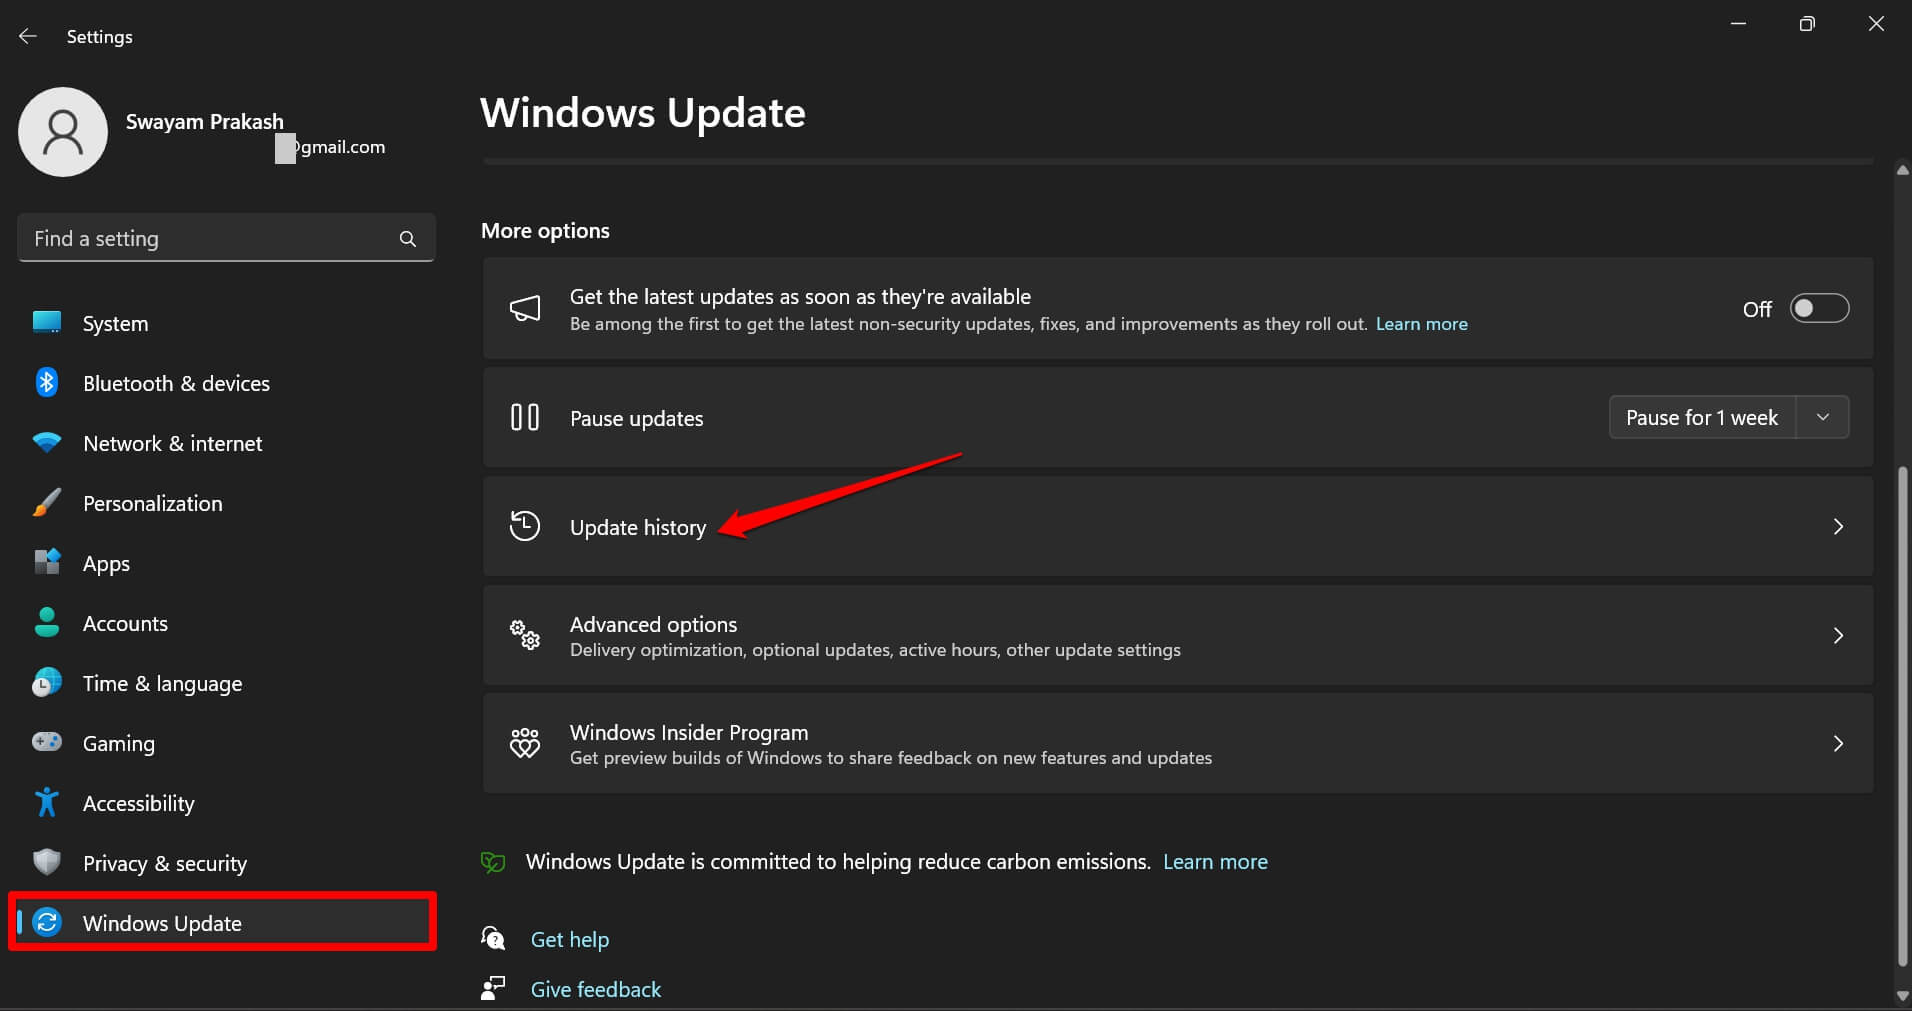
- Check if the system is still installing the previous builds on the PC.
If a software update attempt failed previously, causing the system to install the same update, it should be fixed now.
3. Use the Windows Update Troubleshooter
Windows OS offers a native troubleshooter tool to manage technical issues and errors with software updates.
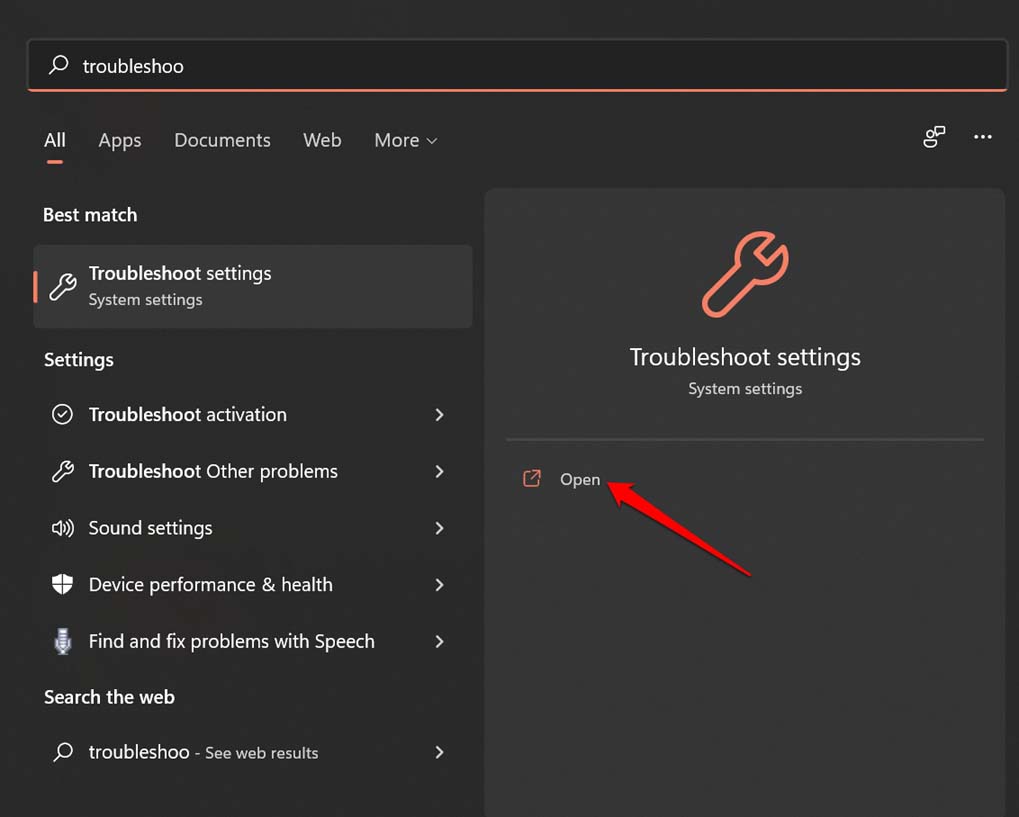
- Press Windows + S to bring up the search box.
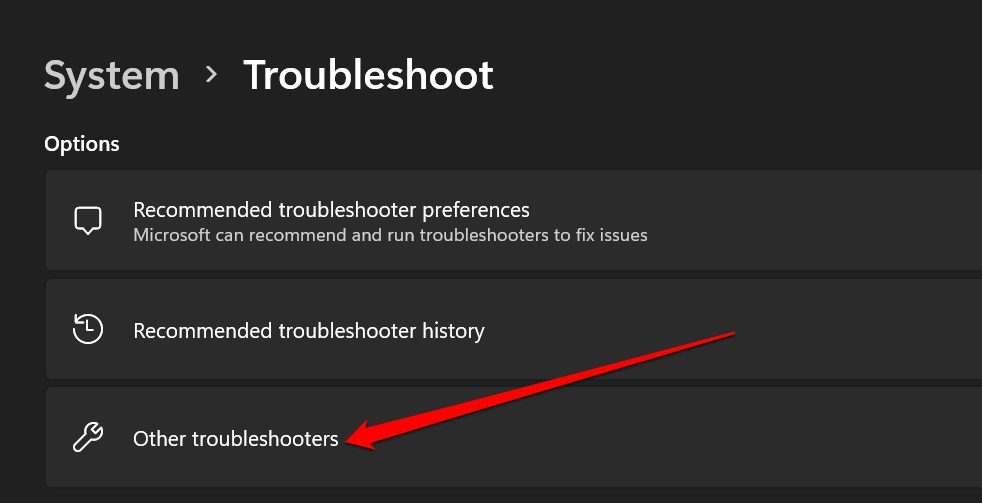
- Type Troubleshoot settings and click Open.
- Click on Other Troubleshooters.
- Scroll to Windows Update and click the button Run beside it.
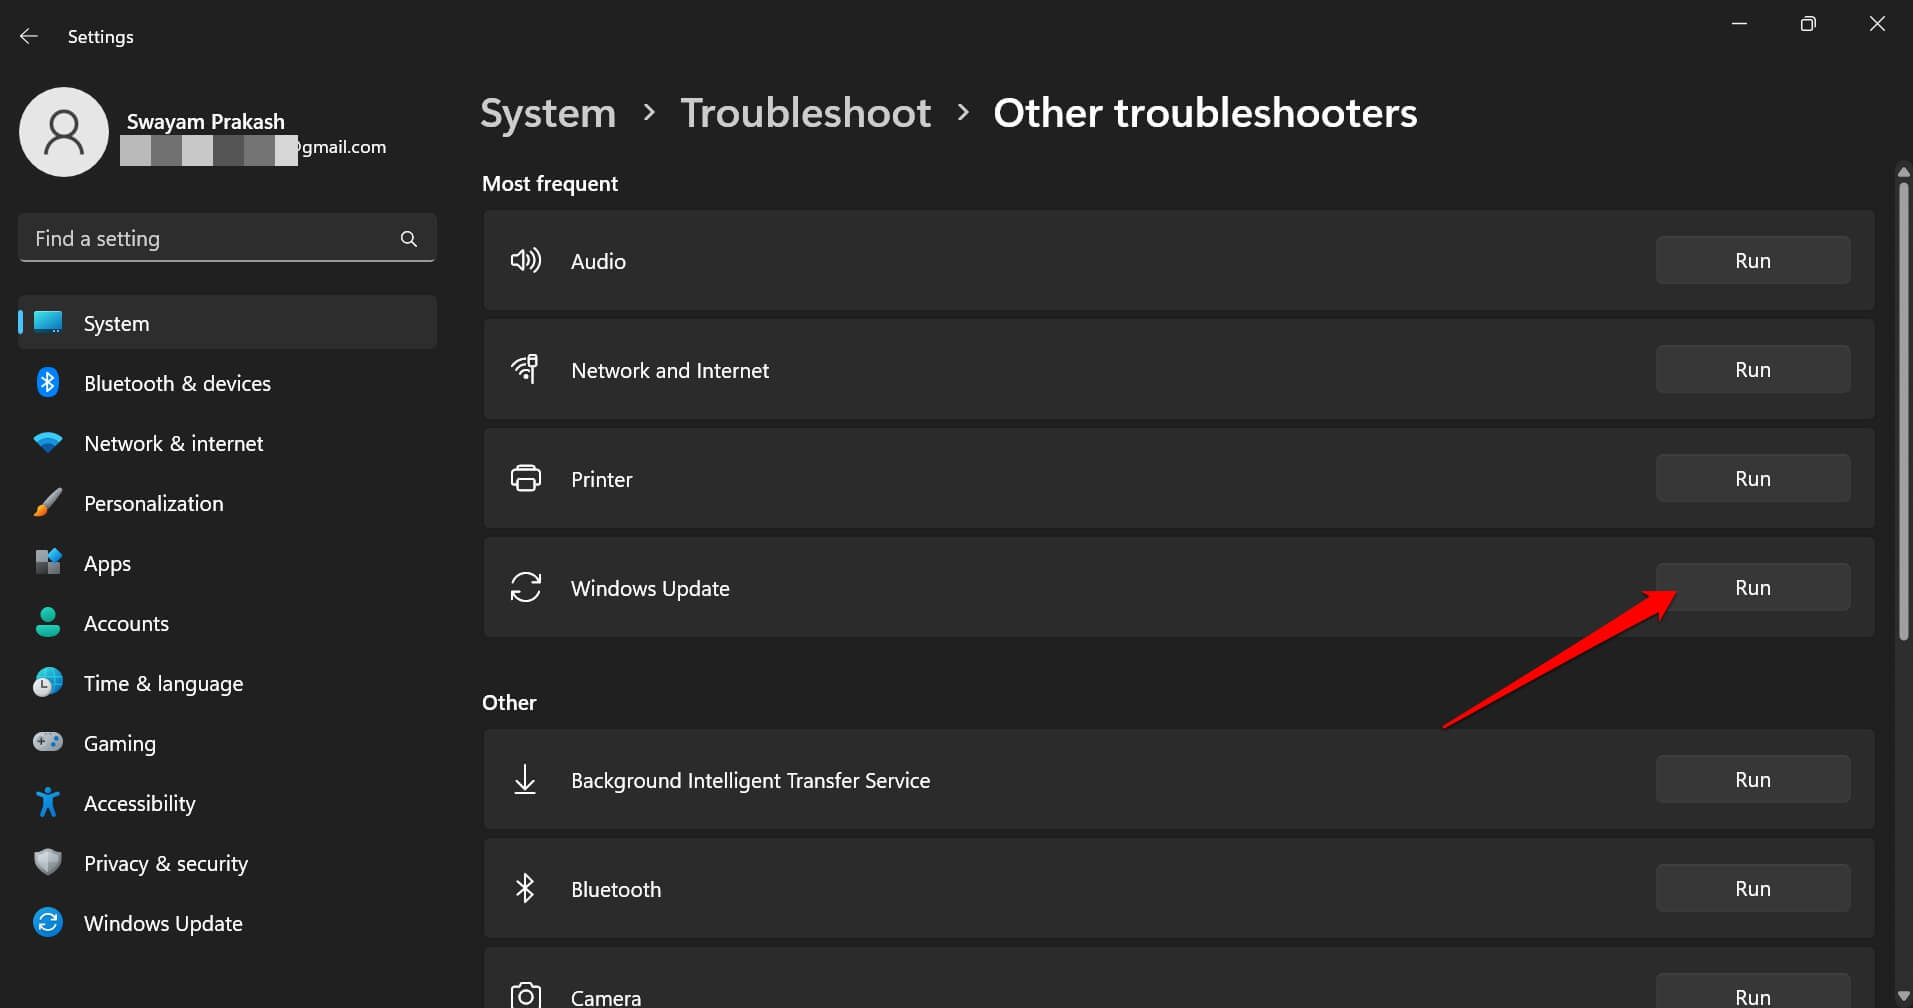
Let the tool resolve the error while you wait patiently.
4. Clear the Software Distribution Folder on PC
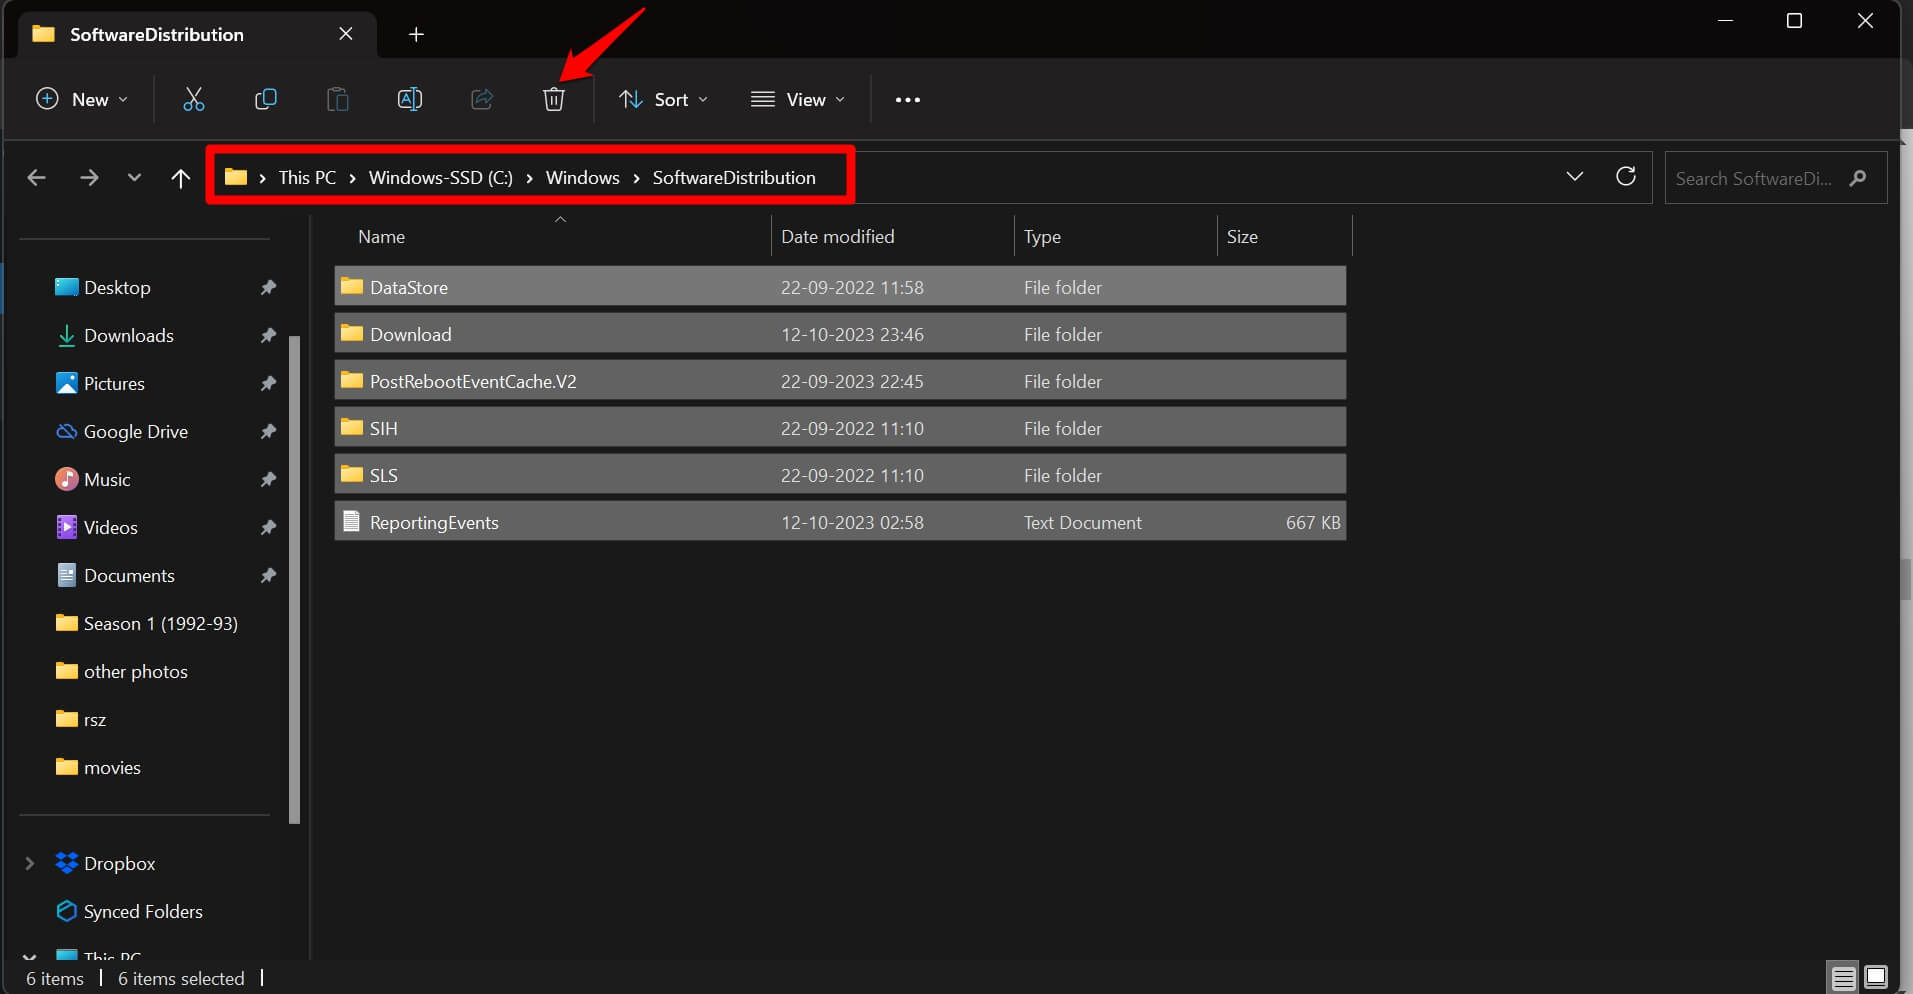
All the software updates the system downloads are saved to a particular folder. It is called the SoftwareDistribution folder. If some elements of this folder are corrupt, the PC cannot install any new update. To fix the issue, remove all the components from the SoftwareDistribution folder.
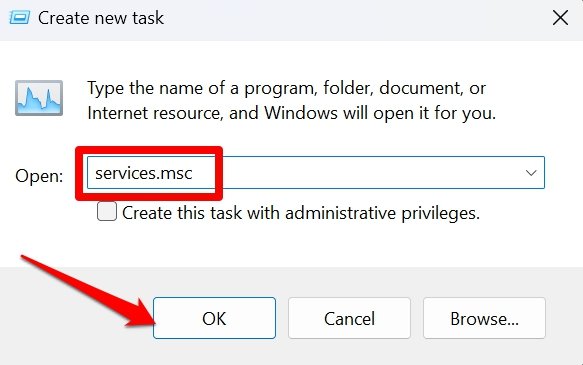
- Launch the Windows services list by pressing Windows + R.
- Enter services.msc and press enter.
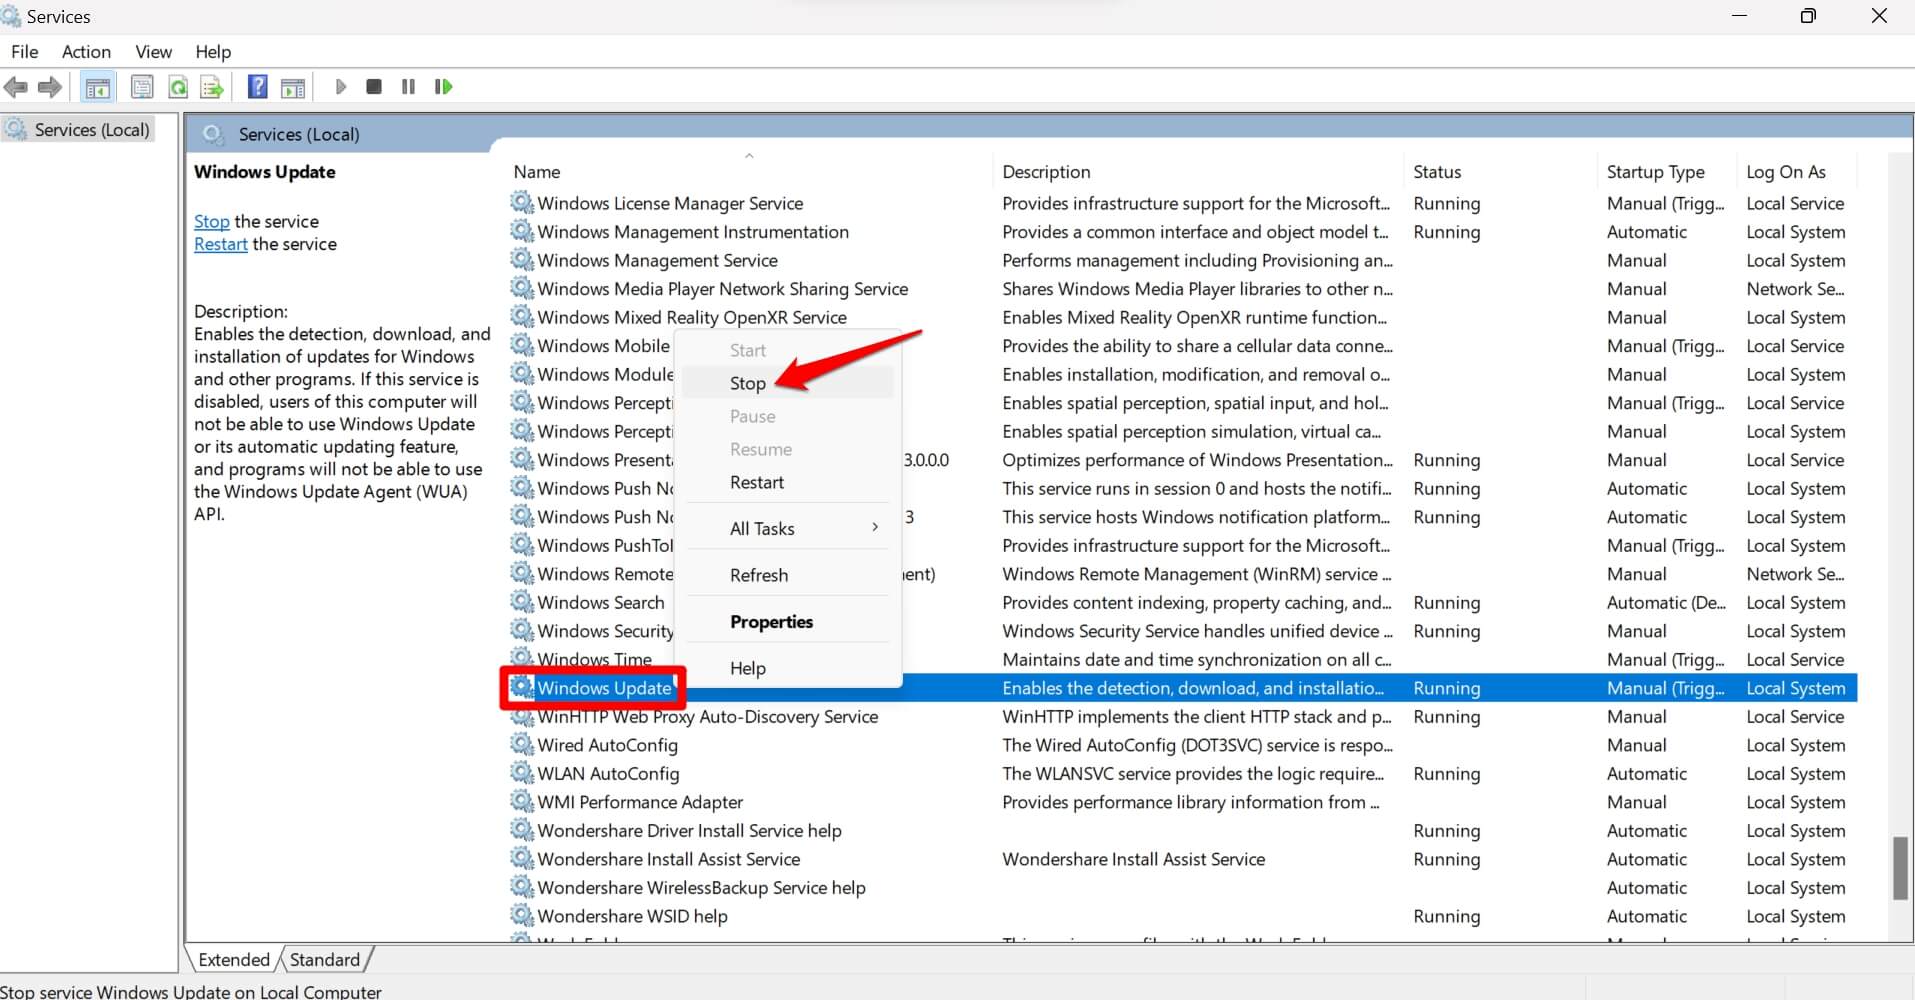
- In the services list, scroll to Windows Update Service and right-click on it.
- From the menu, click on Stop.
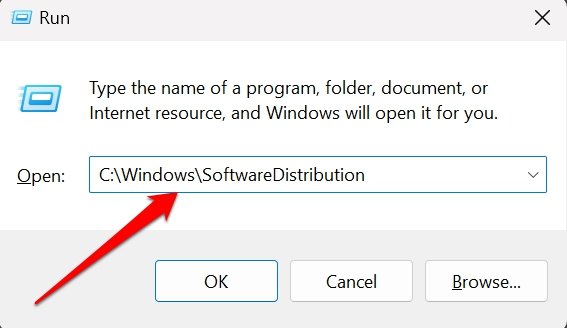
- Press Windows + R to open the Run box.
- Type the following and press enter.
C:\Windows\SoftwareDistribution
- Within the SoftwareDistribution folder, press Ctrl + A to select all the folders within it.
- Press Shift + Delete to remove the contents of the SoftwareDistribution folder.
5. Uninstall and Reinstall the Problematic Update
There may be some technical error with the previous software update you installed on your PC. You can revert the damage by uninstalling the problematic update.
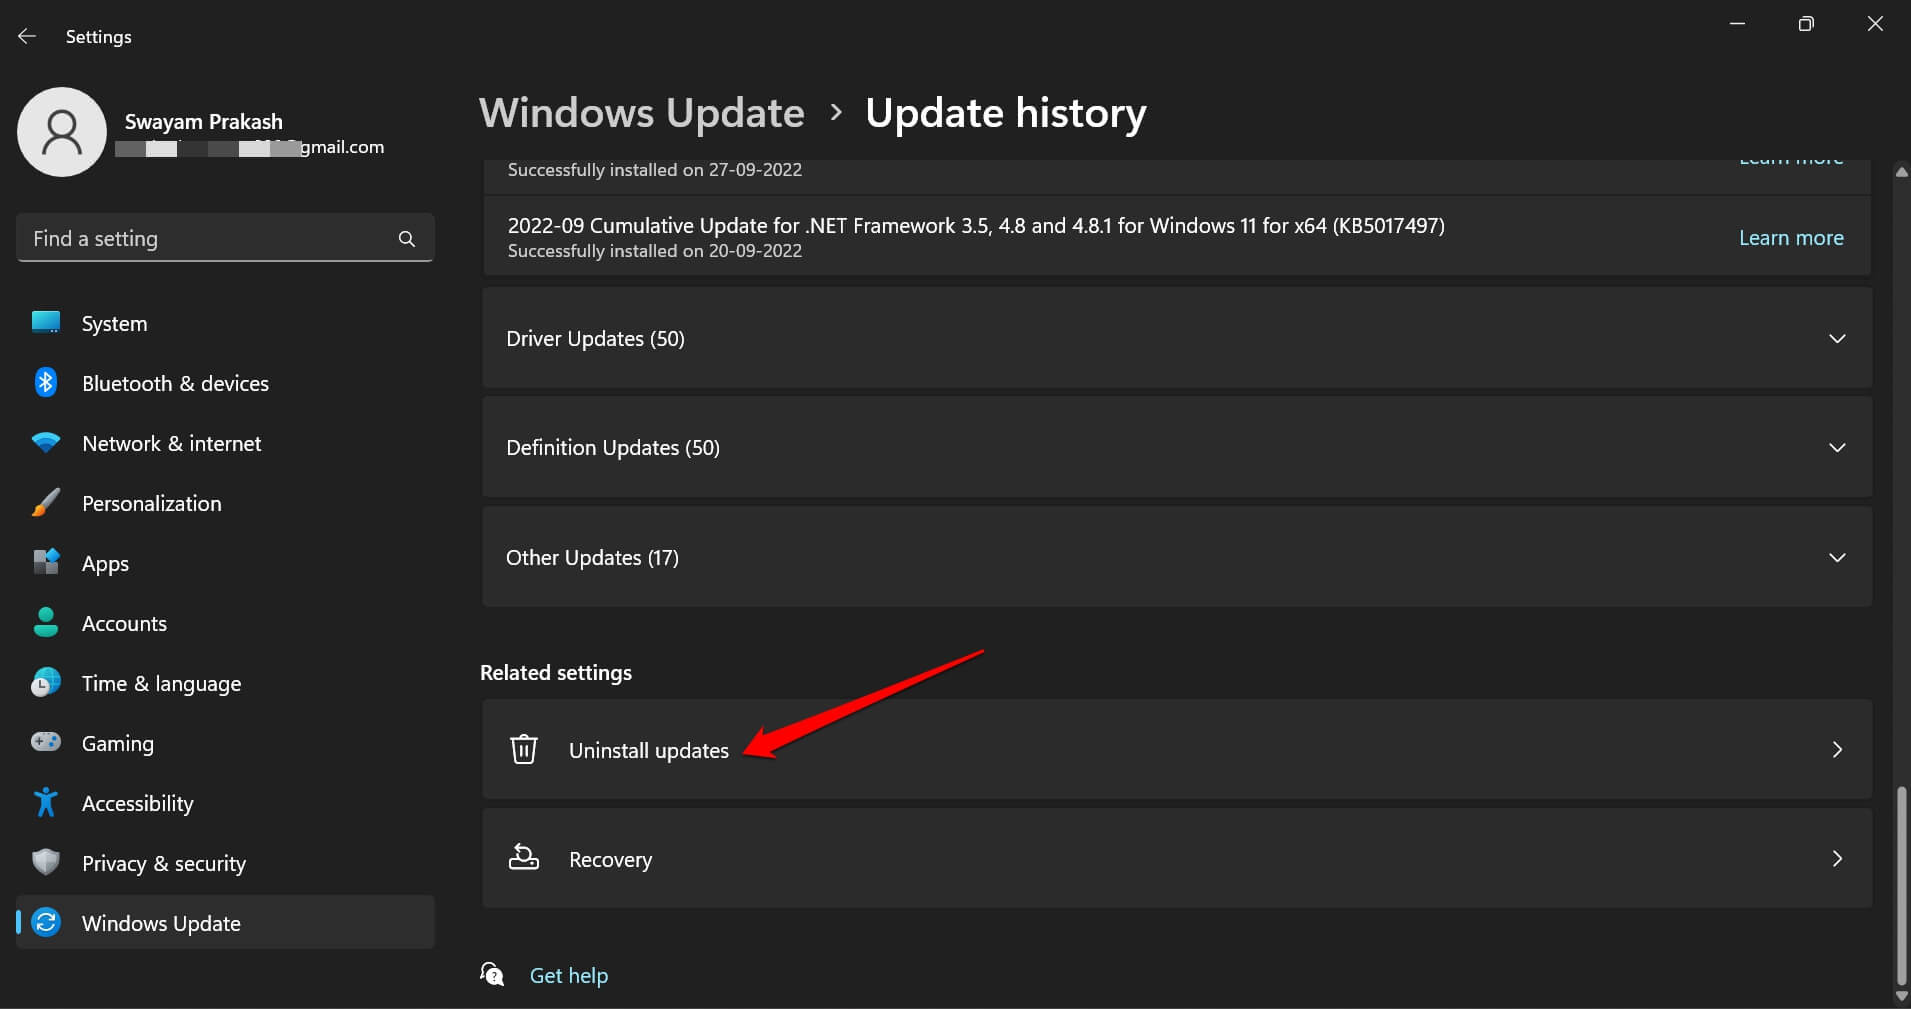
- Press Windows + I to go to the Windows settings.
- On the left-hand sidebar, click on Windows Update.

- Under the Related Settings tab, click on Uninstall Updates.
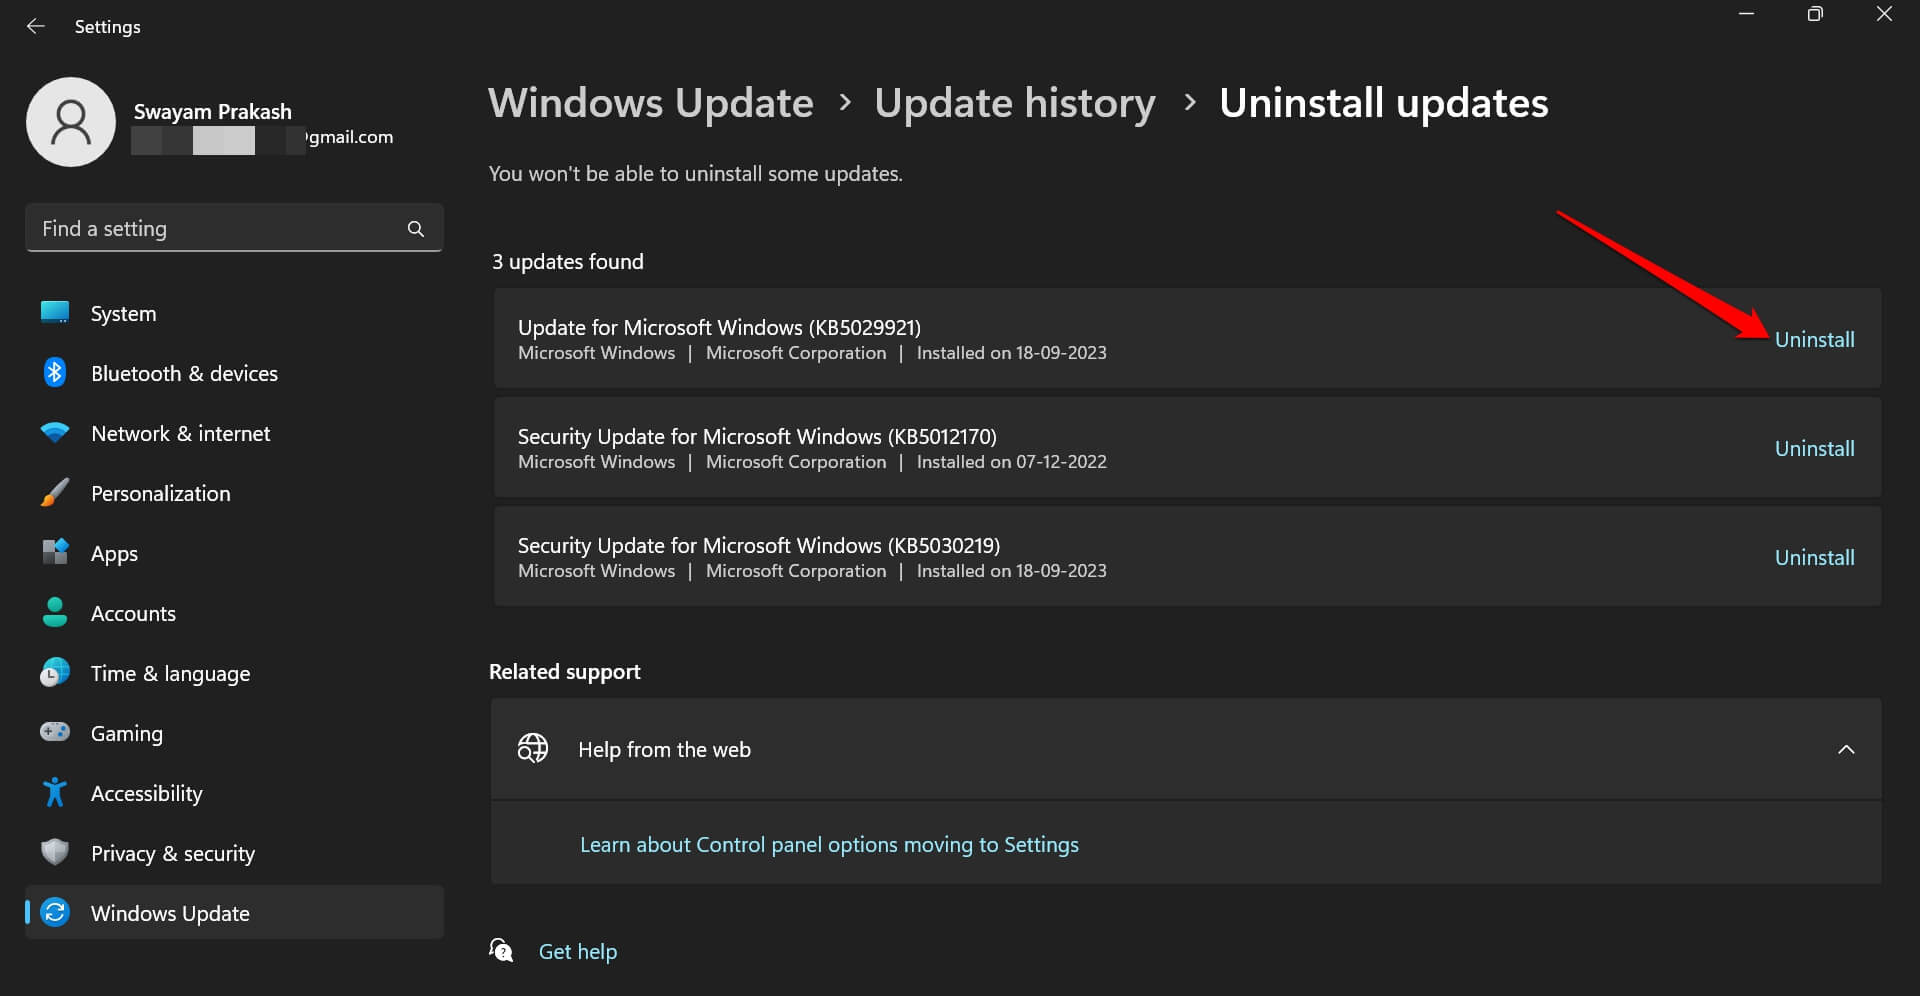
- Check the build number of problematic updates that you installed previously.
- Click the Uninstall button beside it.
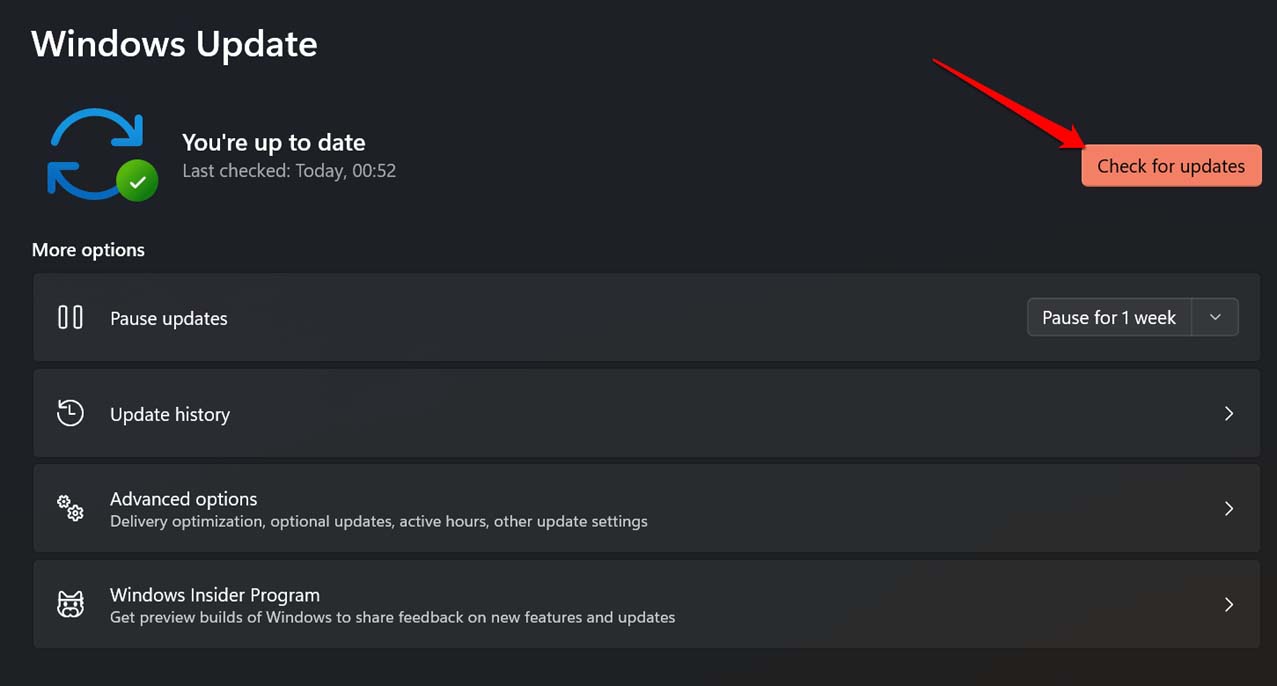
- Click on Windows Update.
- At the top-right corner, click on Check for Updates to allow the system to look for the latest build of Windows and install the same.
6. Reset the Windows Update Components
When other fixes fail to work, performing a reset does the trick. Follow the steps below to reset the Windows update component.
- Launch the Windows Powershell by pressing the Windows + S hotkeys.
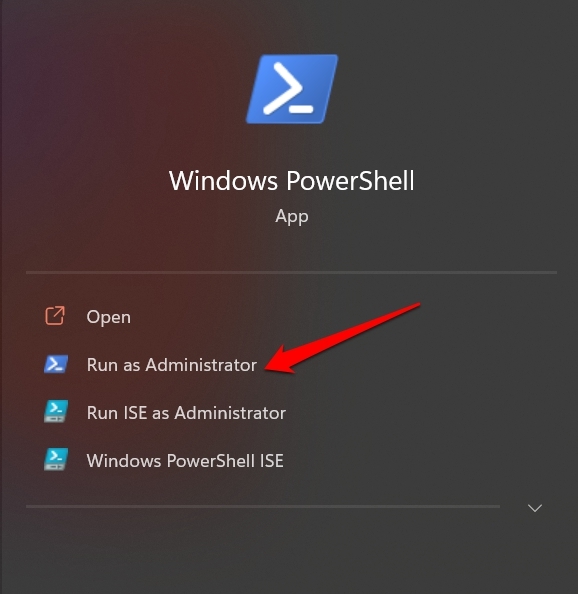
- Now, enter these commands one after another.
net stop wuauserv
net stop cryptSvc
net stop bits
net stop msiserver
ren C:\Windows\SoftwareDistribution SoftwareDistribution.old
ren C:\Windows\System32\catroot2 catroot2.old
net start wuauserv
net start cryptSvc
net start bits
net start msiserver
- Once you execute the above commands, restart the computer.
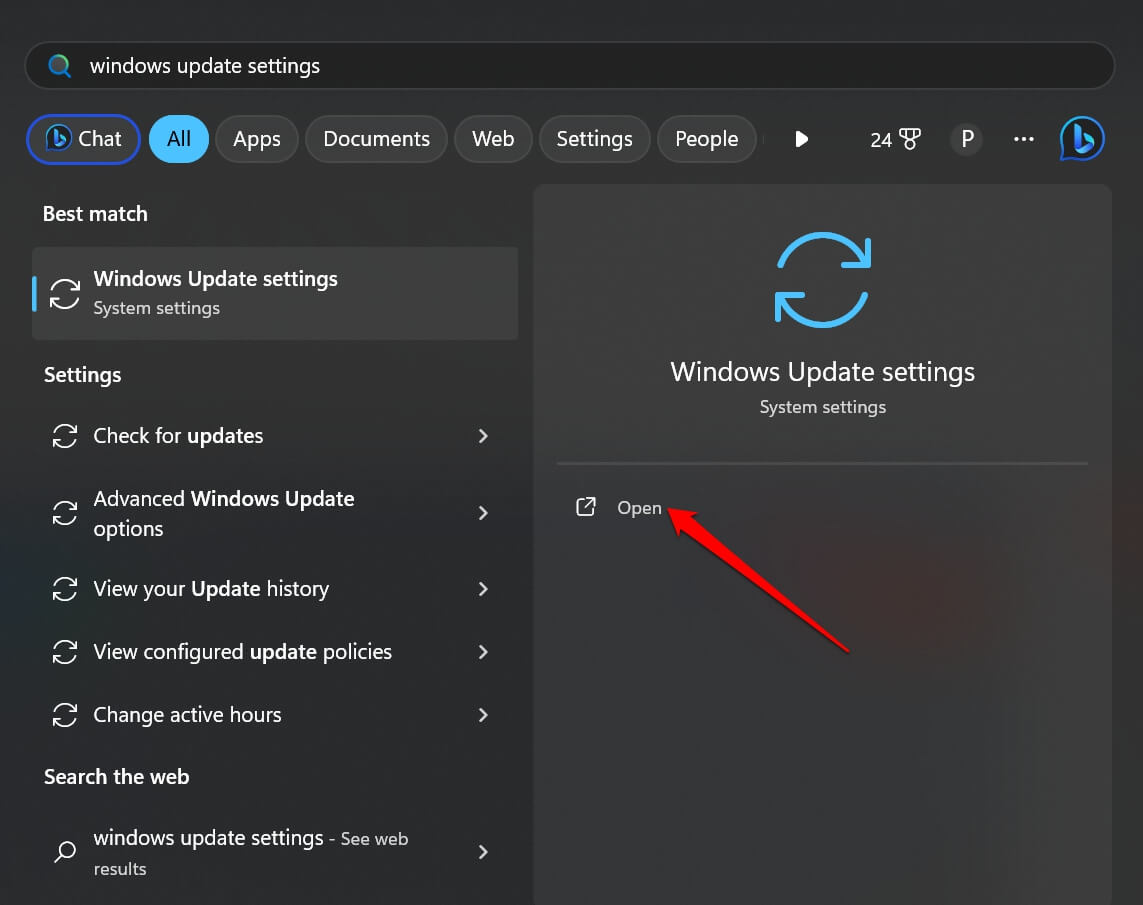
- Press Windows + S to open the search.
- Type Windows Update settings and click Open to check if the PC is installing the new software update.
Always Install the Latest Windows Update
Using these troubleshooting tips, you can stop Windows from installing the same updates every time. You should install the newest software version to keep the system safe from bugs and other security breaches. I hope this guide was informative in fixing the issue with the Windows update.
If you've any thoughts on Fix Windows 11: Same Update Keeps Installing on PC, then feel free to drop in below comment box. Also, please subscribe to our DigitBin YouTube channel for videos tutorials. Cheers!
