With a simple voice command or a command activated by saying OK Google or Hey Google, you can perform a number of tasks with Google Assistant. You can speak with the Assistant conversationally. Google Assistant can control smart home devices and Phone actions.
There is also a feature like Siri’s text-to-speech, but not many users are familiar with them. And guess what? This guide is all about that. Here we have mentioned some of the easiest steps using which you can easily enable the onscreen read text on Google Assistant. So, then for what we are waiting for, let’s get started with the guide now.
What is Google Assistant?
There is now a virtual assistant for almost every major smartphone manufacturer. However, as far as Google Assistant is concerned, it’s an Android app with a virtual assistant function that can assist with many tasks. It makes calls, checks cricket scores, reads the news, sets alarms, replies to SMS, and more.
Also, Google Assistant can read any webpage or article or even your messages aloud. But, unfortunately not many users are familiar with how to enable reading onscreen text on Google Assistant. Hence, if you are one of them, check out the guide further to know how to do it.
Steps to Enable Text Reading on a Screen by Google Assistant
Enabling the onscreen text reading on Google Assistant isn’t going to be very tough for you. Yes, basically, you have first to set up Google Assistant in case you haven’t done it yet. So, let’s check out the steps that you must follow if you want Google Assistant to read your onscreen text loudly.
Step 1: Set Up Voice Match
- On your device, launch the Google app.
- After that, tap the profile icon and Settings at the top right corner.
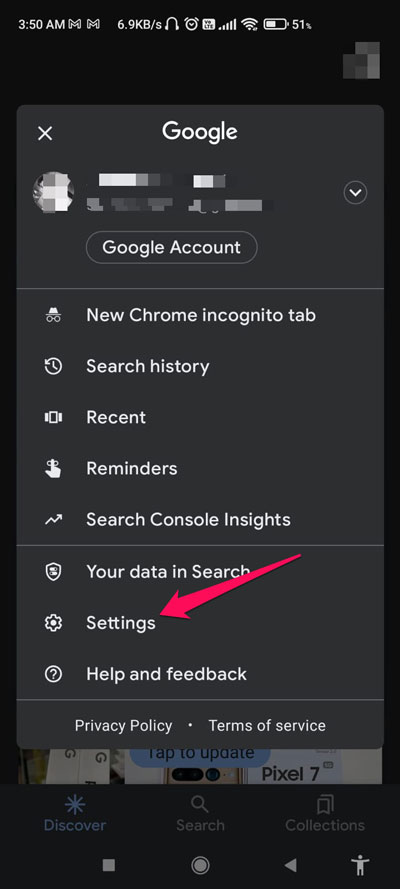

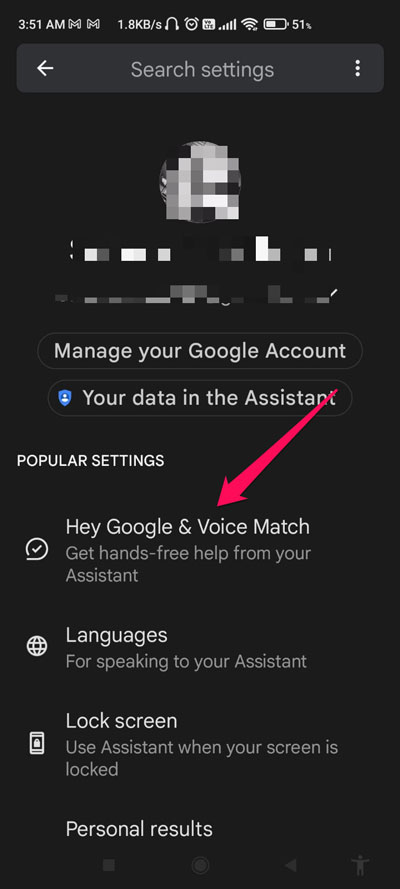
- Click on Google Assistant.
- Next, tap Hey Google & Voice Match.
- Click the Hey Google toggle to turn it on.
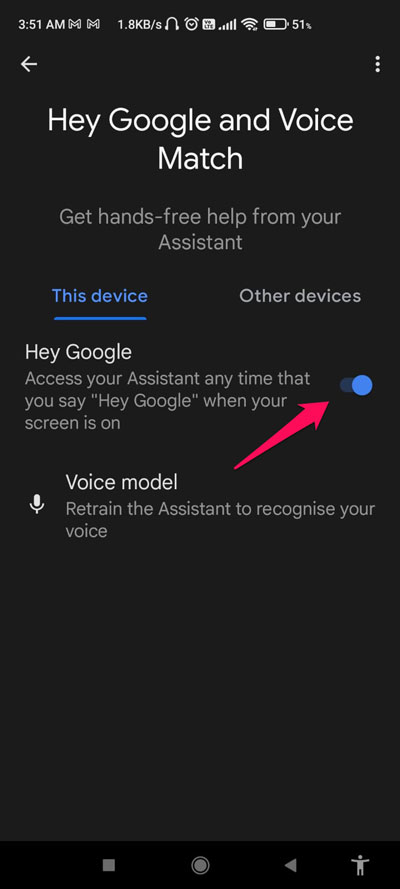
- You can set up the voice match by tapping on Voice Model and following the onscreen instructions.
Step 2: Enable Read On-Screen
The next step is to enable screen context in Google Assistant now that you have configured voice match. Follow these steps to do so:
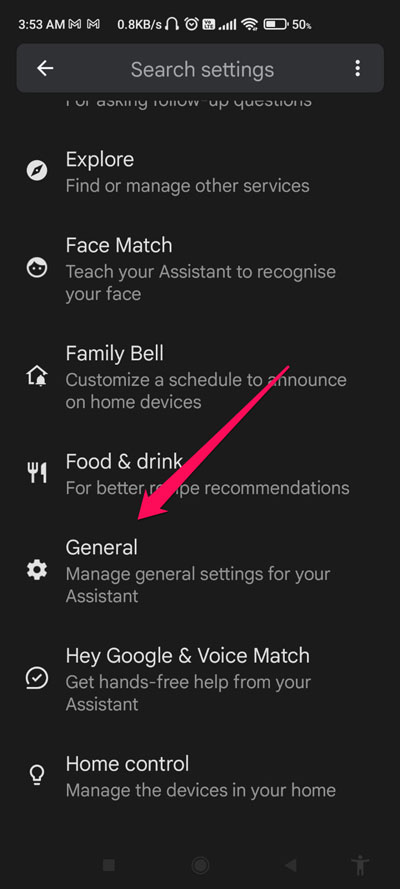
- You can say, OK, Google followed by Open Assistant Settings to open your device’s Assistant settings.
- You need to tap the General option, followed by Screen Context. Moreover, you can also open the Screen Context by searching for it in the search bar.
- Now, you simply need to toggle the button next to Screen Context.
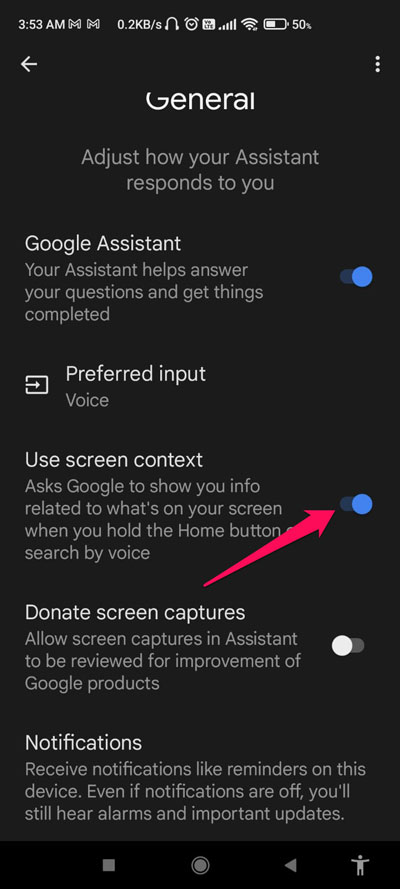
- You are now ready to direct Google to the screen you want it to read.
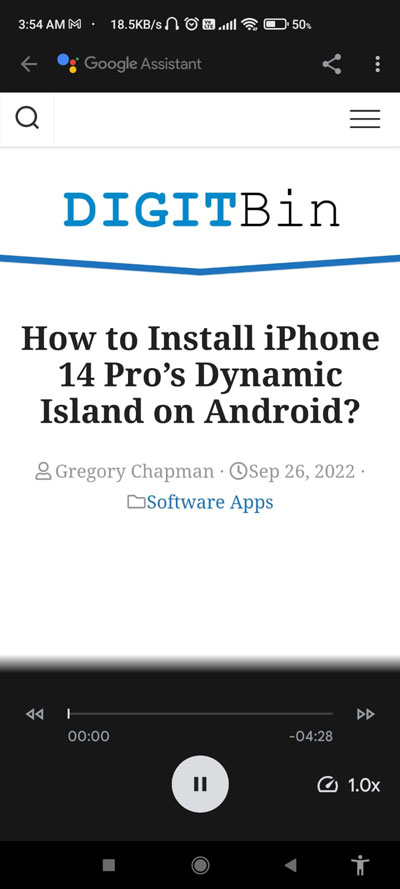
- On the next screen, you just have to say Hey Google, Read It.
- Now, Google will read the text on your screen.
Step 3: Read-On Screen Settings
So, as you have already enabled the read-onscreen text on Google Assistant, you will be surprised to know that you also have to learn about some settings before starting to use this feature. So, let’s have a look at those settings:
- Pause/Play: You will find this button at the center’s bottom. You can pause the reader or play it again by tapping this button.
- Change Speed: This button can be found at the bottom right corner of the screen. You can decrease or increase speed by clicking this button and dragging the slider to the left or right. To save the changes, tap Done once you are done.
If you've any thoughts on How to Enable Read On-Screen Text on Google Assistant?, then feel free to drop in below comment box. Also, please subscribe to our DigitBin YouTube channel for videos tutorials. Cheers!