It wouldn’t be surprising if you have encountered Windows error code 0xc000001. It is not uncommon for Windows machines to suffer from errors, and we have a similar situation as we are authoring the tutorial right now. Microsoft cannot fix all errors out-of-box because there are many factors involving Windows errors, but we can work around to solve them. We are going to address error code 0xc000001 and bring the computer to the normal working state.
What Drives Windows to Error Code 0xc000001?
It is important to learn about the driving factors of Windows errors because you can identify the shortcomings of physical components or software-related problems. Readers can ward off the problems later down the line and never let the same situation occur again. Let us look at some of the contributing factors of Windows error code 0xc000001.
- The RAM module might be dying, or it is faulty.
- Windows system files might be corrupted or missing from the folder.
- The operating system saves customized settings that are required when booting the computer. There is a possibility that SAM (Security Accounts Manager) is corrupted or missing from the original location.
- Windows file system integrity is modified or tampered with it.
There are a bunch of reasons behind similar errors, but we can resolve them using inbuilt tools.
Note: You have entered into Windows Recovery Mode in Windows 8.1 Pro/Windows 10.
How to Fix Error Code 0xc000001 on PC?
Here are the Few Best Solutions to Fix Error Code 0xc000001 on Windows PC
How to open Command Prompt in Windows 10 Recovery Mode?
Users cannot enter the machine in 99% of cases, and they are stuck with an error code on the screen. In such turmoil, you can enter recovery mode and make apply all solutions that we have suggested below.
Step 1: Turn off the machine and power it back on, and press F11 until the Recovery Mode shows up on the screen.
However, the F11 failed in my case because it is the boot menu key of the motherboard.
Or,
Step 1: You can turn on the machine and turn it off by unplugging the power cable three-time, then Windows Recovery Mode shows up on the screen.
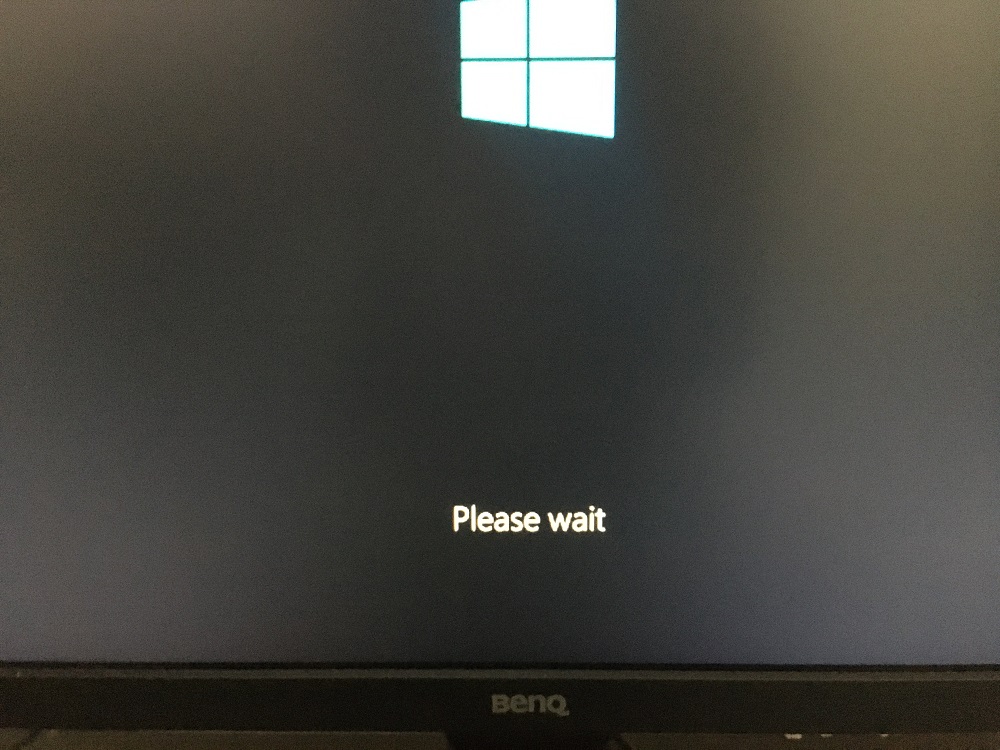
Step 2: You will get three options on the screen and choose “Troubleshoot” to begin the process.
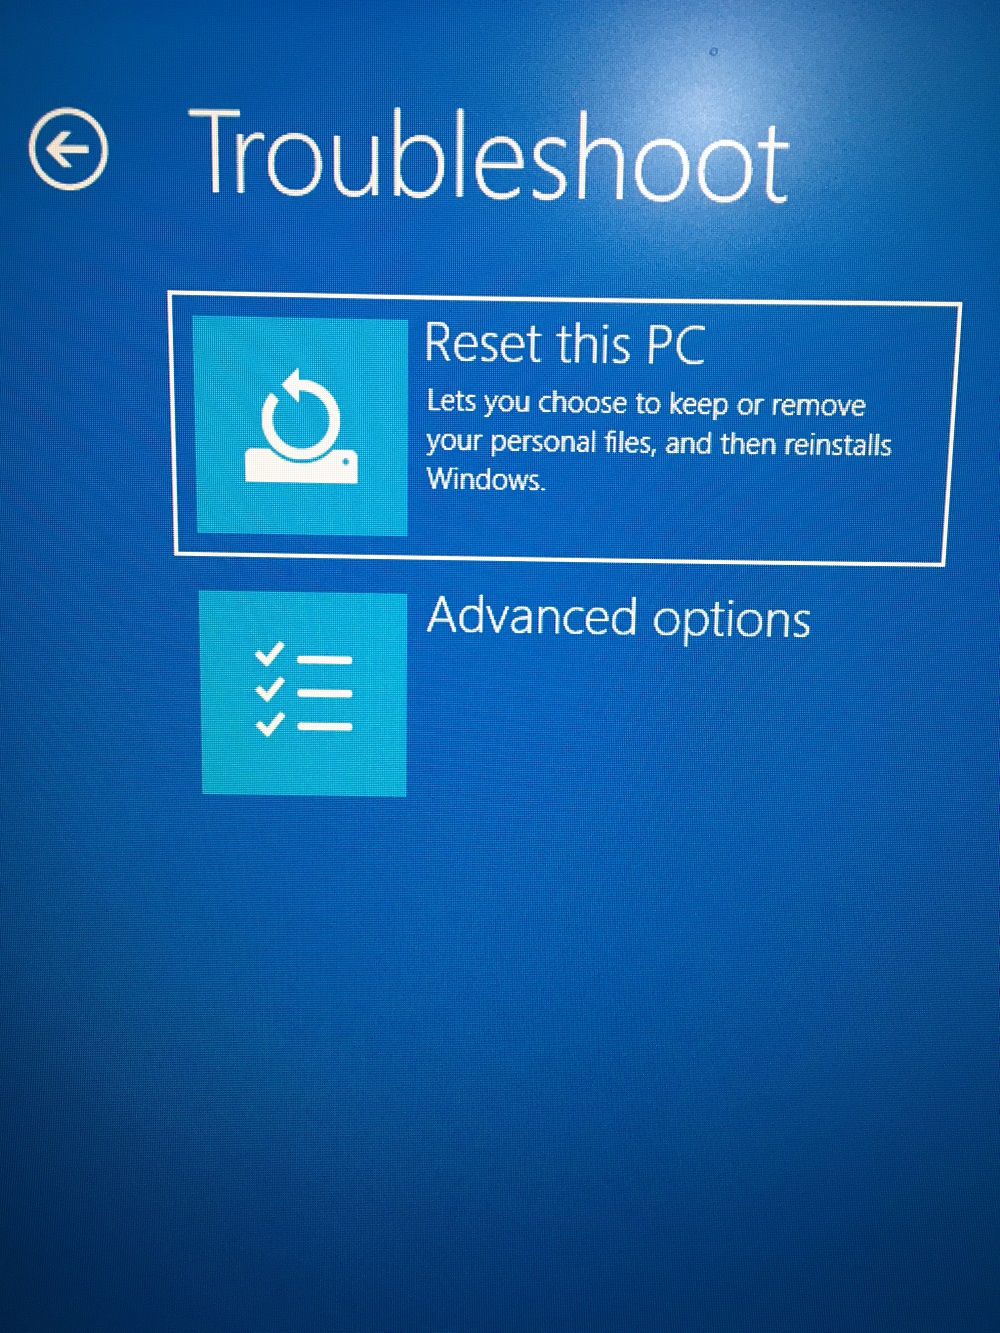
Step 3: You have two options on the screen and choose “Advanced Options” to continue.
Step 4: You have six options on the screen and choose “Command Prompt” to open it.
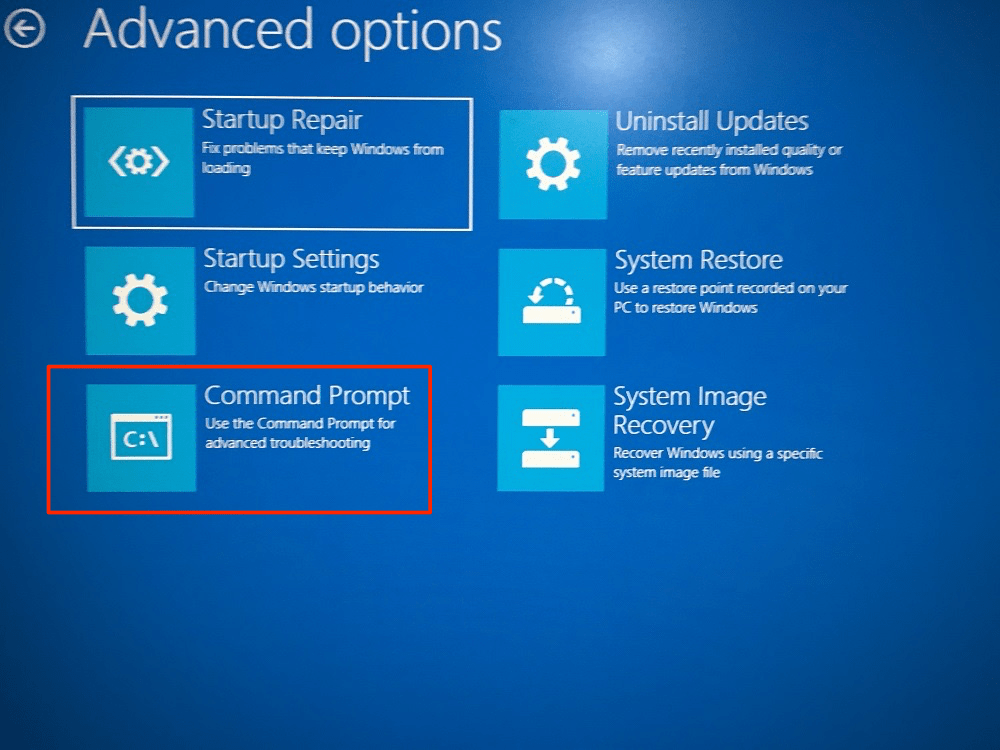
Step 5: Let Windows load CMD in the machine.
Step 6: Select the account, if there are multiple accounts added to the machine.
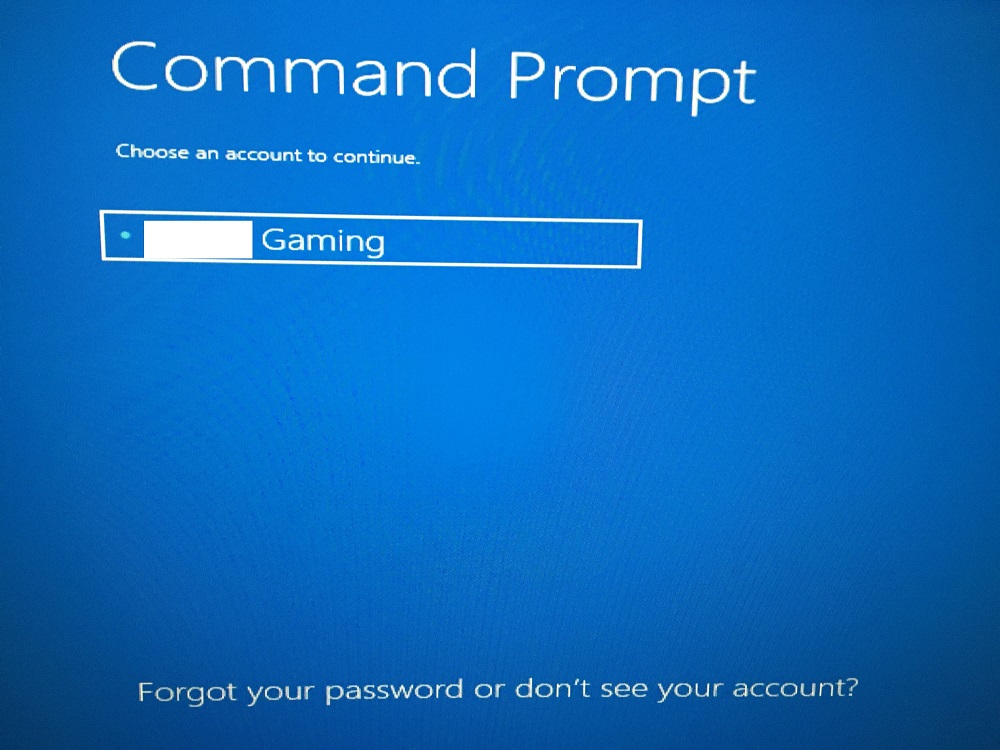
Step 7: Enter the password to continue.

Step 8: The “Command Prompt” is on the screen.
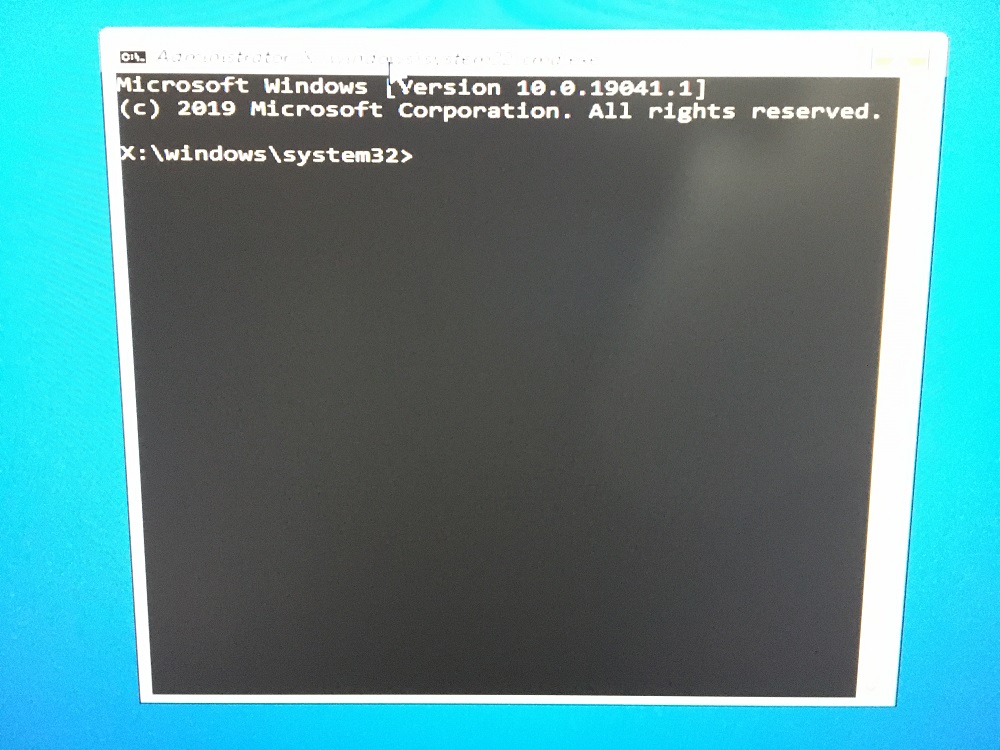
Now, run three commands in Windows Command Prompt to fix the problem.
bootrec /fixmbr
bootrec /fixboot
bootrec /rebuildbcd
You have to run all commands individually and do not run them simultaneously.
Scan System Files
Microsoft added “System File Checker” in early editions that date back to 2006. The inbuilt tool is available in Vista or later editions, so you can use it in Vista or Windows 10 edition. Close all programs running in the background and leave the machine till the process is finished.
Step 1: Press Windows Key + S and open “Command Prompt” or “CMD“ as administrator.
Or,
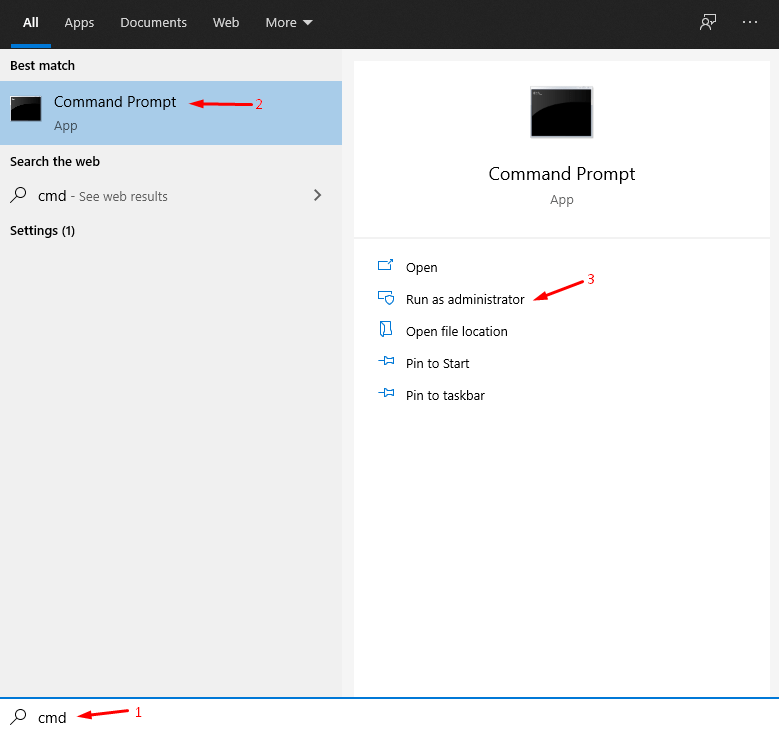
Step 1: If you have booted the machine in Windows Recovery Mode, and then press Shift + F10 keys simultaneously.
Step 2: Type “sfc /scannow” and then press enters to begin the process.

Step 3: You can monitor the progress by looking at the percentage, and it starts from 1% and ends at 100%.
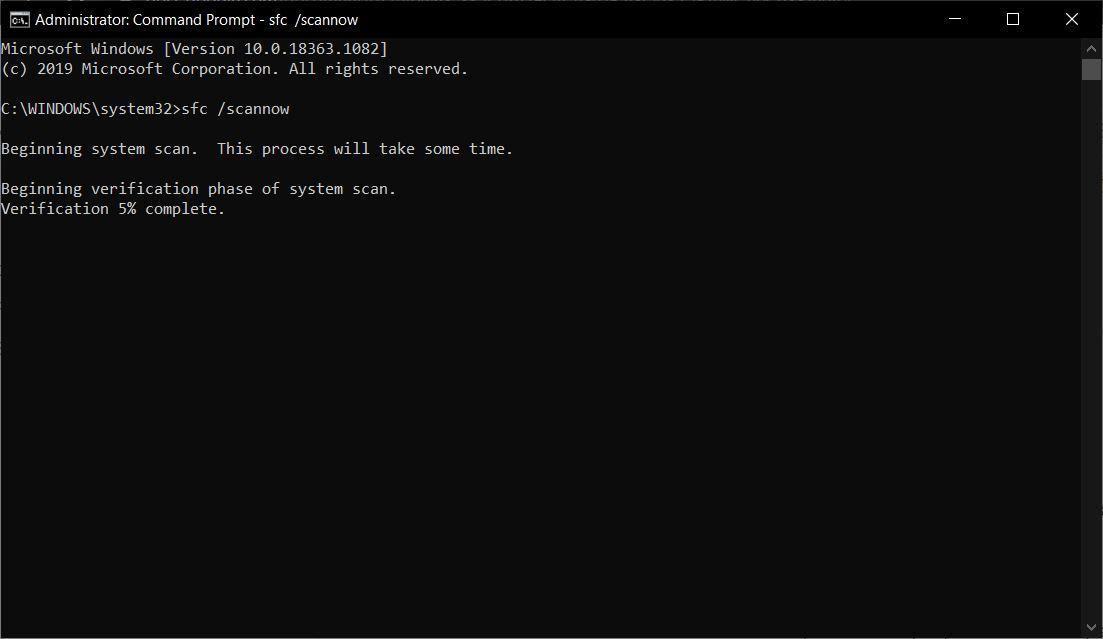
Step 4: You will have three results, and each of them has a meaning behind it.
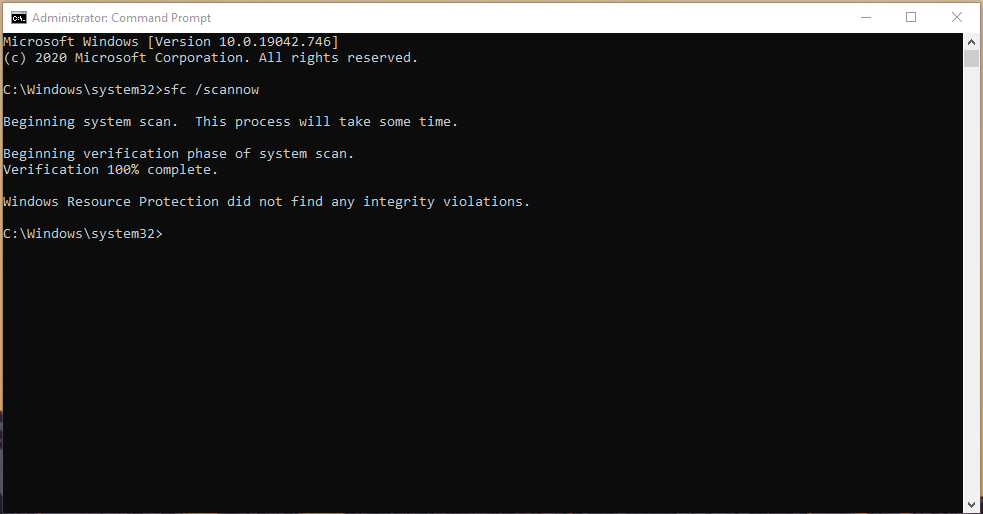
- Windows Resource Protection did not find any integrity violations.
- Windows Resource Protection found corrupt files and successfully repaired them.
- Windows Resource Protection found corrupt files but was unable to fix some of them.
The third-one is the worst-case scenario, and we recommend the readers to install fresh Windows operating system installation.
Run CHKDSK Scanner
Mechanical hard drive develops bad sectors over time because it has moving parts in the storage technology. SSD replaced HDD quickly because of the same factor, and that’s one of the contributing reasons why the hard disk is not recommended anymore. CHKDSK scanner is an inbuilt function that allows the users to check the HDD health.
Step 1: Press Windows Key + S and open “Command Prompt” or “CMD“ as administrator.
Or,
Step 1: If you have booted the machine in Windows Recovery Mode, then press Shift + F10 keys simultaneously.
Step 2: Type “chkdsk C: /f” and then press enters to begin scanning.
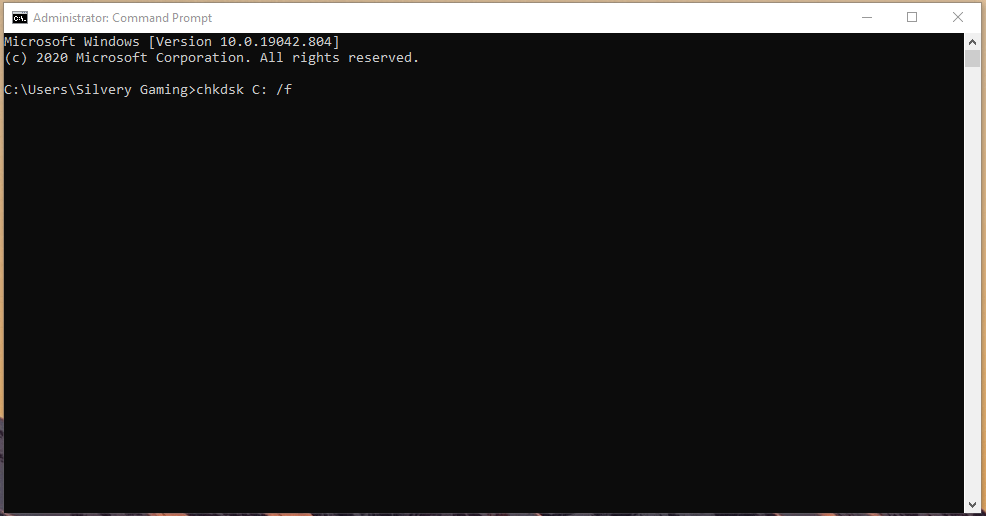
Step 3: Press “Y” and then press the “Enter” key.
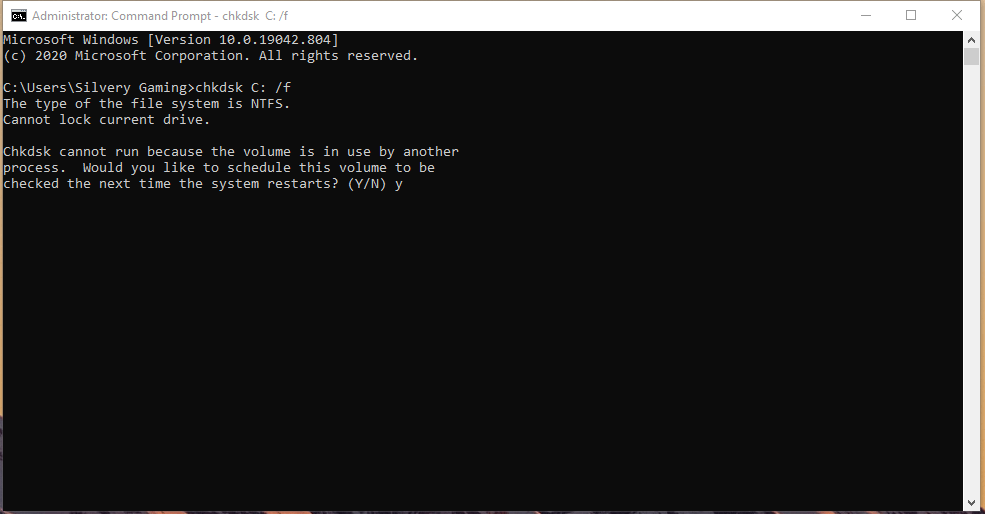
Step 4: The Windows tool informs the users that it will begin scanning the hard disk when it restarts.
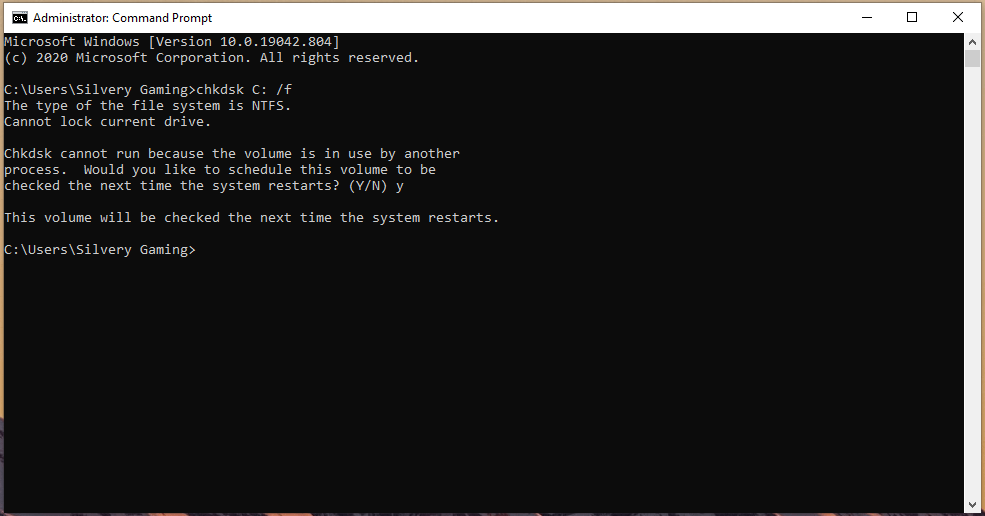
Step 5: Restart the Windows machine.
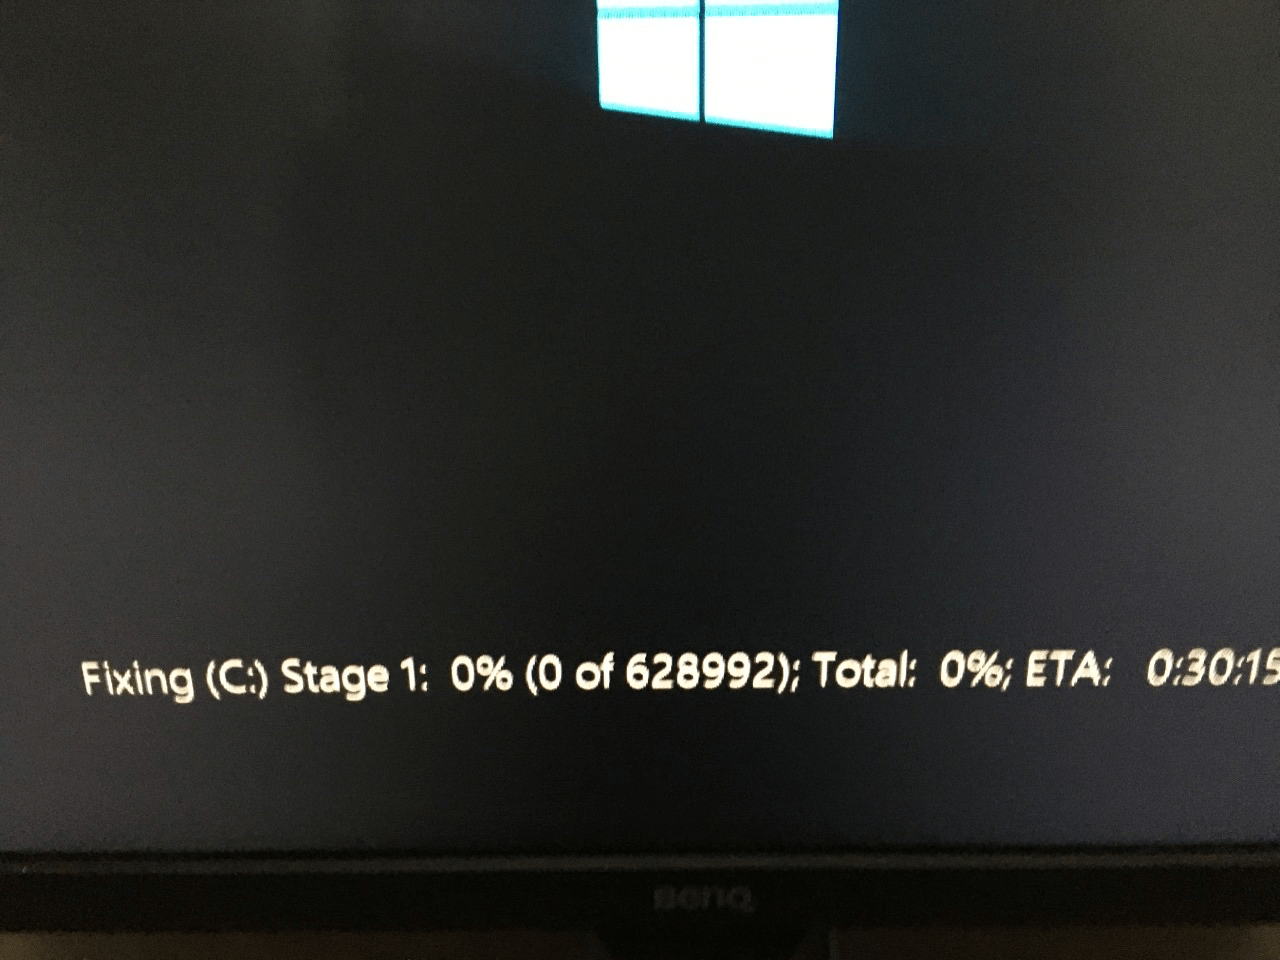
Step 6: The scanning will show up on the screen and let “Stage 1” complete.
Step 7: The scanning will continue and let “Stage 2” complete.
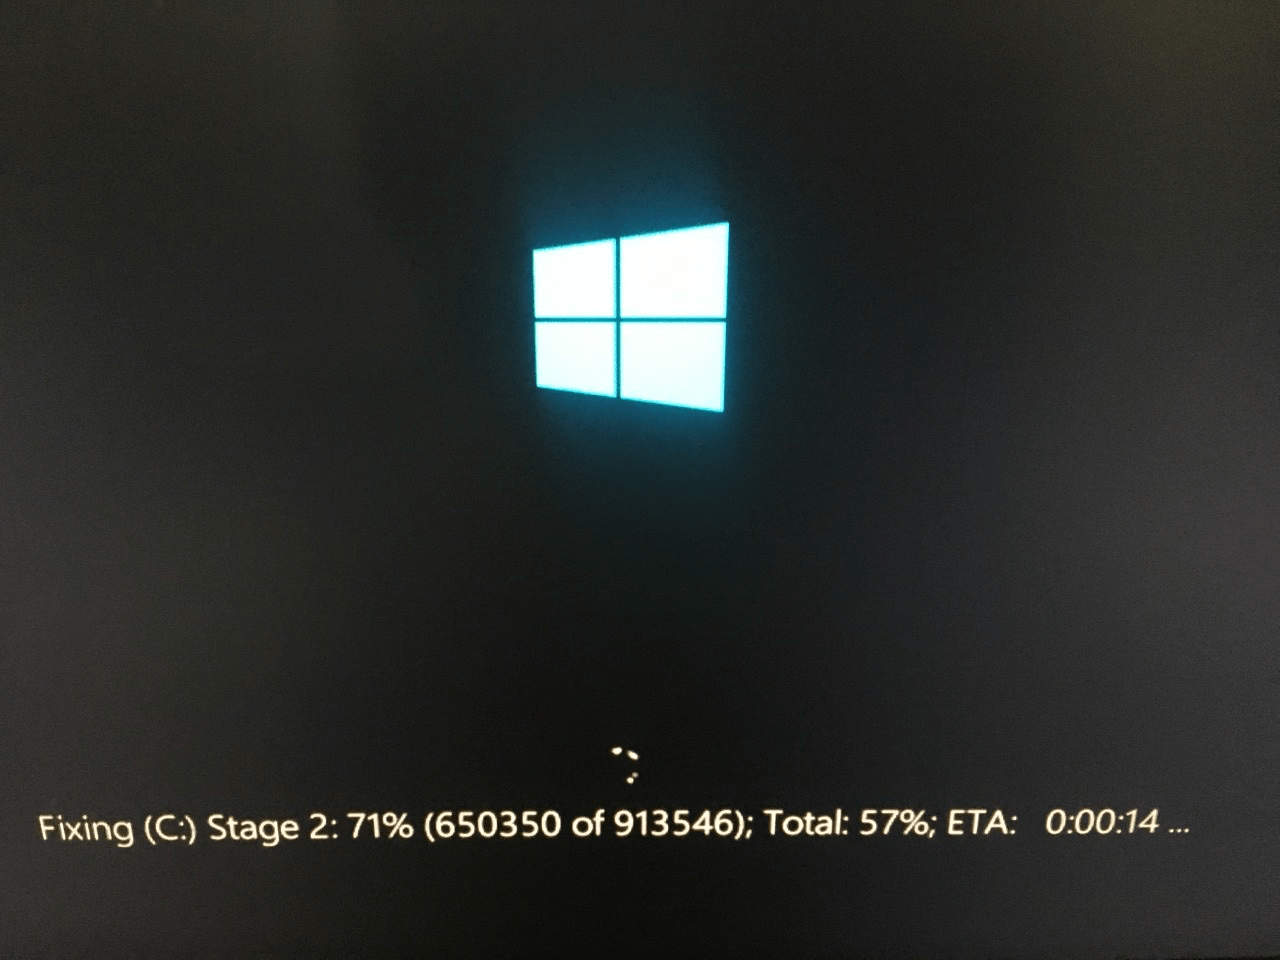
Step 8: The scanner will find corrupted files or bad sectors and try to fix them.
You have to wait till the Windows CHKDSK scanner finishes the scanning process to 100%. Your Windows machine will restart automatically and lands on the lock screen. Remember, there is a higher potential of developing hard disk errors, and you should consider replacing the mechanical HDD with SSD.
Uninstall Unwanted Programs
There is a market for Windows users, where you can find cracked programs and tweaked programs. Unfortunately, millions of Windows administrators install cracked programs in the machine, which leads to unnecessary problems. You can resolve Windows error code 0xc000001 by uninstalling suspected programs from the computer. If one of the programs is triggering the problem, then we can use Safe Mode to get rid of it.
Step 1: Press Windows Key and click on “Power” and then “Restart” while holding the SHIFT button on the keyboard.
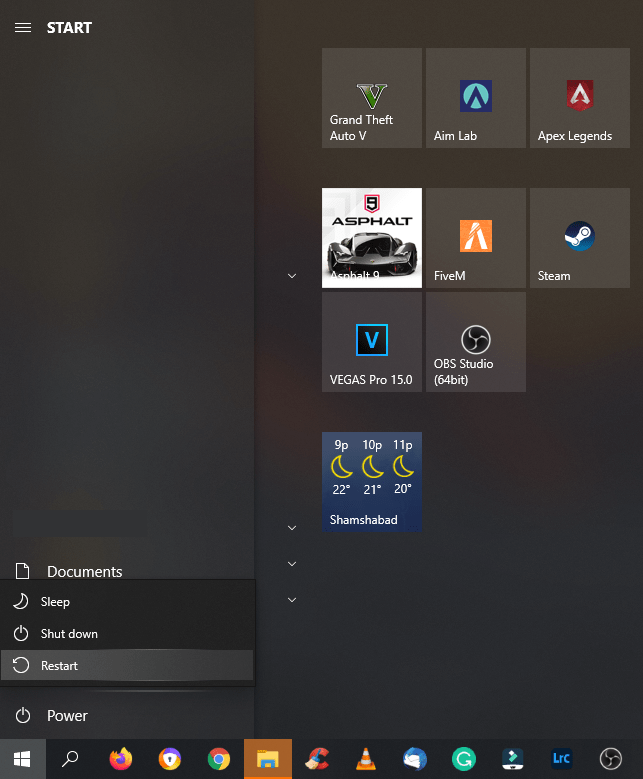
Step 2: Your machine will restart, and it will open Windows Recovery Mode and then choose “Troubleshooter” to continue.
Step 3: Choose “Reset this PC” to continue.

Step 4: Select “Startup Settings” to begin the process.
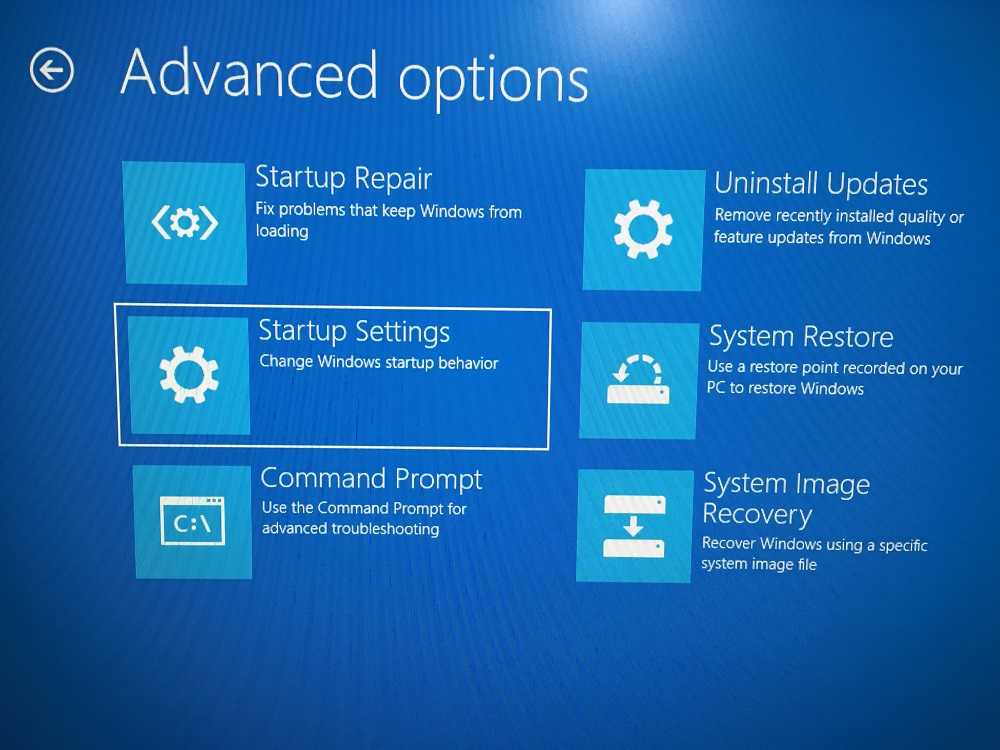
Step 5: Click on “Restart” to reveal more options.
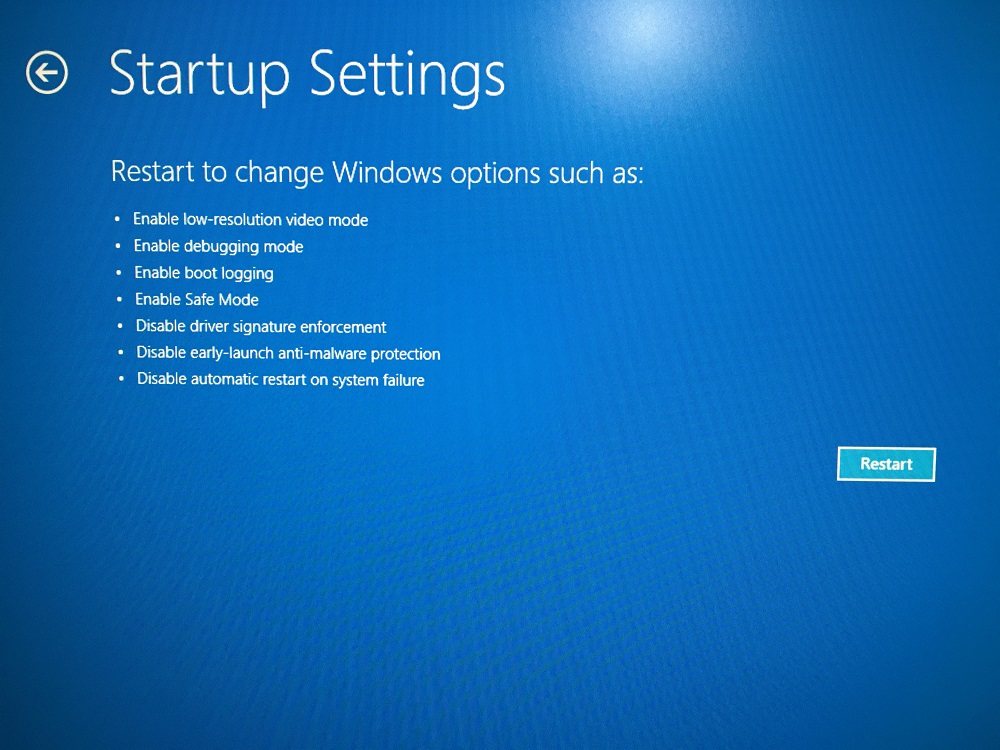
Step 6: Press 4 on the keyboard to open the “Enable Safe Mode” option.
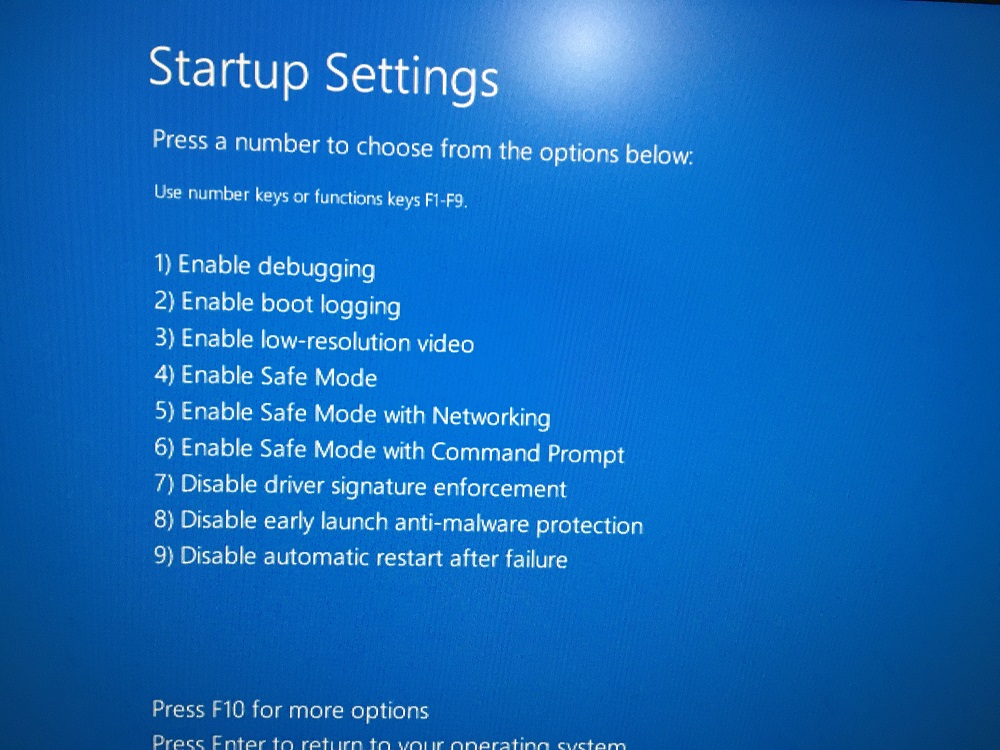
Step 7: Now, open “Control Panel” in the traditional way and uninstall programs manually.

You have the challenge to identify the affected programs and uninstall them manually. You can take your time and uninstall programs one-by-one to find the culprit.
Bottom Line
You can check out the RAM module in the machine and replace it to resolve Windows error code 0xc000001. However, you should consult a verified engineer to inspect the machine because you should not mess around with hardware. Let us know which solution helped to resolve the 0xc000001 error in the comment section below.
If you've any thoughts on Best Ways to Fix Windows Error Code 0xc000001, then feel free to drop in below comment box. Also, please subscribe to our DigitBin YouTube channel for videos tutorials. Cheers!
