Nothing can be more frustrating than your daily driver PC performing slower affecting your work. This issue used to happen with my PC, and I’m sure most of you may have faced it as well at some point. Adding to the slower performance, the primary hard drive would often appear close to running out of its allocated storage.
I started to observe what was going wrong with my computer. I scanned for malware, just to be on the safe side, and of course, there was none on the PC. The problem was apps launching during startup, massive storage consumed by cached data, log, older installation data, and unused apps.
Initially, I used to perform a basic disk cleanup to get rid of temporary files and even had Storage Sense enabled on the computer. That was not enough, and my PC would remain sluggish until I also got rid of cached data of active and uninstalled apps, emptied the recycle bin, upgraded Windows to its latest build, and tweaked the power settings.
In this guide, I have explained the best Windows cleanup tips that made my laptop snappier. I’m sure those tips will also make your PC/laptop run as it used to when you unboxed it.
Windows 11 PC Slowing Down: A Common Phenomenon
I went around the web searching for some data regarding how common the issue of Windows 11 PC slowing down is. It turns out that, indeed, slow Windows 11 is one of the common problems faced by users.
| Source | Context | Reported Problem |
| Microsoft Tech community | Dell Laptops Slowdown | 11% of users faced slow performance |
| Microsoft Q&A | Windows 11 Slower than Windows 10 | Reported by multiple Windows 11 Users |
| Microsoft Learn | Slow boot up and Sluggish Windows 11 UI | Reported by users on Windows 11 PC with high-end hardware |
| Windows Related Subreddit community | Slow UI and File Explorer, Bootup Lag | Multiple Problems reported between 2023-25, especially after software updates |
Best Tips to Improve the Performance of Windows 11 PC
I have shared the tips that I implemented to clean up my PC, improving its bootup time and performance to a great extent.
Disk Cleanup
Disk Cleanup tool is an in-built mechanism from Microsoft to clear the junk from the hard disks and free up space for the data that matters to you.
Let me show you how I go about utilizing the disk cleanup tool on my PC.
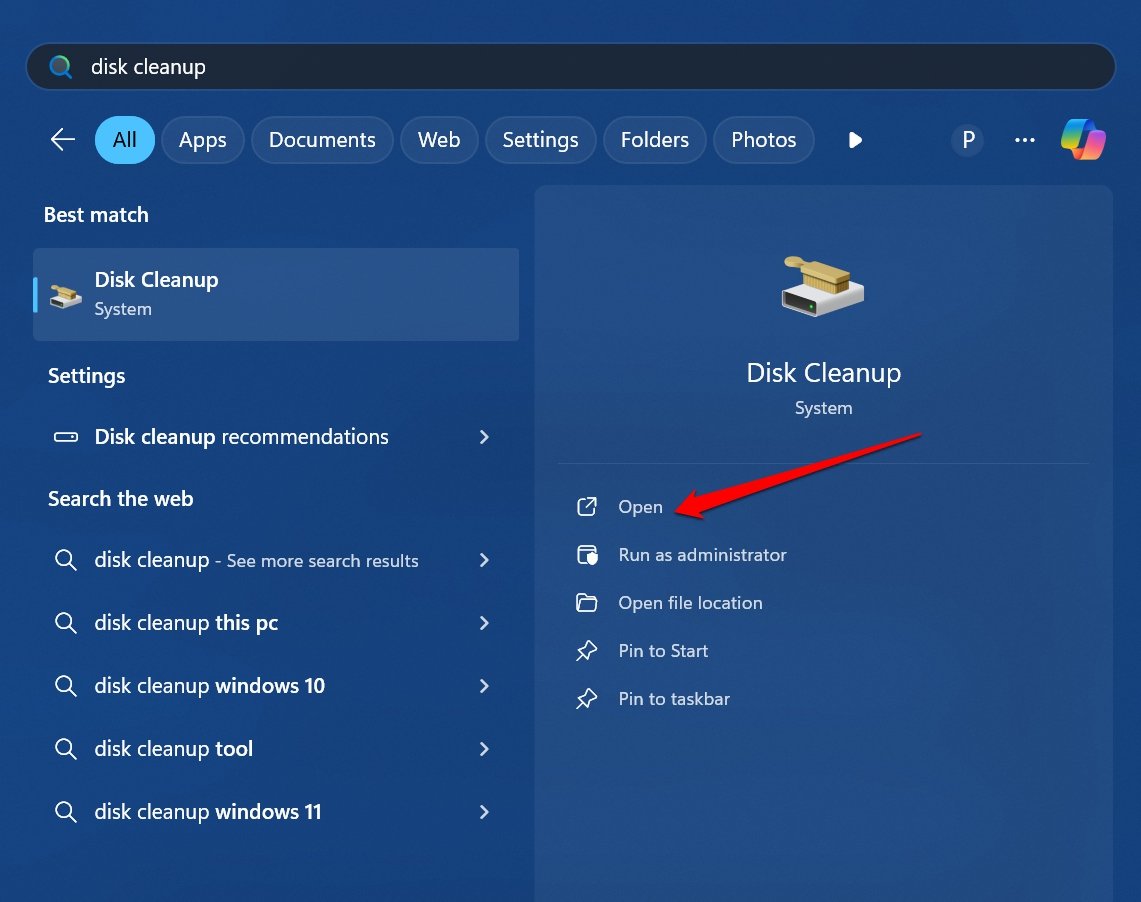
- Press Windows + S to bring up the search.
- Type Disk Cleanup and press Open when it appears in the search results.

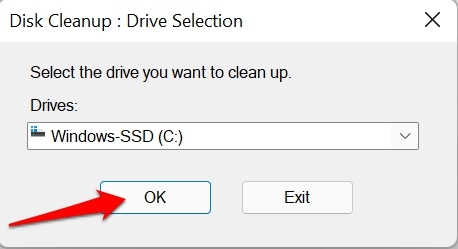
- Select the hard drive and click OK.

- Under Files to Delete, select the items you want to remove. Besides those items, you can view the amount of storage they consume.
- Click OK to initiate disk cleanup.
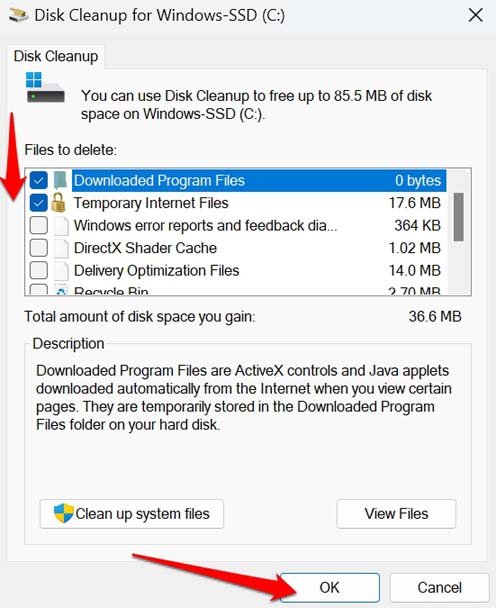

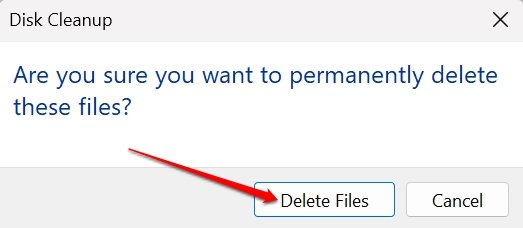
- Press Delete Files when the confirmation prompt shows up.

Remove Temporary Files
Apart from using the Disk Cleanup tool, you can access the Storage settings in Windows 11 and get more options to delete temporary files from your PC.
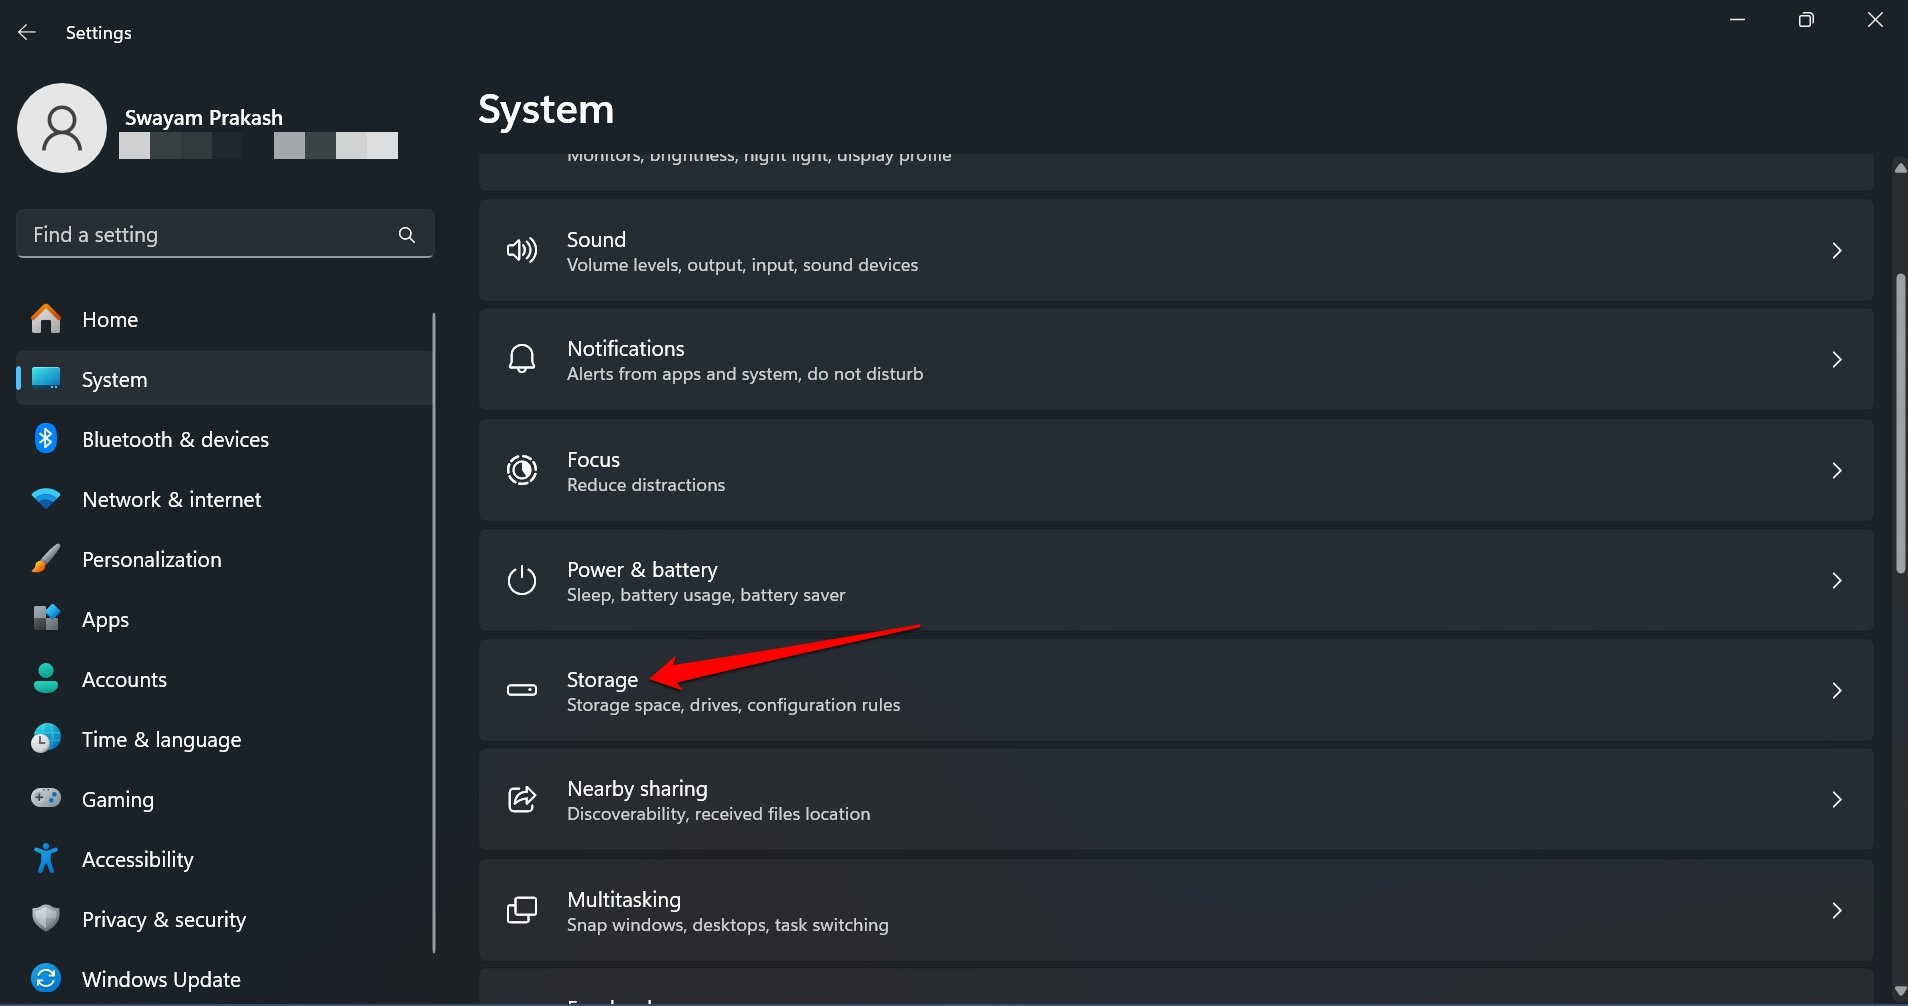
- Press Windows + I to access the settings.
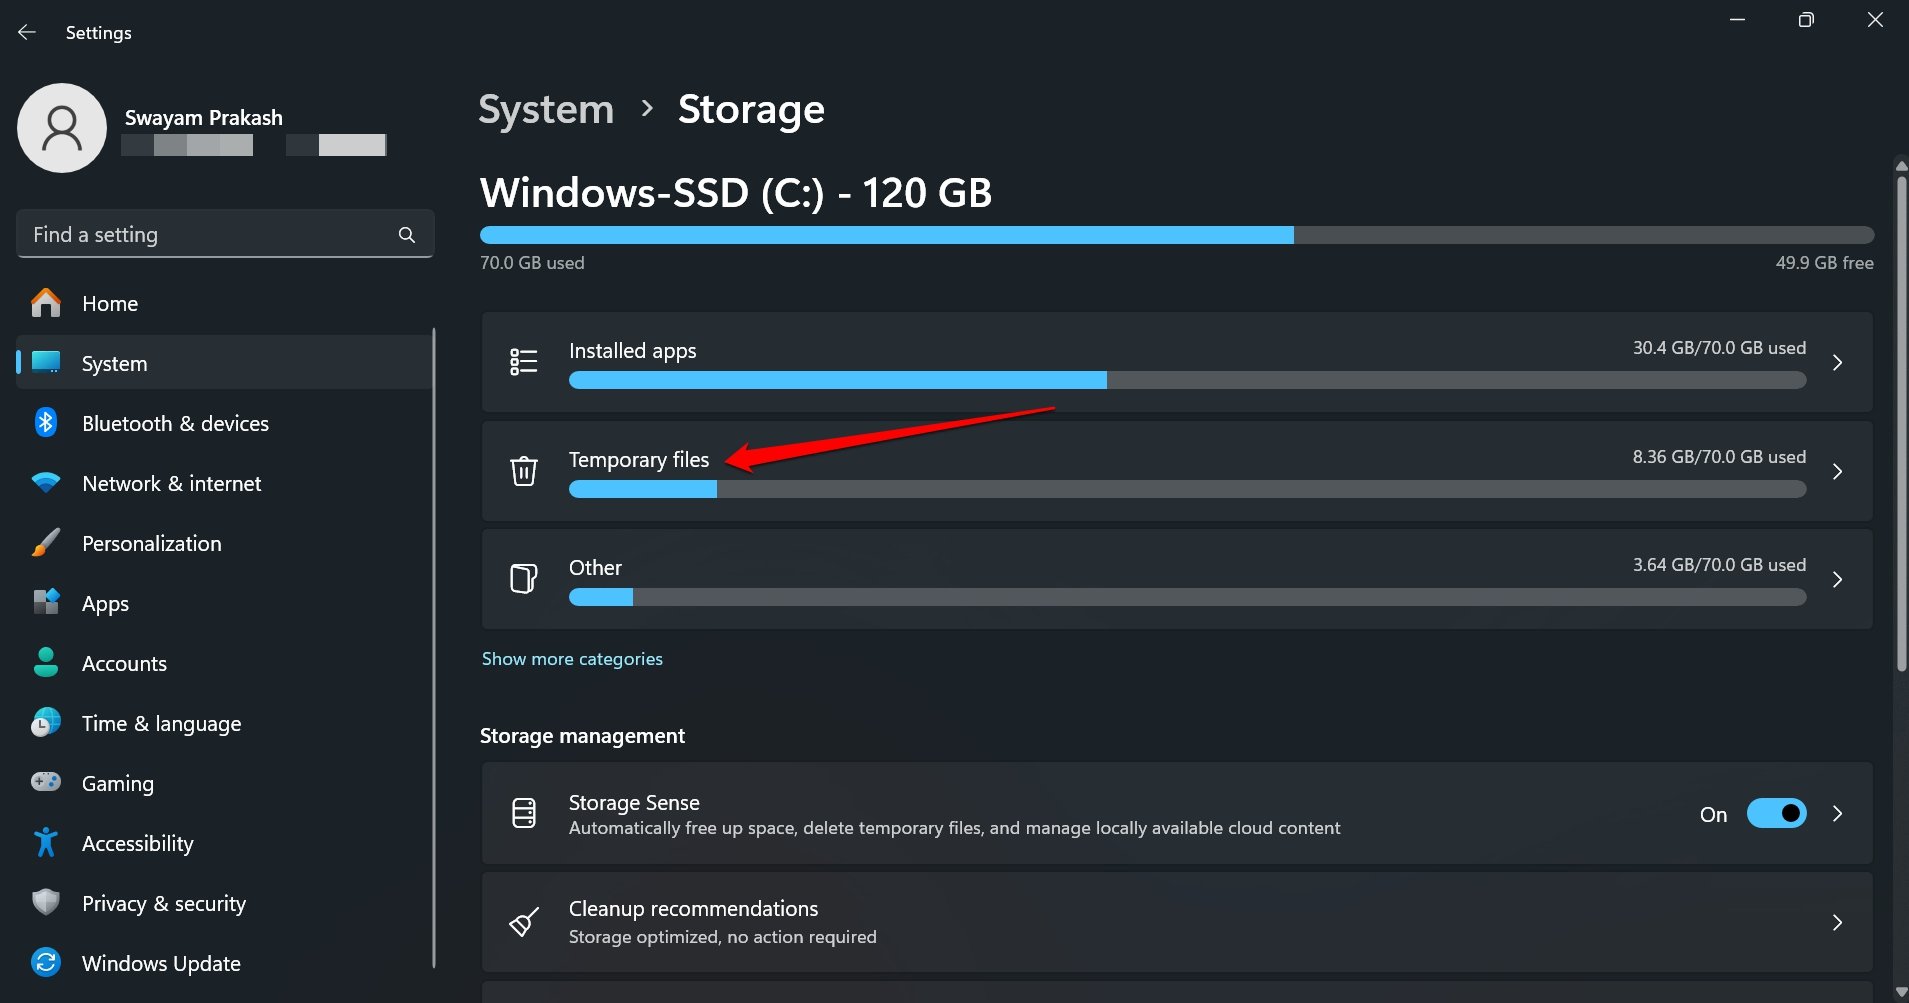
- Click System > Storage.

- Access Temporary Files.

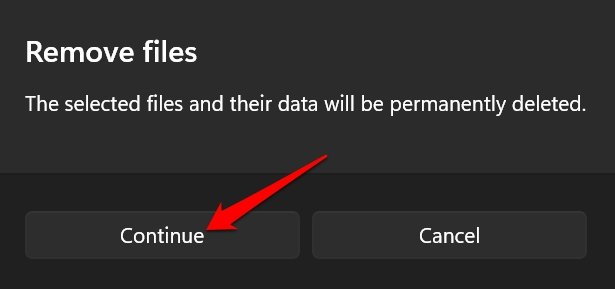
- Select the items you want to delete and press Remove Files.
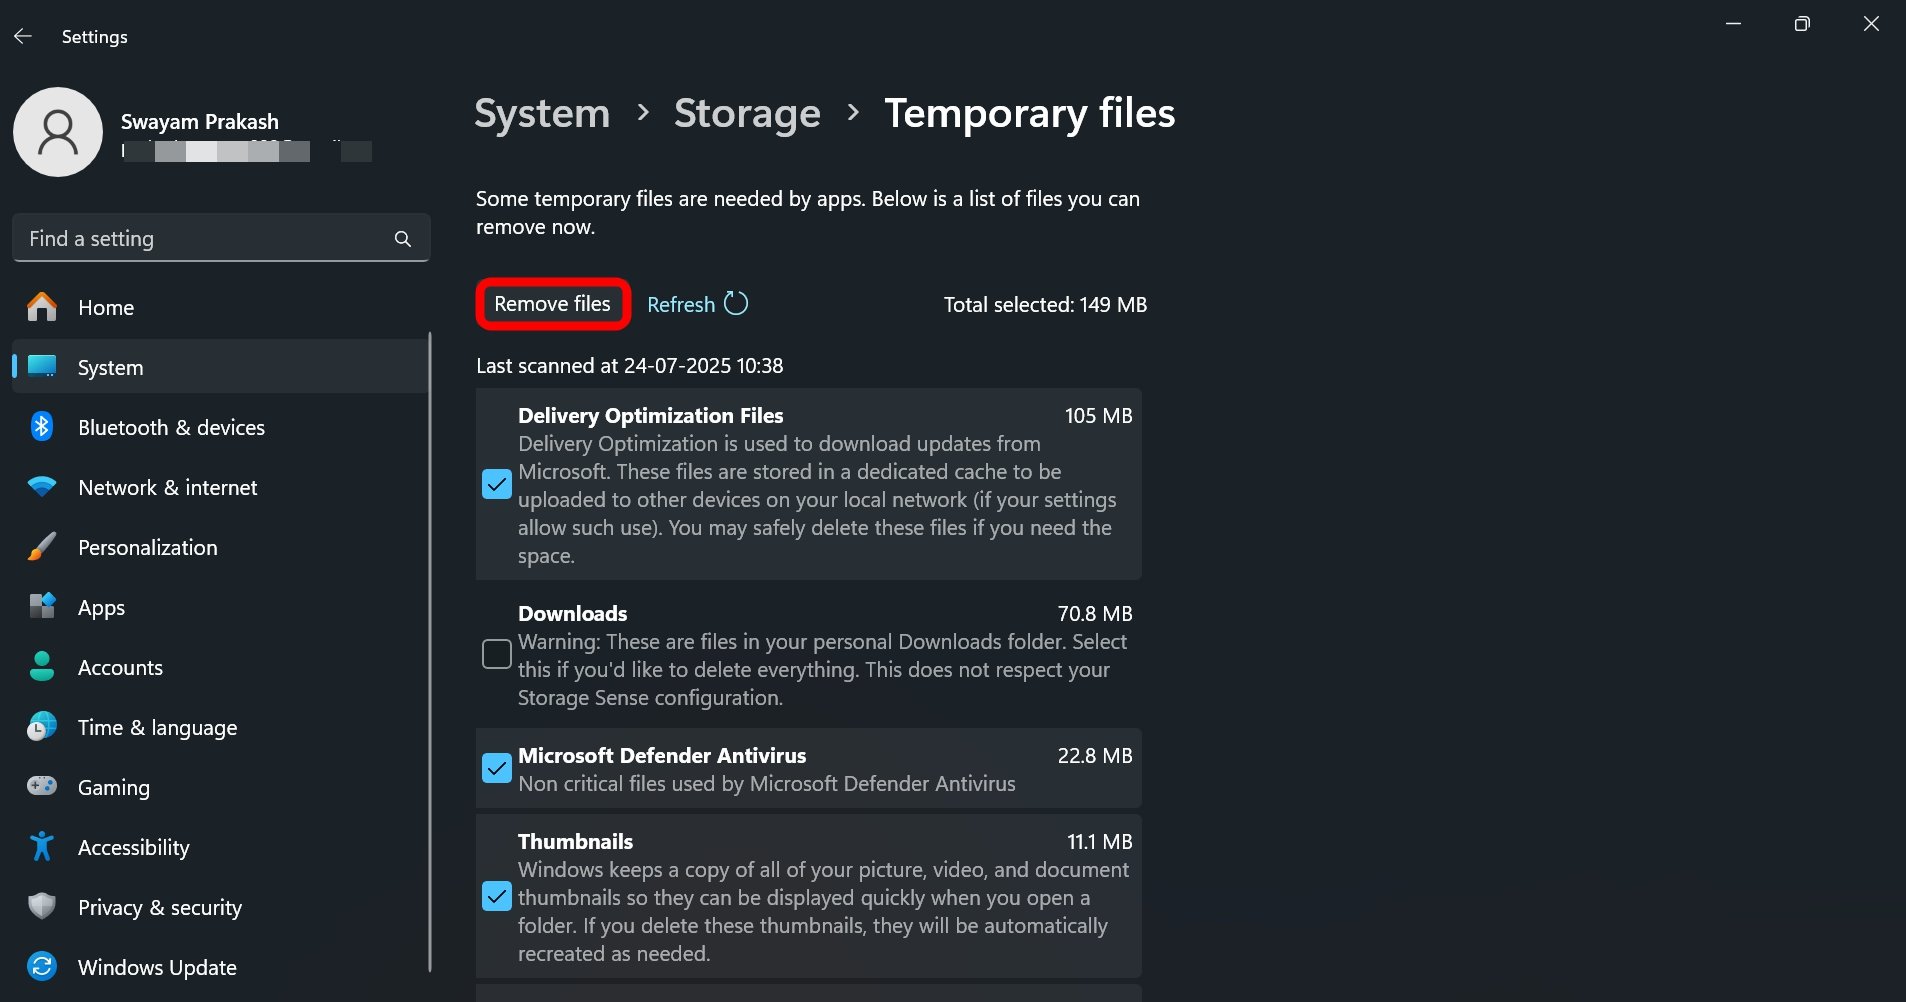

- Press Continue to confirm the deletion.

Uninstall Unused Apps
I noticed that there are several apps on my PC that are taking up gigabytes of storage, and I barely use these apps.
In particular, there was a video editor app that took up close to 40GB of storage space, and there were also a couple of browsers that I was testing for work, but I never bothered to uninstall them.
The cached data, along with the app, was taking up a significant amount of storage on my PC. So, I went on an uninstallation spree.
You should also check for unused apps on your PC and remove them. Most apps can be installed from the internet as and when you need them.
You can uninstall apps from the Control Panel and Windows Settings. I have explained the steps for both methods.
Control Panel method
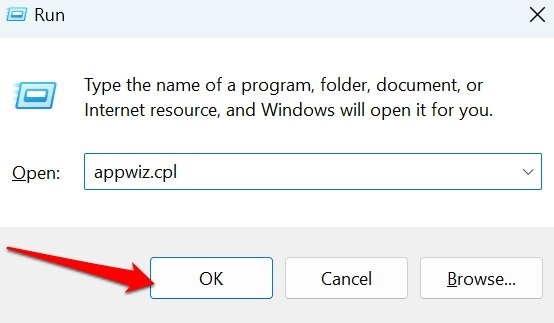
- Press Windows + R to view the Run box.
- Type appwiz.cpl and press Enter to access the list of installed programs on your PC.

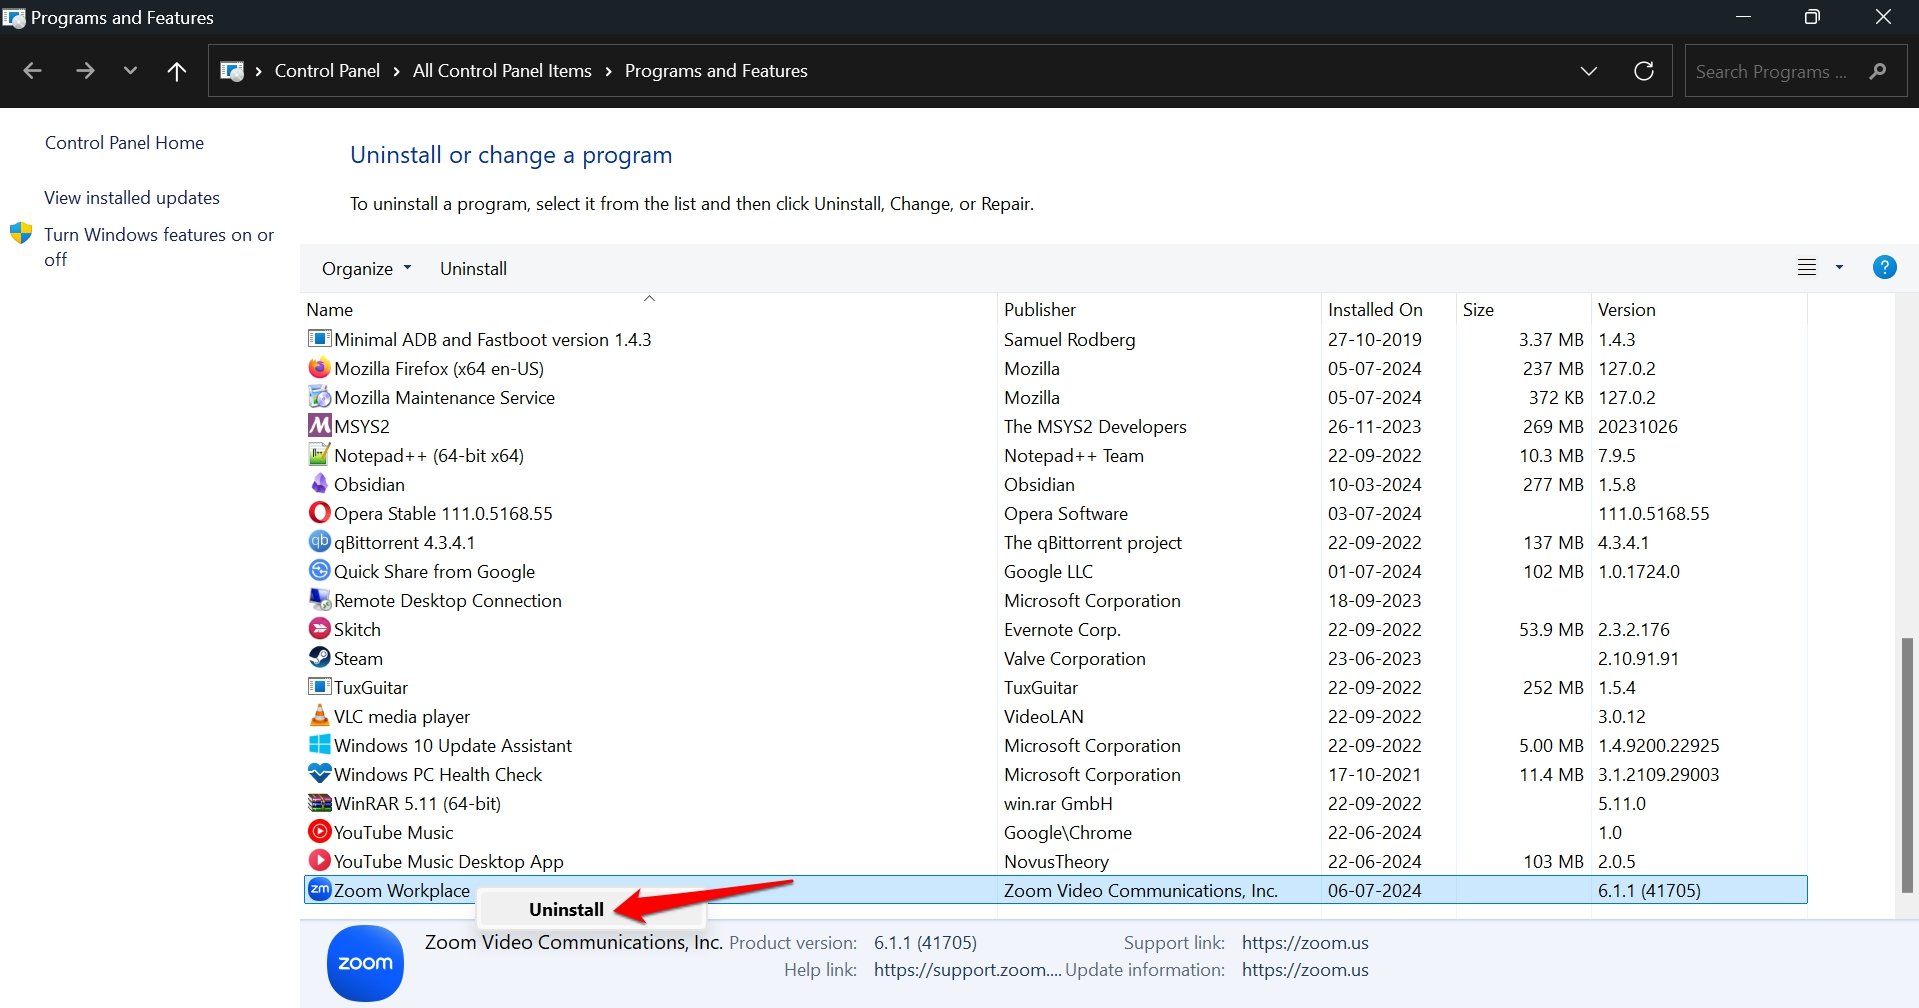
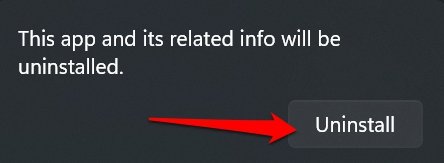
- Right-click on the program you want to uninstall and select Uninstall/Change.

Uninstall Programs from Windows Settings
- Press Windows + I to view the Windows Settings homepage.
- Click on System > Storage.
- Access the Installed Apps.


- Click the menu button next to the app you want to remove and select Uninstall.


- Confirm the uninstallation when the validation prompt appears.

TIP: Similar to unused apps, if you have unused media files taking up storage on your PC, permanently delete them or back them up to a cloud drive or external storage.
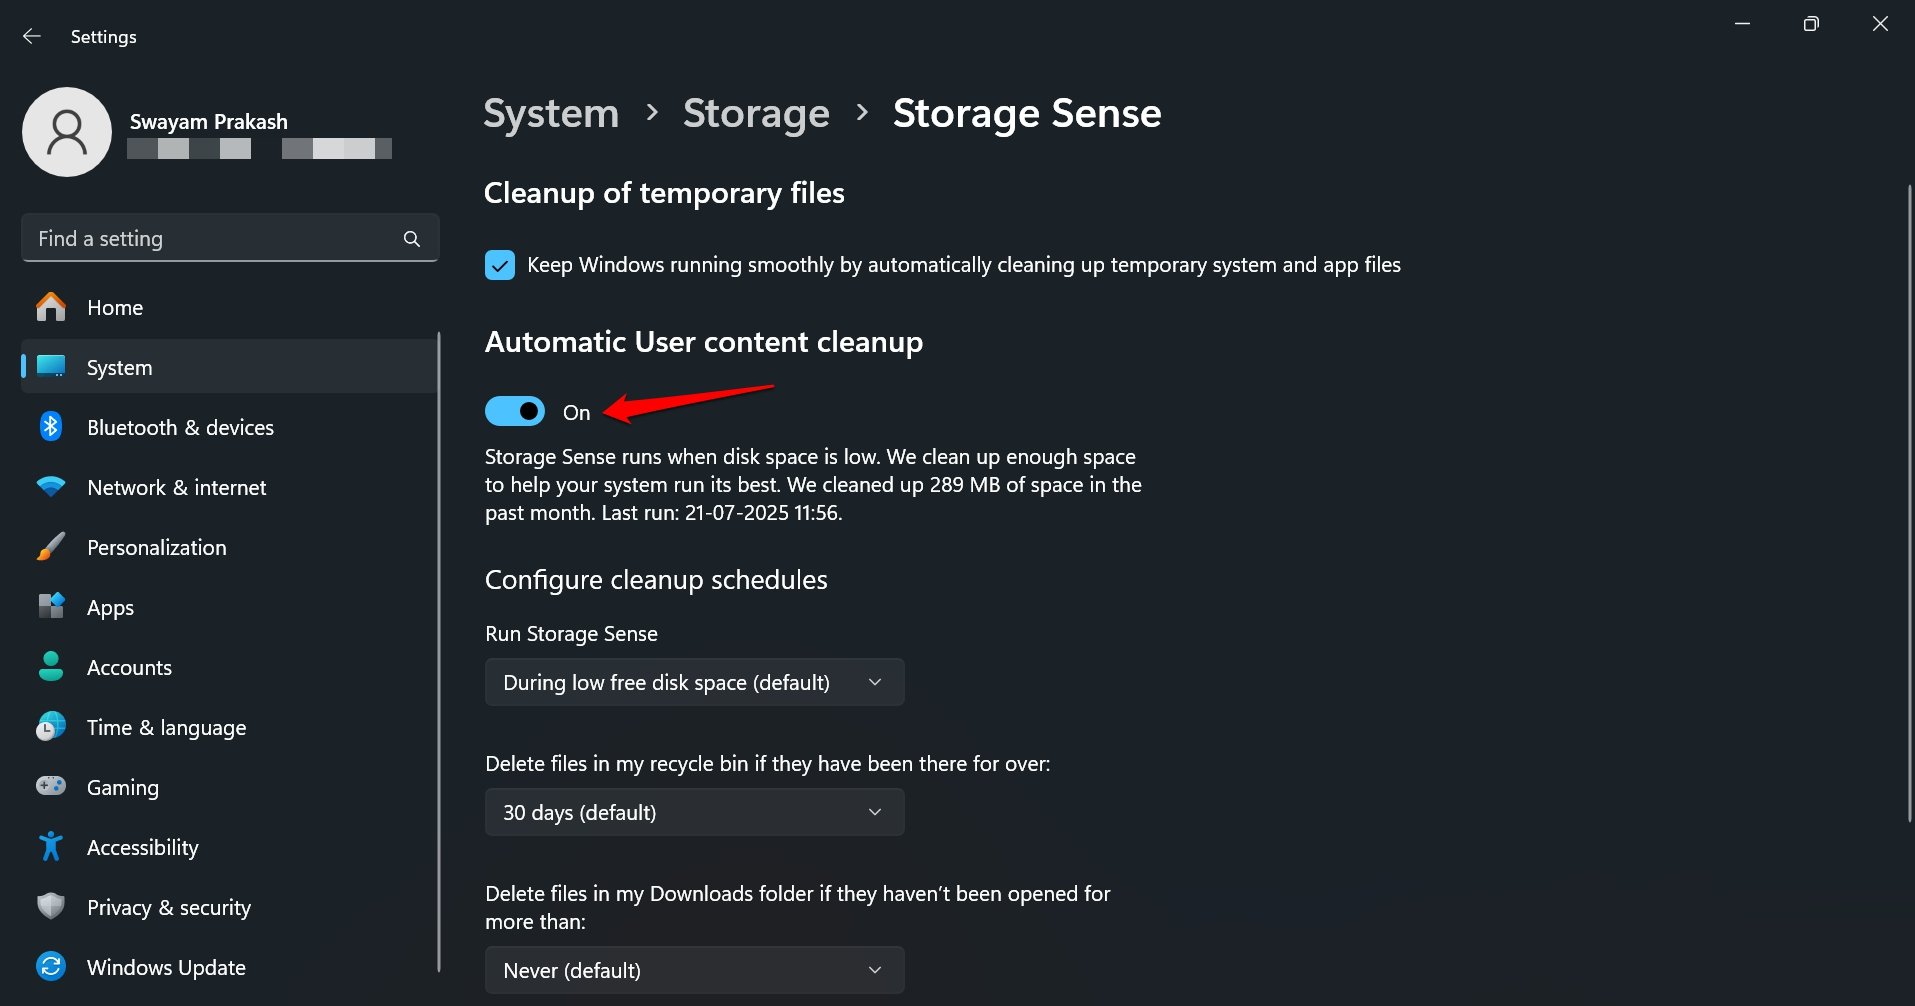
Enable Storage Sense on the Windows PC
Allow Windows 11 to automatically delete the temporary files and locally stored cloud content to free up storage. This feature gets into action when Windows senses that the primary storage is too low. So, a cleanup is carried out to make enough space available for the system to run smoothly.
I have enabled this feature on my PC, and it is very useful for managing the storage.
To turn storage sense on, you can follow these steps.
- Press Windows + I to go to Settings.
- Go to System > Storage.
- Scroll down and press the toggle next to Storage Sense to enable it.
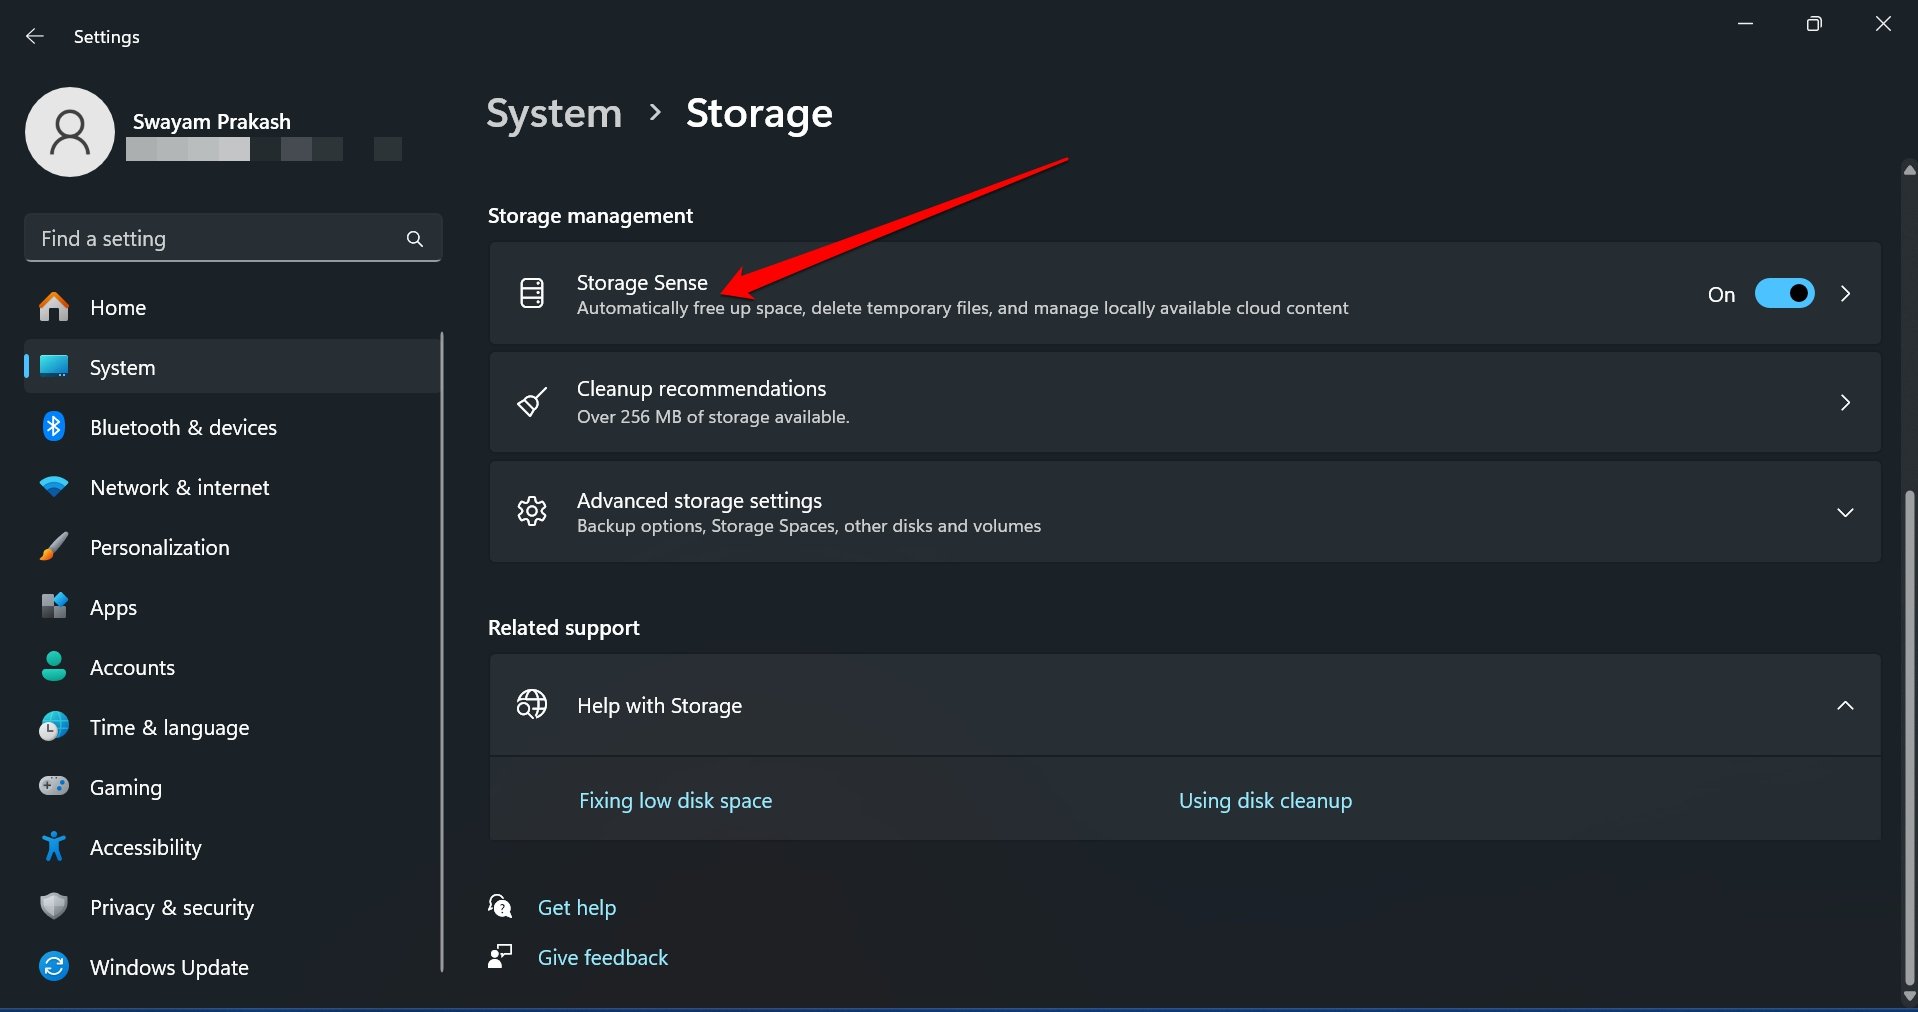

- Click the arrow icon on the Storage Sense tab to access its settings.
- Press the checkbox next to automatic cleanup of temporary data and app files.
- Go to the Configure Cleanup Schedules and set the parameters as per your requirement.

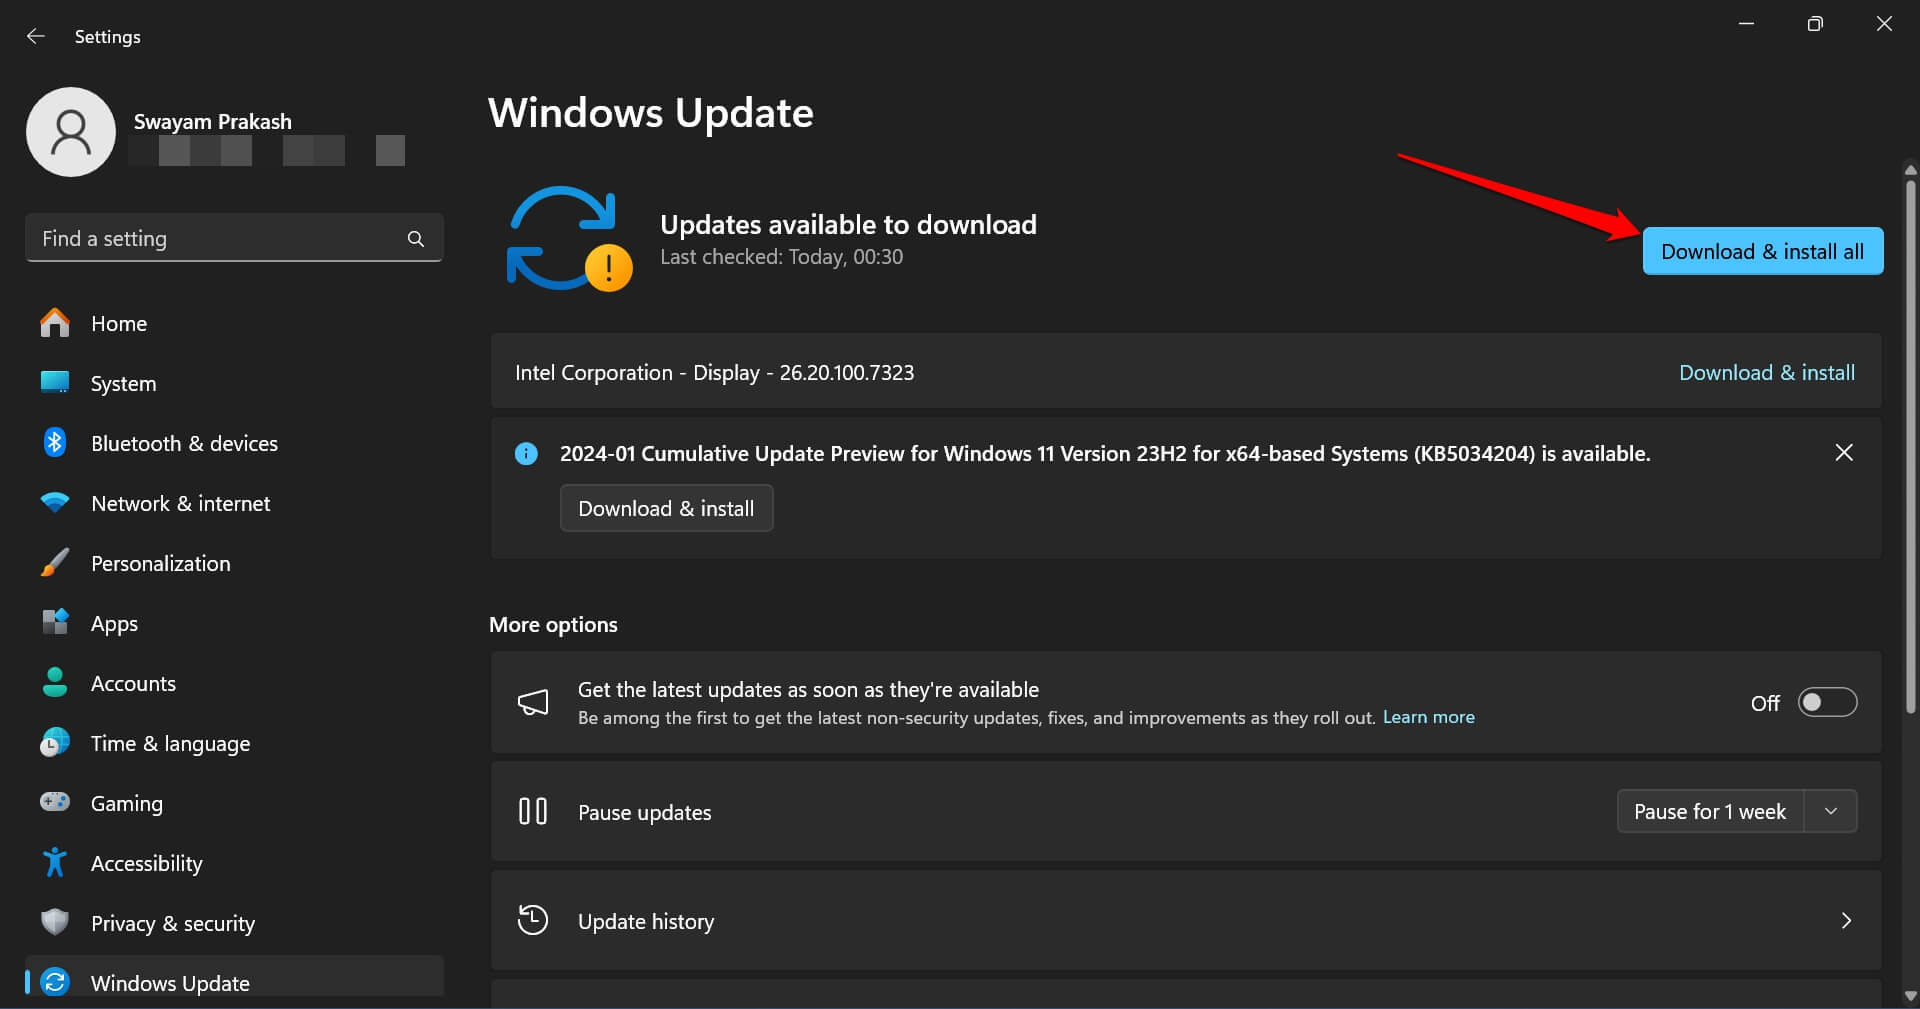
Install Windows 11 Update
Windows update brings fixes for bug issues and improves system performance. So, make sure to install the software updates regularly.
- Press Windows + I to access the settings.
- Click on Windows Update on the left sidebar.

- Press Download and Install to upgrade to any fresh build of Windows 11.

Apart from the OTA updates, you can also update to the latest version of Windows 11 using Installation Assistant.
NOTE: Always visit the official Microsoft forums to check if a recently released system update has introduced any bugs or instability after installation. That way, you can steer clear of buggy updates, which may further affect the system performance.
Disable Apps at Startup
When the PC boots up, apart from the necessary system services, letting other apps run will slow the system. It always surprises me that a lot of seasoned Windows users never realize this fact.
I managed the Windows startup and disabled several apps that were launching during startup.
Here are the steps that I followed to disable different Windows apps at startup.
- Press Ctrl + Shift + Esc to view the Task Manager.
- Click the Startup apps icon on the left side icon column.
- Right-click on the app you want to stop and choose Disable.
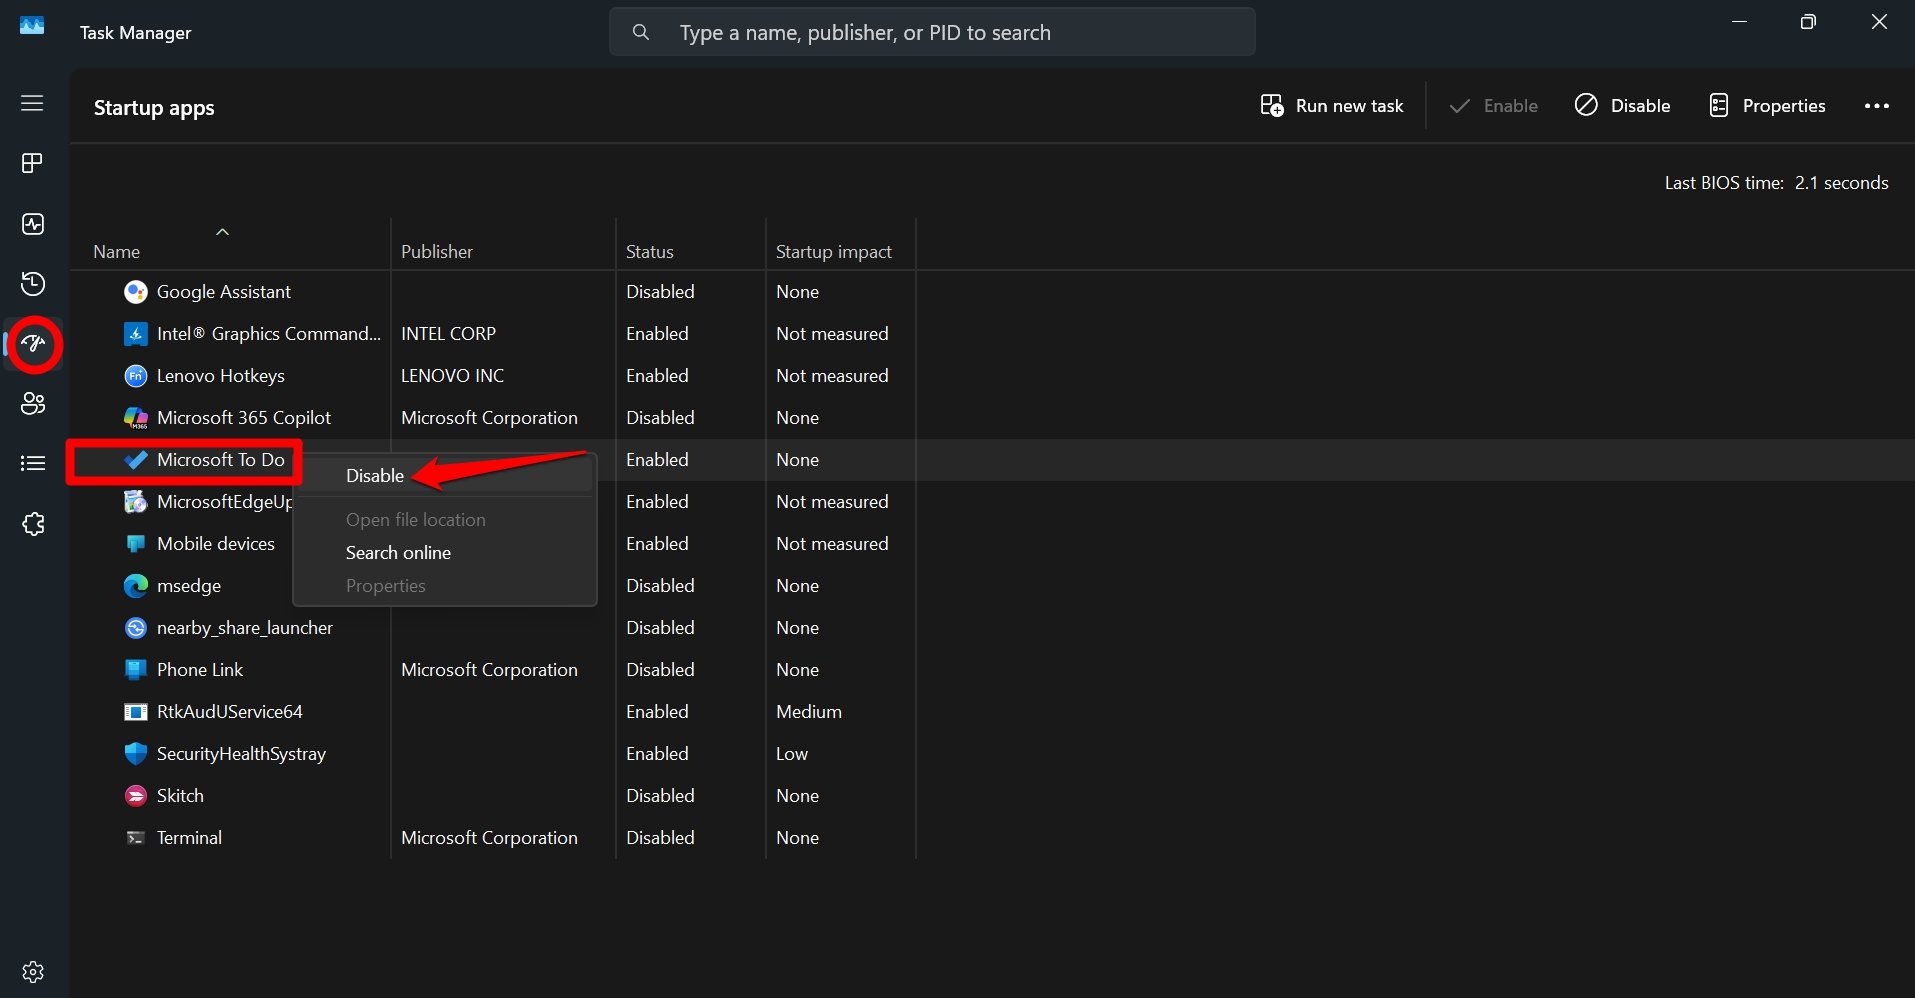

Here is a pointer, in case you do not understand what a specific app/service listed under the Startup apps does. Simply, use Google or ask ChatGPT to know about it and whether it is safe to disable the app/service during startup.
Remember, do not disable all apps/necessary system services. Only the third-party apps that have no purpose during startup should be disabled.
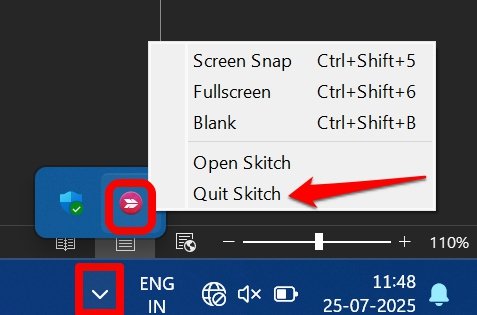
Also, when you close apps, check in the system tray if the apps are still active. Mostly, torrent apps, browsers, or specific apps may remain active in the background even after you close them. You can see the app icons in the system tray.
Right-click on the app icon and select Quit.
Adjust Performance in Power Settings
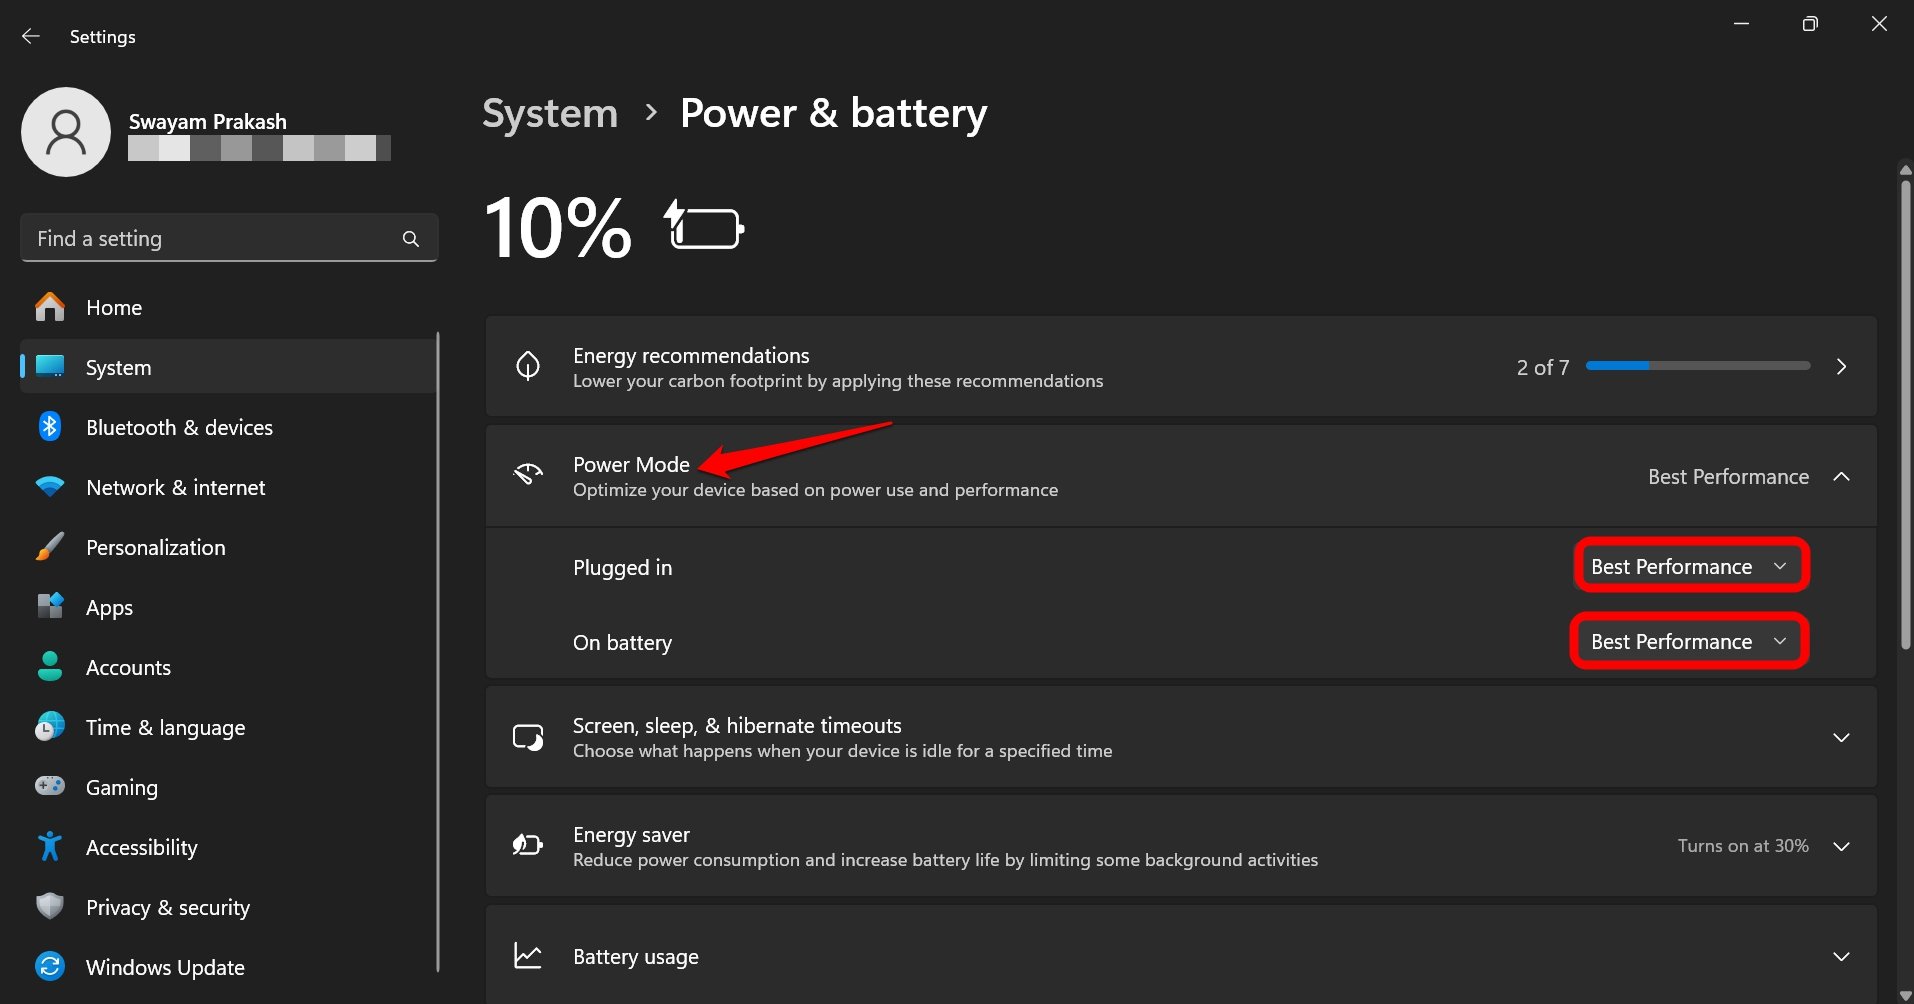
Normally, Windows uses a “Balanced” power mode to optimize power consumption while still executing tasks on the PC without any trouble. If your computer becomes visibly slow, I suggest switching the power mode to “Best Performance”.
I have used this trick to see a substantial increase in the performance of the PC. However, it comes at a cost of increased power consumption.
You can also switch the power mode on your PC using these steps.
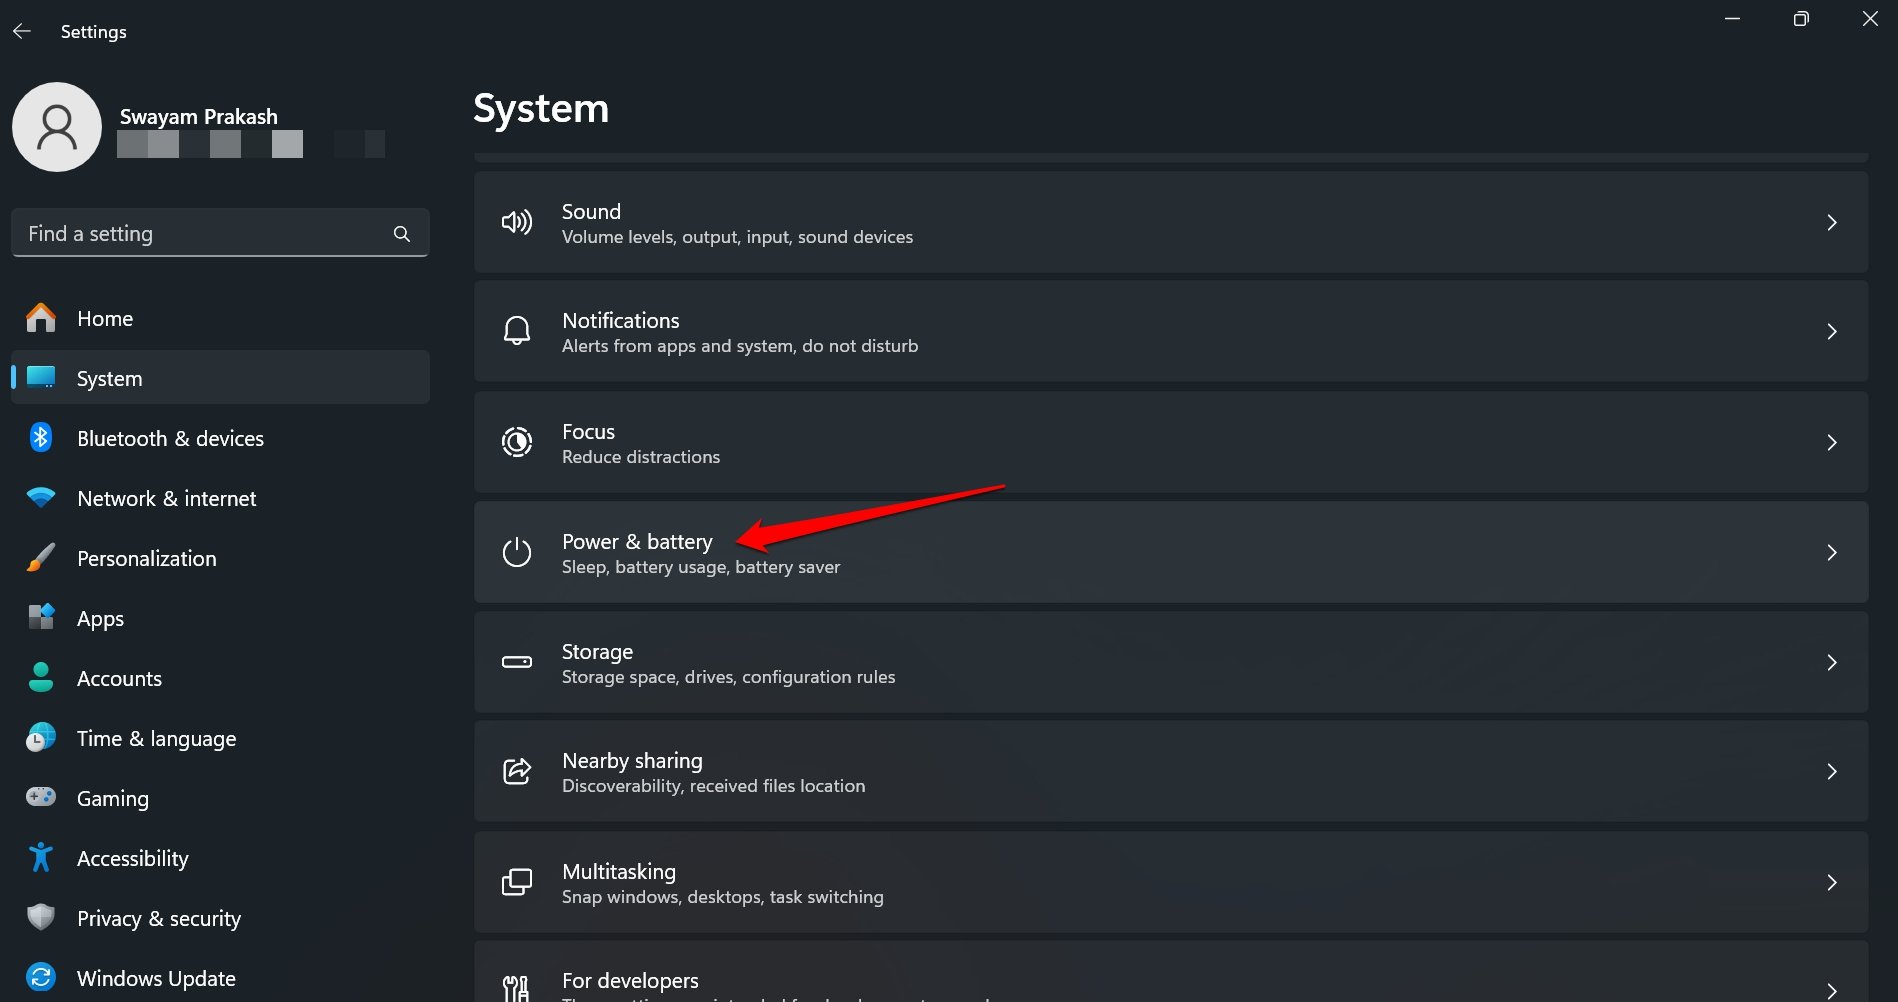
- Press Windows + I to go to Settings.
- Click on System > Power and Battery.

- Press the arrow icon next to Power Mode to reveal two drop-down lists: “Plugged-in” and “On Battery”.
- Click on the dropdown menu and switch from “Balanced” to “Best Performance”.

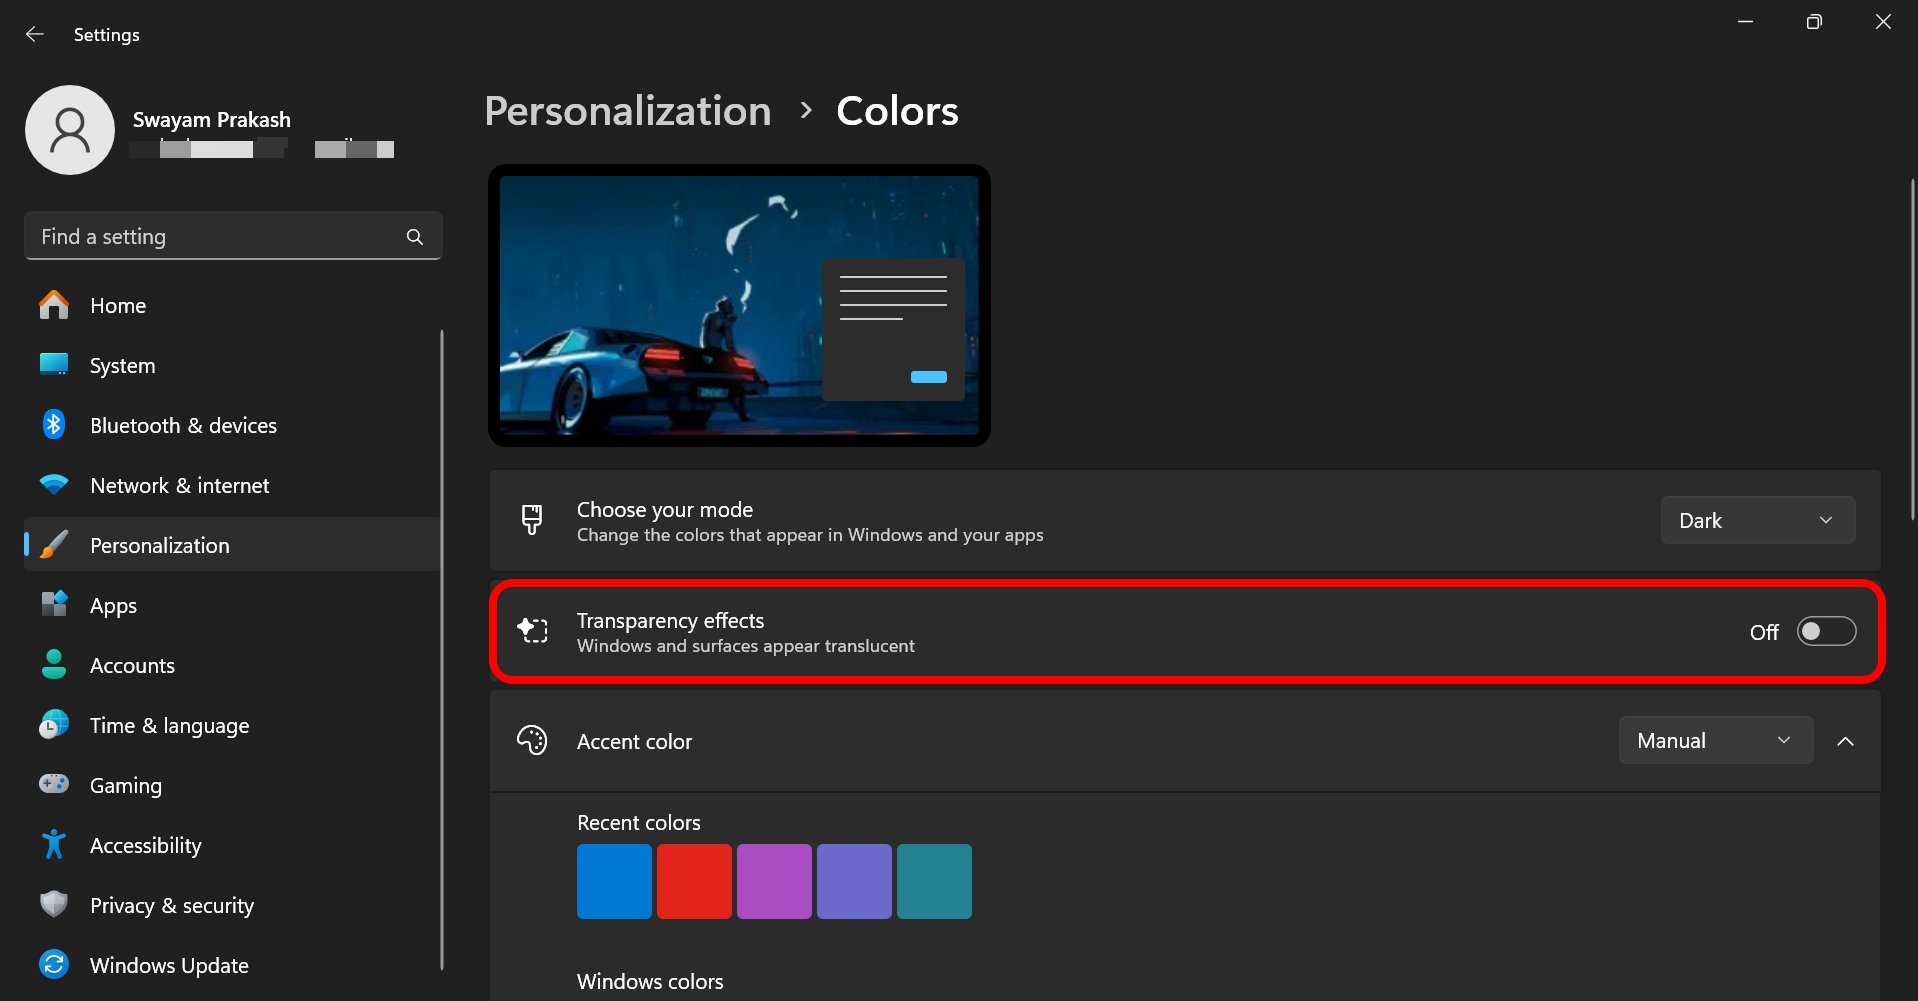
Turn off Transparency Effects in Windows Settings
The transparency effects in Windows 11 require CPU usage, which may affect the computer’s performance and slow down other apps. I don’t find the transparency effect useful for me, so I turned it off.
When the transparency effect is enabled, the UI offers a translucent view, adding visual appeal to the graphic interface.
You can turn off the transparency effect on your PC by following these steps.
- Press Windows + I to access the settings.
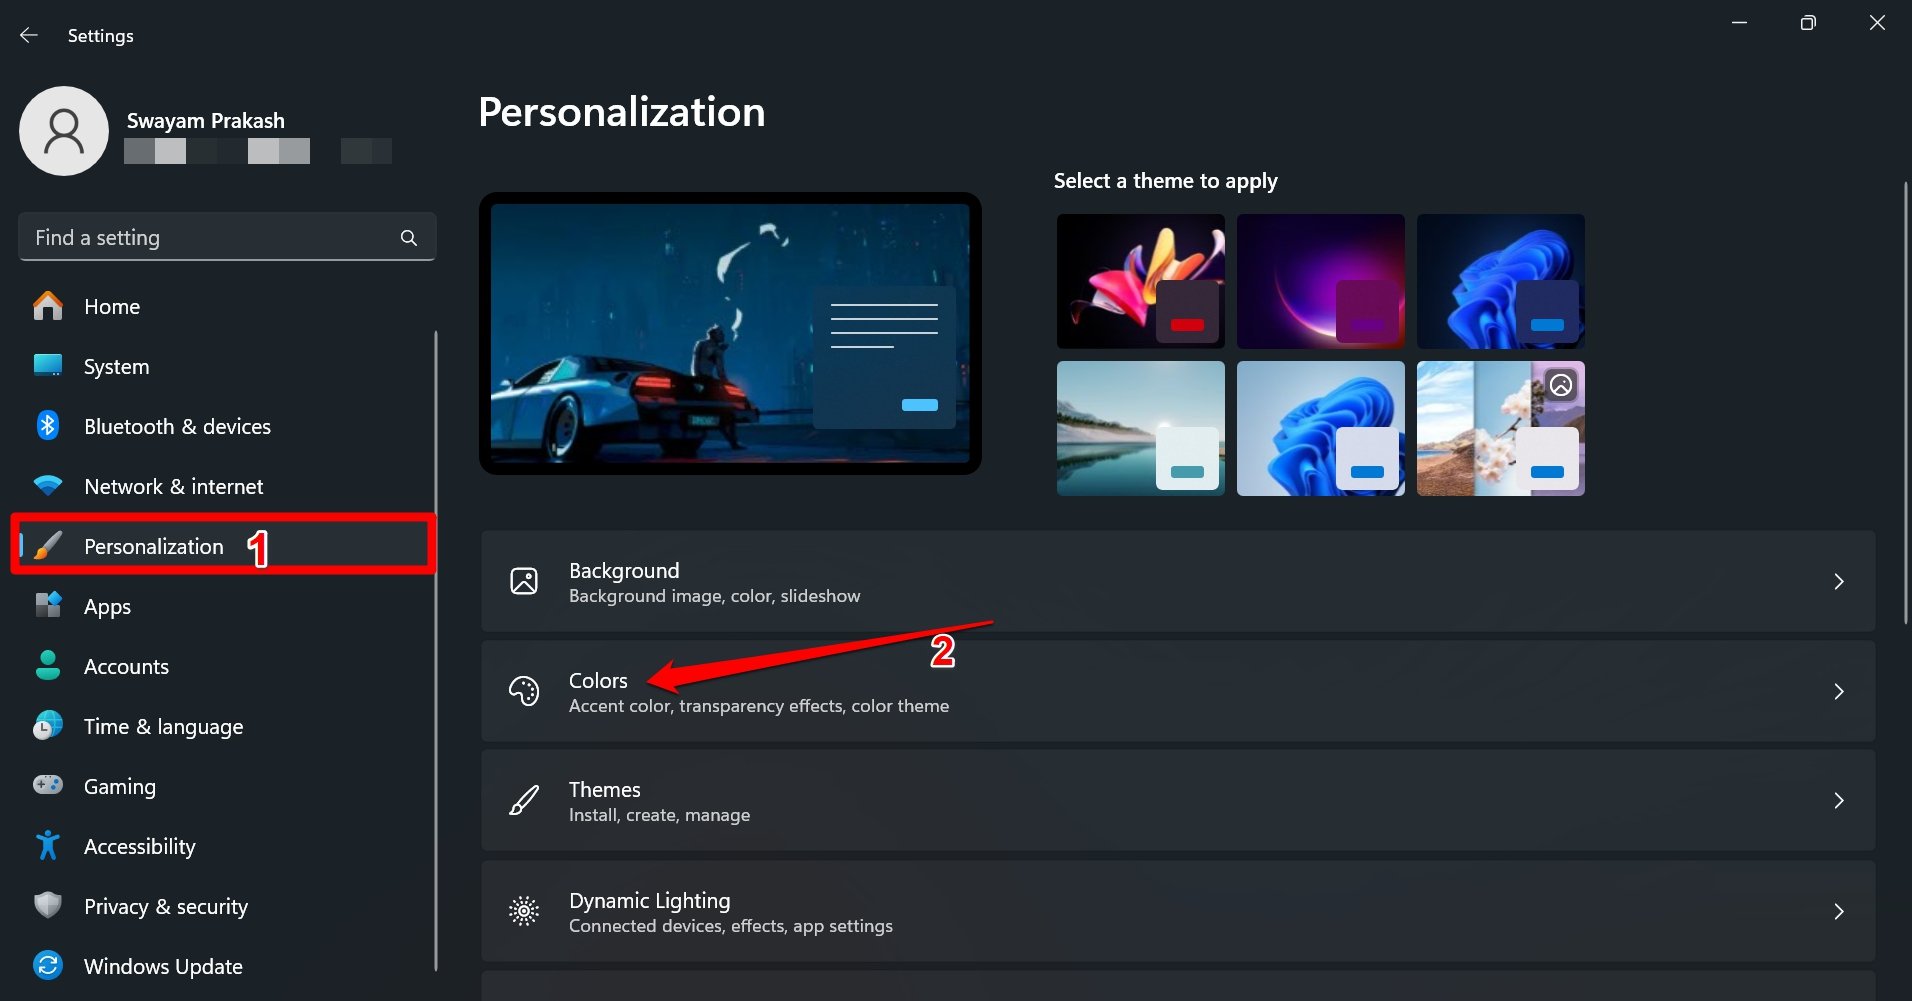
- Go to Personalization > Colors.

- Press the toggle beside Transparency Effects to turn off the feature.

Delete Cached AppData
Previously, when my PC would become slow or primary storage ran out of space, I would often perform a disk cleanup, but it wouldn’t do much to solve the problem.
After a lot of searching and observing, I spotted a folder named AppData in the primary hard disk. This contains cached data for every app that is/was part of your PC.
It could contain updater log, cached data, and several other information about an app taking upto gigabytes of storage on your PC, and contributing to its slow performance.
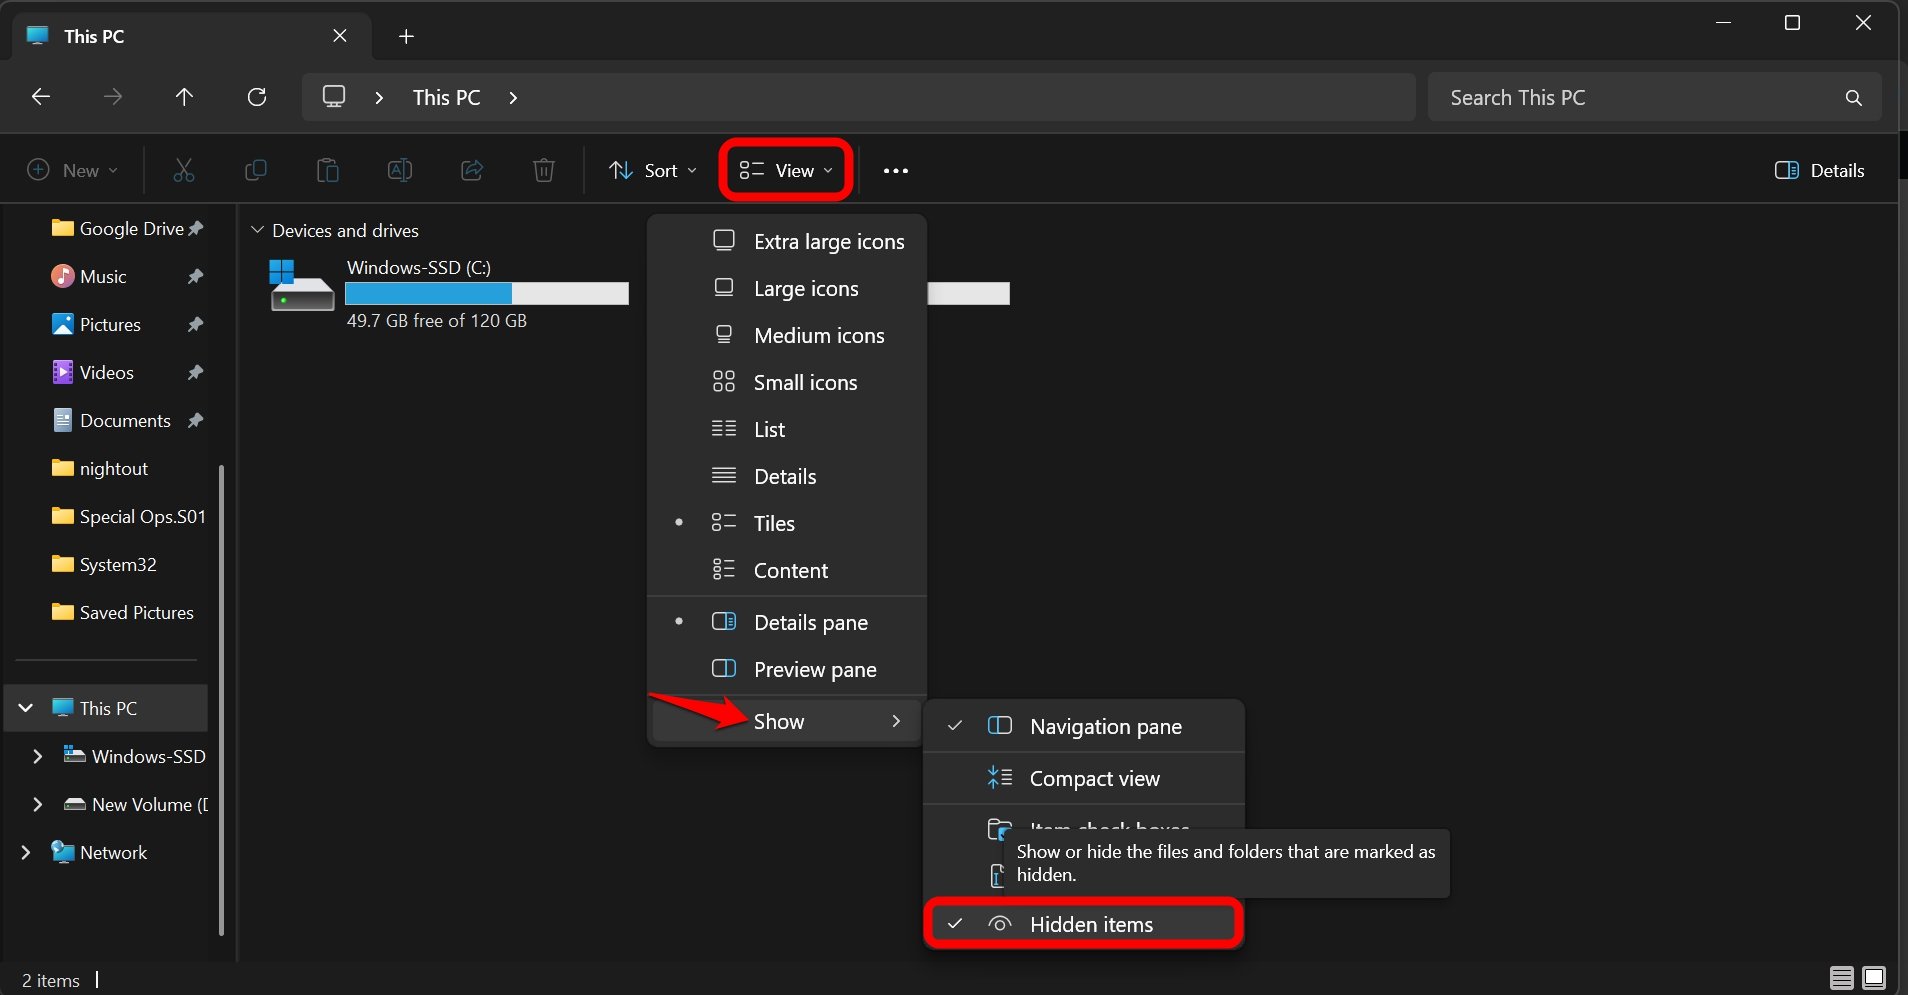
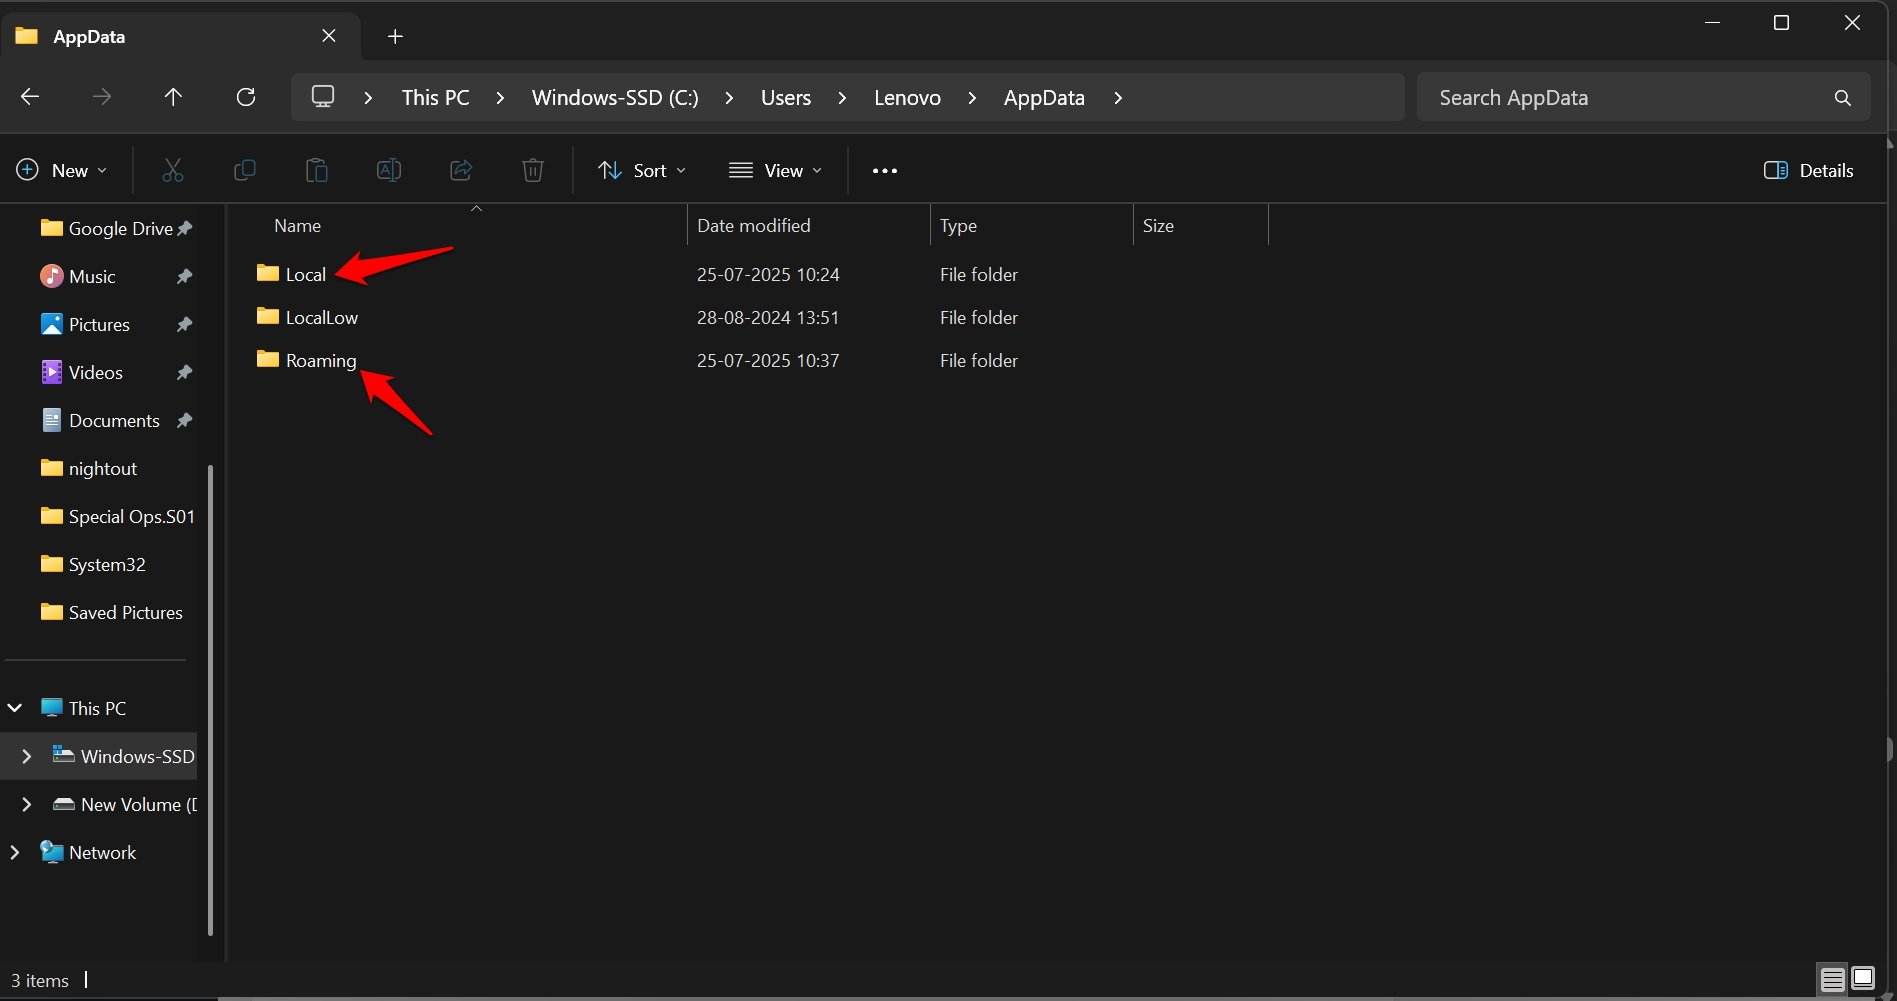
This folder is usually hidden, which you can view by changing the folder settings in the File Explorer.
- Click View > Show > Hidden Items.

- Now, access the primary hard drive and find a folder named Users.
- Within that, go to the folder that has the same username as your PC username. Inside this folder, you can spot a hidden folder named AppData.
For example, on my PC, it is Users > Lenovo > AppData.
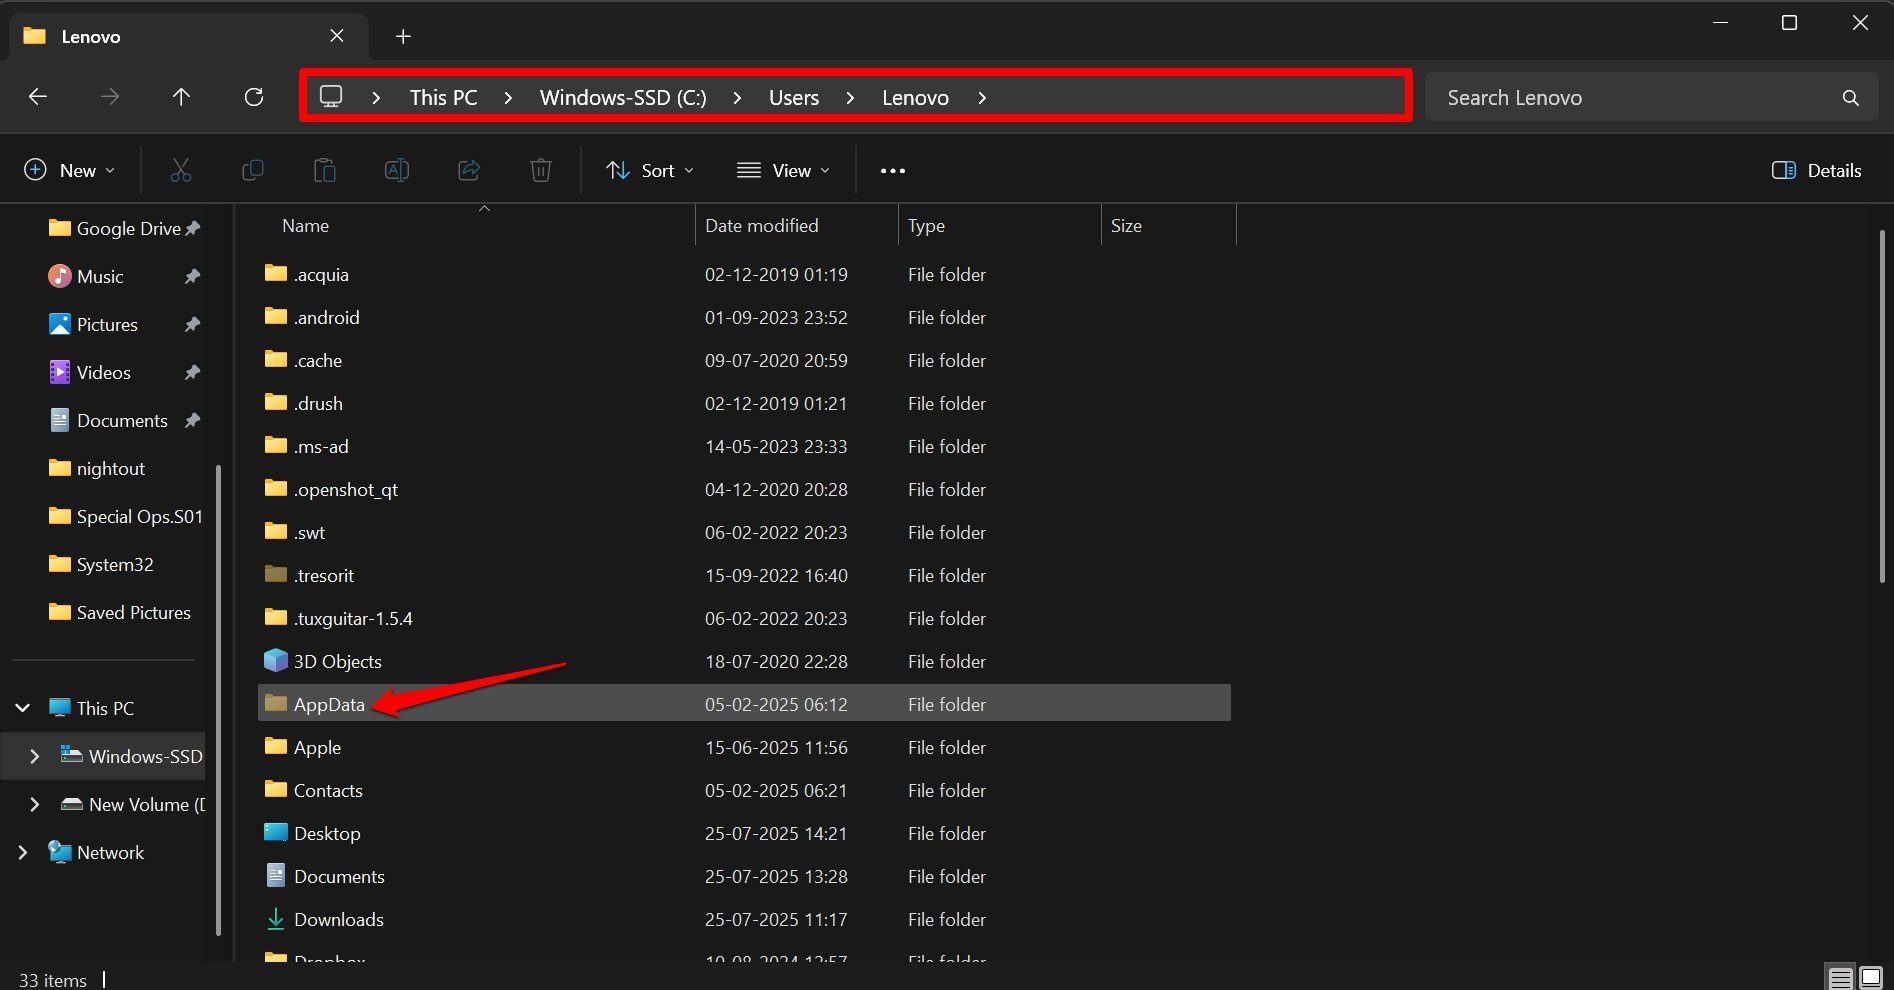
Access AppData to find folders named Local and Roaming. Within “Local” and “Roaming”, carefully check if there are files or folders related to apps you have uninstalled long ago. Delete those folders permanently.
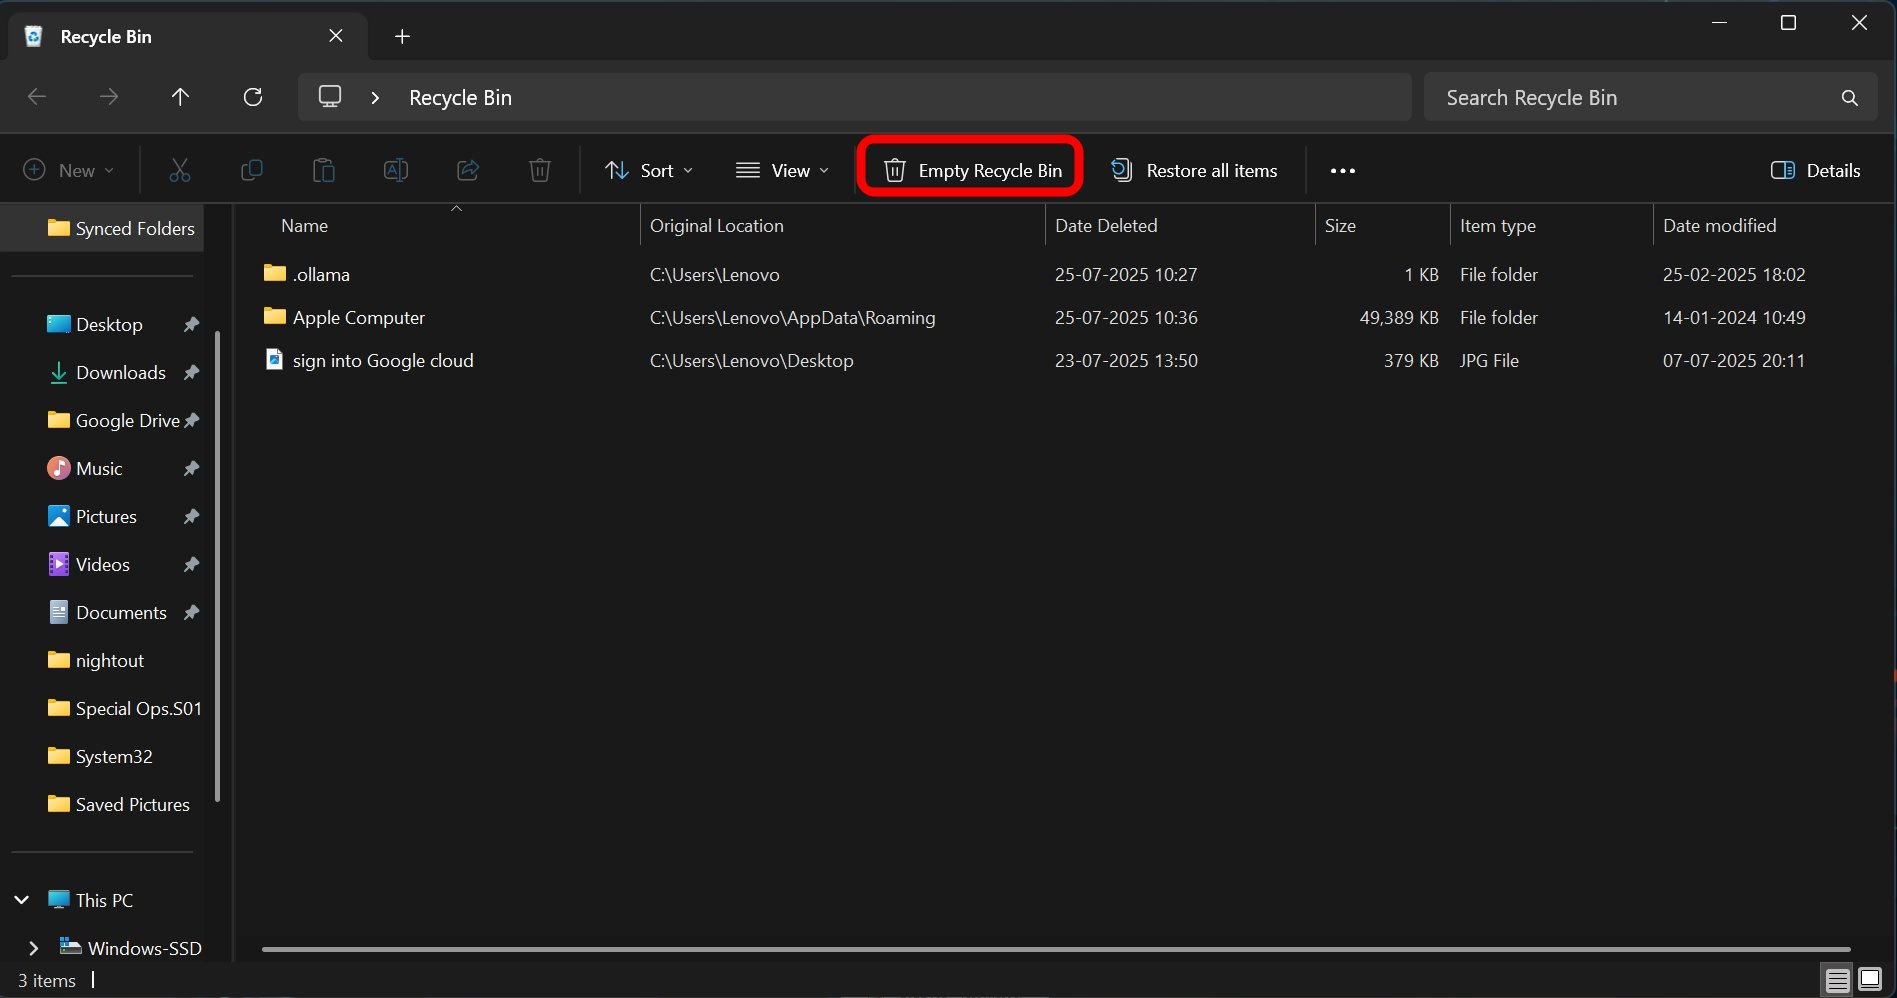
Empty the Recycle Bin
While I was on the cleaning drive, I made sure to empty the recycle bin. Normally, I’m used to selecting and deleting files, which simply moves them from their source location to the recycle bin. Those files are still on the PC and consume storage.
So, you can directly perform permanent deletion by selecting the files you want to remove and pressing the Shift + Delete keys.
To empty the recycle bin,
- Go to the PC Desktop.
- Access the Recycle Bin.
- Click on Empty Recycle Bin.

Switch to SSD
Does your PC/laptop use an HDD? HDDs are sort of outdated, and file operations in an HDD environment are slower.
I suggest upgrading to an SSD, particularly to the NVMe type. These SSDs offer better read/write speed that can improve the file operation speed across the storage system.
Check for Problems in the Computer Memory
RAM is one of the most important elements of a computer. It is often dubbed the brain of the PC that manages every activity running on the system.
The memory is a hardware resource, and there might be an issue with it that is causing it to process the operations slowly.
You can use the built-in memory diagnostic tool to check for possible issues with the RAM of your PC. It checks for read/writes errors, faulty memory cells, and addressing errors with the memory.
To use the memory diagnostic tool.
- Press Windows + R to launch the Run box.
- Type mdsched.exe and press Enter.
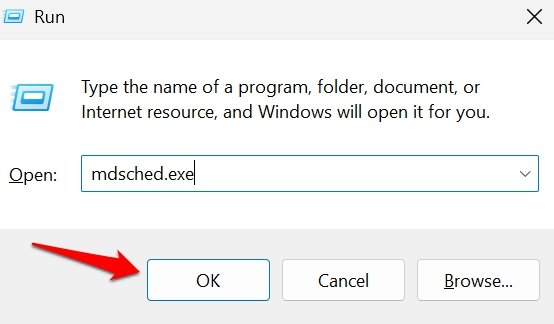

- You can choose the Restart the PC now to assess the memory or run it when the PC reboots next time.
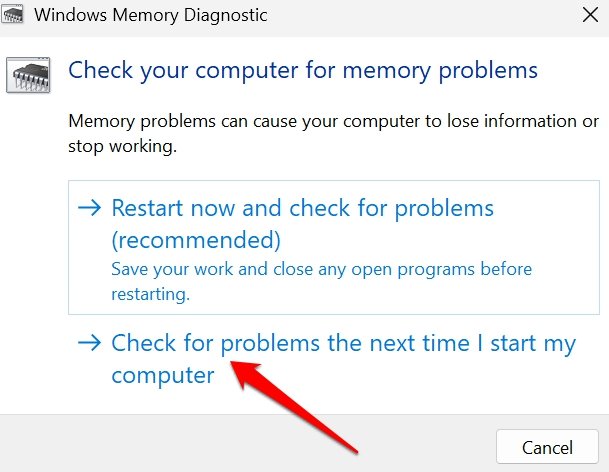

If any errors are found after the memory diagnostic tool completes the check, most likely you will have to contact the local support center for your PC OEM and get the RAM fixed or replaced.
Chrome users can reduce RAM usage on the browser for improved performance on their PCs.
Frequently Asked Questions (FAQs)
How often should I perform Windows Cleanup?
Depending on your usage, once or twice a month should be enough. The priority should be clearing out cached data, temporary files, and update logs for software, etc.
Where can I find Cached Data on my PC?
Access the primary hard drive. Locate a folder named Users. Within that folder, find the folder that has the same name as the username you have on your PC. Within that, look for a folder named AppData. It contains the cached data for currently installed apps, as well as those that were previously installed.
What’s the safest way to uninstall unnecessary programs without affecting system performance?
If you do not understand what a particular file does, inquire about it on Google/tech forums/ChatGPT. Do not delete anything without knowing the details about it.
Is it Safe to Use Third-Party Cleanup Tools?
Unless the cleanup tool is expensive or tells you to install other unknown bloatware on your PC, there is no harm in using a third-party cleanup tool. The native Disk Cleanup tool is always recommended as the safest option.
Clean up the Junk to Make Windows 11 Snappy Again
Removing unused apps, chucking out the cached data, disabling unwanted apps during startup, installing stable OS updates, and tweaking the performance in the power options should be more than enough to clean up your Windows PC, empowering it to perform efficiently at its best without lagging.
If you've any thoughts on Windows Cleanup Tips That Made My Laptop Snappy Again, then feel free to drop in below comment box. Also, please subscribe to our DigitBin YouTube channel for videos tutorials. Cheers!