
Do you want to install Windows 11 on an AMD machine? I have upgraded the machine from Windows 10 20H2 to Windows 11 Pro (beta) edition. I will be covering all important points that you need to know about, so you can reconsider options before proceeding. I have learned a lot from upgrading the software, and I want to share it with you, especially for those who have no idea what beta edition entails.
What are our AMD Rig Specifications?
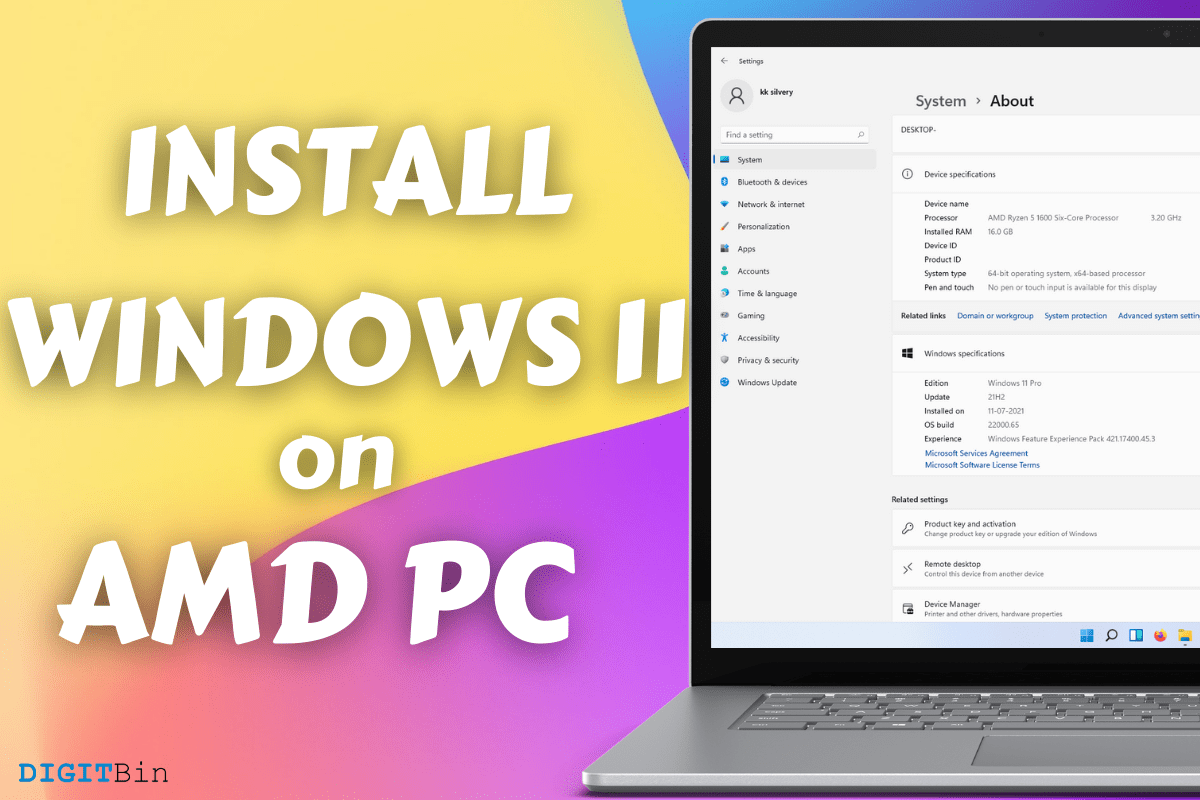
You have the right to know about the AMD machine specializations so that you can relate to them.
Processor: Ryzen 5 1600
GPU: Radeon RX 570 (4 GB)
RAM: 16 GB (DDR4 3000 MHz)
Storage: 240 GB M.2 SSD
Monitor: 1080p IPS Display
Motherboard: B450 (MSI B450M PRO-VDH V2) (UPDATED BIOS)
Yes, we have CPU and GPU powered by AMD themselves so that you can learn about the performance impact on both components. Millions of machines are out there running dedicated or integrated AMD GPU, so you know what to expect from Windows 11.
What are the Windows 11 Minimum Requirements?
I have been using Windows for a long time and more than a decade in my older machines. The learning process is never-ending when it comes to software and hardware. I don’t follow Microsoft’s minimum hardware requirement because it’s inaccurate as there is a wide range of hardware.
Realistic Minimum Requirement (BETA only);
Processor: Core i3 5th gen or above
RAM: 8 GB
Storage: SSD
GPU: Any integrated or dedicated GPU released after 2016
Security: TPM 2.0 available in motherboards released after 2016
Display: 720p resolution monitor or later
Firmware: UEFI or Secure Boot
We have to say goodbye to legacy BIOS motherboards because Windows 11 is not supporting them anymore.
The 11th edition is heavy in terms of package and requires powerful hardware for optimal performance.
Should you Install Windows 11 on the Primary AMD PC?
The answer is “NO” because it is not 100% stable, and I have watched a few videos on YouTube for a quick preview, and I disagree with them.
Due to instability and lack of optimizations, do not install Windows 11 (beta) in the primary machine.
Remember, the program developers did not optimize the software for Windows 11.
Do not install Windows 11 (beta) in the primary AMD machine or Intel machine because it is unstable and several programs won’t work properly.
I have a secondary machine, so I’m not worried about the degraded performance and instability.
I want to continue testing the 11th edition and witness the progress to tell you more about it later down the line.
By the way, you can roll back Windows 11 to Windows 10 without losing personal data.
Register for Windows 11 (beta)
The early access is available for beta users only, and you have to register for Windows Insider Program to enable it.
Step 1: Open the browser and go to the Insider Program register page.
Step 2: Click on “Sign in now,” and this will use your existing Windows account.

Step 3: Enter the email address associated with your Microsoft account.

Step 4: Enter the password and then click on the “Sign in” button.

Step 5: Confirm the identity by providing a code sent to your recovery email.

Step 6: The code is sent to the recovery email address.

Step 7: Enter the code and then click on “Next” to continue.

Step 8: You are redirected to the “getting started” page, which confirms that your account is registered for “Insider Preview.”

Follow the next instruction to enable the function.
How to Enable Windows Insider Program on PC?
Step 1: Press Windows Key + I to open settings.
Step 2: Choose “Update & Security” to continue.

Step 3: Choose Windows Insider Program at the bottom and then click on “Get Started.”

Step 4: Click on “Link an account,” and if you have connected a Microsoft account before, then it will show up here.

Step 5: Choose one option, and I have selected “Microsoft account” because I don’t have a work or school MS account.

Step 6: Let Windows connect with the server.

Step 7: Click on “Confirm” to continue.

Step 8: Click on “Confirm” again to continue.

Step 9: Click on the “Restart” button.

Your PC will restart, and it will update the Microsoft server and your machine.
How to Enable TPM 2.0 in Windows?
Microsoft clearly mentioned in the system requirements that your machine should have Trusted Platform Module (TPM) 2.0 enabled.
It’s a complicated procedure for average users, which is why we have authored a comprehensive tutorial on it.
Go to enable TPM 2.0 in Windows PC and learn how to enable the TPM module in your machine.
We have covered everything that you need to know about enabling TPM 2.0 in motherboard BIOS.
How to Install Windows 11 on AMD PC?
The “Dev Channel” option was not available in my edition, so I assumed that Microsoft is not supporting my AMD processor and AMD GPU. However, I was wrong, and I enabled TPM 2.0 from BIOS, and then the “Dev Channel” & “Beta Channel” options appeared in my copy.
Step 1: Open “Windows Insider Program” and click on “Release Preview Channel.”

Step 2: Choose “Dev Channel” or “Beta Channel.”
I have selected “Dev Channel” because it will give me the ISO file right away.

Step 3: Go back and then go to Windows Update. You should find Windows 11 Insider Preview in the list.

Step 4: The download will begin automatically.
Step 5: It does say “installing,” but the ISO file is being downloaded.
Step 6: In a few minutes, the status will go to “installing” mode.

Step 7: Do not close the window or shut the PC because it is slowly downloading in the background.
Step 8: A new window will pop up on the screen and let it load.
Step 9: The “What needs your attention” window may show up.
The installation or download will be stopped. There is a reason behind it, and we will solve it immediately.

Step 10: Go to the control panel and remove virtualization-related programs.
Uninstall emulators such as Bluestacks, LD Player, VMWare, Oracle Virtual Machine, etc.
Remove any program or tool that utilizes virtualization technology.

Step 11: Go to the window and click on the “Refresh” button. The window will say “Almost ready” and will close in the next two minutes.

Step 12: Let Windows 11 be prepared in the background.
Step 13: Windows 11 is saving the files.

Step 14: How do you know if you can restart it or not? The status will change to “Pending restart.”
Click on the “Restart” button.

Step 15: The software will update the downloaded files upon restarting.

Step 16: The updates will be finished in one or two minutes.
Step 17: Your machine will shut down and power up and begin installing the Windows 11 updates.
Step 18: The updates take time to install, so do not remove the machine’s power plug. Wait for a few minutes.
Step 19: Windows 11 installation panel shows up and lets it take a few minutes.

Step 20: In the next two minutes, you will have the new login screen.
Windows 11 is installed successfully on an AMD machine.
What do you Need to Know about Windows 11?
Here I’m going to answer a few questions that you need to know about it.
- You cannot choose a specific edition. Microsoft will install Windows 11, similar to Windows 10 edition. I have Win 10 Pro on my PC, and I got Win 11 Pro in the upgrade.
- Your personal files won’t be touched, and they will remain intact.
- You have to enable TPM 2.0, or else; you cannot install Windows 11.
- The performance was good, and I did not face a lot of bugs or glitches. I faced one bug, and that is all.
- I did not have any problems running older Windows programs.
- I don’t recommend Windows 11 beta for gamers. Gaming is a disaster on beta edition, and I was forced to play in “Windowed” mode, and the overall experience was horrible.
Windows 11 is a refreshing edition since Windows 7. I love the 11th edition, but there is a sorry side for the older machine users. The visual graphics are exceptional, increasing hardware utilization and requiring a modern CPU/GPU for a smoother transition.
Bottom Line
I want the let the beta users know that you can downgrade the software without losing data. I was surprised that it took me ten minutes to downgrade from Win 11 to Win 10. I have covered Windows 11 beta to Windows 10 tutorial, so do not hesitate to check out the preview. Let us know what do you think about the latest Windows 11 in the comment section below.