
GPS navigation is all you need to travel the far-away and unseen places today. In a way, it has made our life much simpler as we no more have to rely on others to locate a specific location on the map. However, if you are not familiar enough with this system on your device, perhaps it is time you should get used to it. If you are using an iOS device, the Apple Maps application will assist you with everything you need to find your destination.
In fact, Apple Maps makes your journey much easier by providing you with detailed information about your route. It provides all the essential features you would ever need throughout your travel. Today, we are going to discuss how you can leverage these features of Apple Maps and use this application to simplify every journey you ever take. Through this article, you will learn how to efficiently and effectively use Apple Maps in your day-to-day life.
How to Use Apple Maps on iPhone?
Initially, Apple Maps comes pre-installed with all iOS devices and iPhones. The application brings a pretty straightforward interface with easily accessible features on it. So, once you get to know about these features and learn how to use them, they shall be very simple to use. Since Apple Maps offers a lot of stuff for us, we will talk about each of them one by one.
Getting Directions to a Specific Location
Since the utmost priority of using GPS navigation is basically to find the directions to some particular place. Here is a step-by-step guide to getting quick directions of a specific location on Apple Maps.
- Firstly, find Apple maps on your iPhone and launch the application. Alternatively, if you are facing trouble locating the app on the home screen, swipe left to access the search bar. Search for ‘Apple Maps’ and it shall come up on your screen.

- As you launch the application, you will see a search bar with the placeholder “Search Maps”. Click on the search bar and type in the destination name.
- Now, you can see the ‘Directions’ option along with the average time to reach the destination marked in blue.
- Click on Directions, and it will show you the route to the direction from your current location.
- In case, you want to select the starting point to somewhere other than your current location, tap on ‘From My Location’.

- You can then set the starting point to any desired location in the ‘From’ search bar.
- Now, select the mode of transport from the given options to display the appropriate time and route available.

- Additionally, you can also click on the slider beside the Tolls and Highways options under the Avoid section. If you enable these options, Apple maps will exclude those routes that have either a Tollgate, Highways or both.
- Finally, click on the Go button to show the directions to your destination.
Add To Favorites
‘Add To Favorites’ is another cheeky option you will find in Apple Maps. Well, this feature allows you to save your most visited places. Suppose, you just got settled in a new city and aren’t familiar with the directions to your office or your home. You can easily save them in the ‘Favorites’ section. So, the next time you want to access directions to the specific place, you can directly do so from the favorites section, instead of having to repeat the entire process again.
The steps to save destinations in Favorites is as mentioned below:
- Launch Apple Maps application and you will see the Favorites section below.
- Select from ‘Home’, ‘Work’, or ‘Add’ options on the menu. This will prompt you to Set up your Contact Card.
- Now, add your destination name and you can manually select if it is your Home address, Work address, or simply a randomly visited address. Moreover, Apple Maps also suggest you other categories based on the type of place you want to add to your Favorites list.
Finally, tap on Done, and the place will be saved in your Favorites list. Next time, you want to access the location, you can directly access it from the Favorites section.
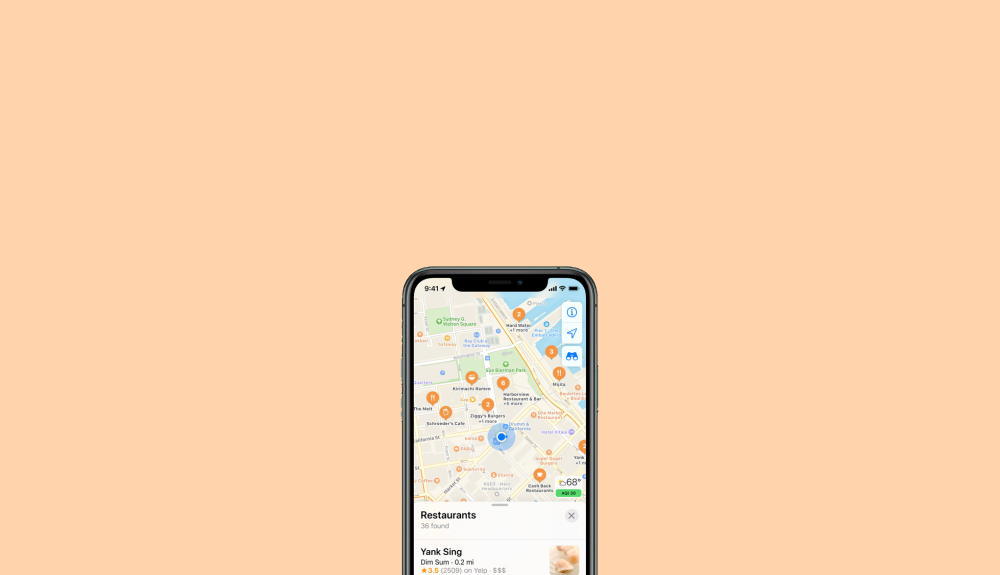
Accessing Nearby Locations On Apple Maps
The ‘Nearby Locations’ option on Apple Maps helps you a lot to find places like Restaurants, Gas Stations, ATMs, etc near you. Apple Maps provides two ways to view all the nearby locations on the application. The steps to access nearby locations on Apple Maps are as follows:
- Open Apple Maps application.
- Tap on the Search bar and select your preferred category from the Find Nearby sections. You can slide to the left to see more categories coming your way.
- Alternatively, if you cannot find the category you are looking for, type Urgent Care in the search bar.
- It will display a list of locations near you.
Once, you find your destination, you can select it and check for its directions on the map.
Share Your Location
Sometimes we might want to share our locations with our friends and families for various reasons. Fortunately, Apple Maps makes sharing your locations much easier now. All you need to do is follow the steps below to share your location with anyone you want to.
- Launch the Maps application on your device and click on the ‘i’ icon.

- Now tap on ‘Mark my Location’.
- It will mark the location with a red pin.
- Now, scroll down and you will see the share option. Tap on it and now you can share your location via any app you like.
- If you want to remove the marked location, simply tap on the red pin and click on the ‘Remove’ option.
Choose Your View
Apple Maps basically provides you with three different types of views, Map view, Transport view, and Satellite view. Generally, the Map view is selected by default. However, if you want to change it to some other view, this is how you do it:
- When you open the Maps application, it will display the Map view initially. Now, you have to click on the ‘i’ icon.
- There you can see all three view options on the top of the menu. Here you can select any view you are comfortable with.

Adding a New Stop To your Route
Another interesting feature you get with Apple Maps is the facility to add new stops in your route. This often proves helpful while taking a long route to your destination. You may want to add a stop to refill your gas, get some food, or maybe take a break from driving. You can add a new stop through your route in Apple Maps in the following way:
- Click on the route card at the bottom of the screen.
- Select the location category from the available ones.

- This will display all the locations on your route belonging to the specific category.
- Select the location you want to take a stop and click on the GO button.
Wrap Up
Finally, you have all your answers to use Apple Maps on iPhone. The application provides a very intuitive and easy-to-use interface with easy accessibility to all the elements. As a result, using Apple Maps becomes really easy once you know all its functionalities. Hopefully, this article will help you to understand all the basic functionalities of Apple Maps. If you have any further queries, let us know in the comment section below.