Linux machines are blessed with advanced features, but there are no inbuilt tools to check the temperature. Global manufacturers don’t support the Linux community by providing software support in the existing tools. However, you have third-party tools that allow the users to check system temperature in Linux machines. Unfortunately, no community developers are working on a masterpiece, but it is what it is. We can find out the computer overheating components using the existing tools.
How do Linux Programs Find Out Computer Temperature?
All good desktops & laptops come with sensors inbuilt in them and it is integrated by the manufacturers themselves. The company adds sensors to help the machine owners to identify the overheating component and fix them before it reaches the boiling point. Manufacturers want to avoid the customer claiming the warranty, which will increase the burden on free repair services.
You can check different component temperatures, and I have listed them below.
- CPU (Intel or AMD processor)
- GPU (Intel, AMD, and Nvidia graphics card)
- Storage drives (Hard disk and SSD)
- Motherboard
- Fan speed (CPU, GPU, and external fans, if you connected the fan in the motherboard)
- Wi-Fi card (if it supports it)
Many low-end components don’t come with temperature sensors, which is part of the cost-cutting strategy. Our laptop is a budget-oriented machine by Acer, who avoided several sensors in the machine.
How to Check Temperature of Various Hardware on Linux PC?
Here is the Detailed Guide to Check temperature of CPU, GPU, Hard Drive, RAM, Battery, and Other Hardware Components
LM Sensors or PSensor
PSensor is what worked in my AMD-powered laptop and it is one of the reasons why I listed on the top. I am sure that it will work in your case and it doesn’t matter if the machine is powered by AMD or Intel because PSensor supports all modern and old processors.
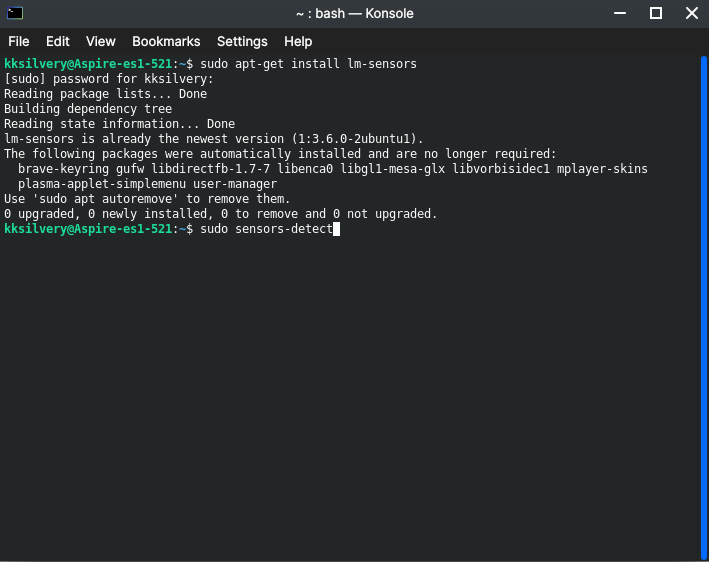
Step 1: Open “Terminal” and type “sudo apt-get install lm-sensors” and press enter button.
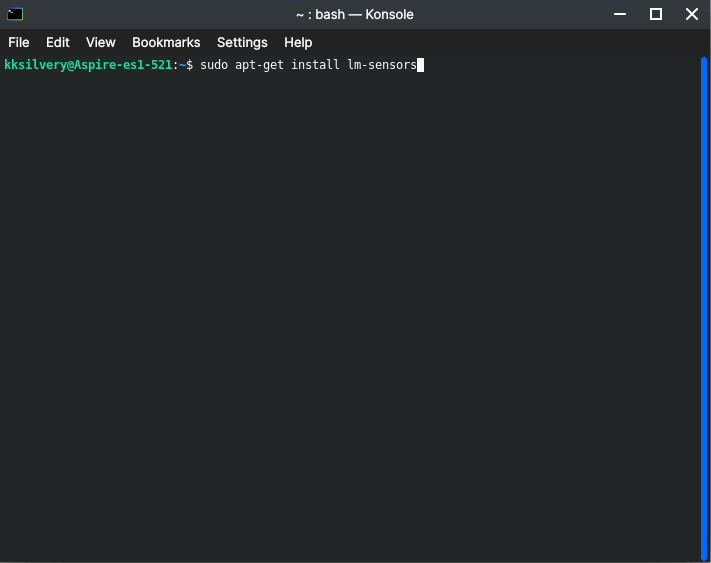
Enter the machine password to confirm the action.
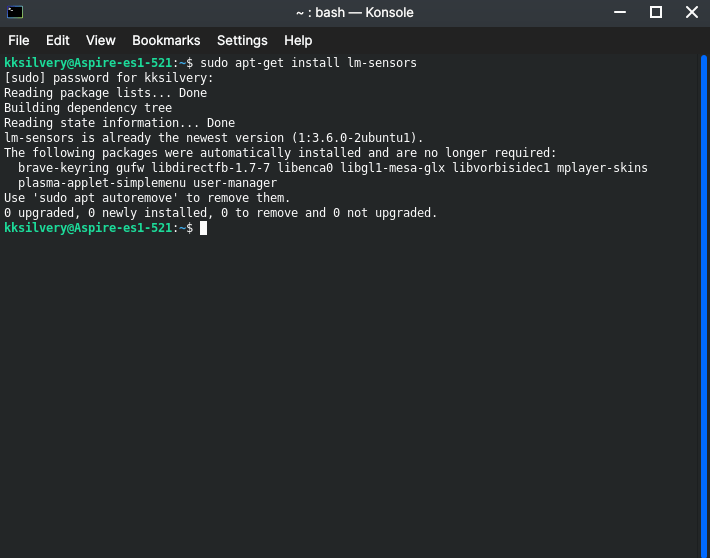
Step 2: I have installed it long back, so I didn’t have to type “y” to confirm the action.
Press “y” which stands for “yes” and install LM Sensors or PSensor in the machine.
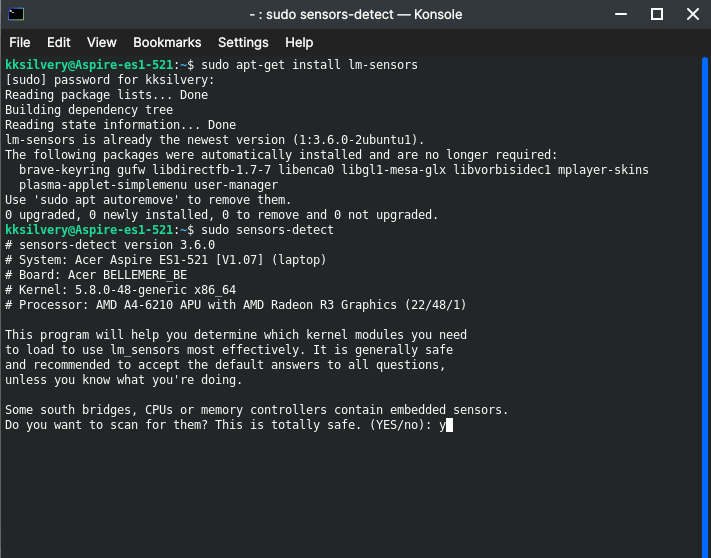
Step 3: Now, type “sudo sensors-detect” to let the tool check what sensors are present in the machine.
Step 4: Type “yes” and hit enter to continue.
Step 5: Type “yes” and hit enter to continue.
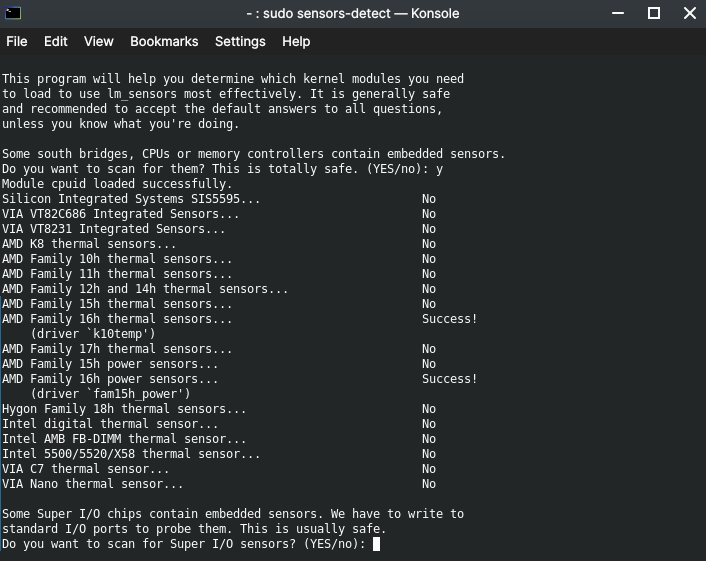
Step 6: Type “yes” and hit enter to continue.
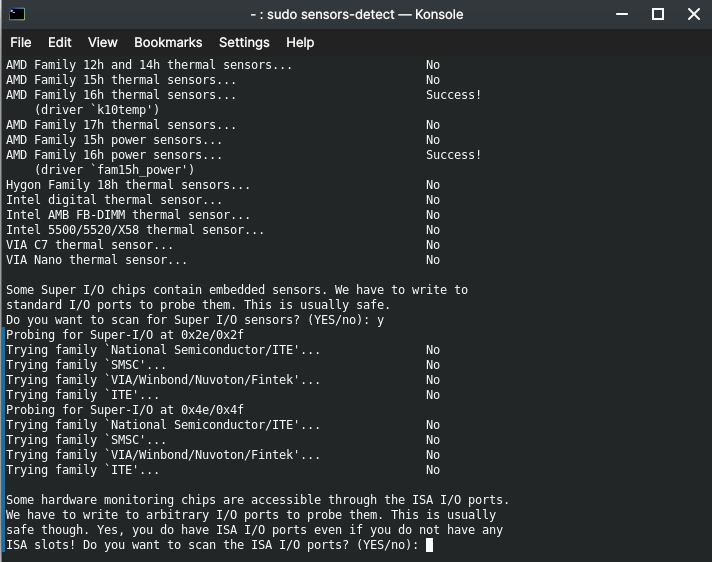
Step 7: Type “yes” and hit enter to continue.
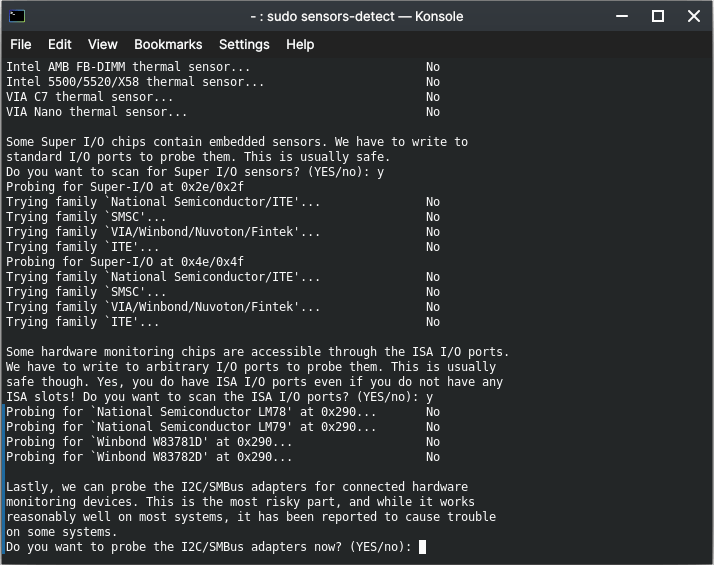
Step 8: Type “yes” and hit enter to continue.
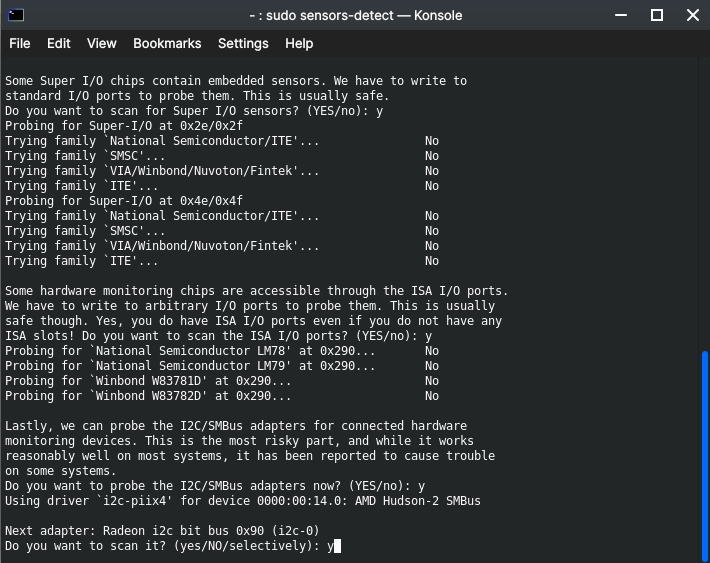
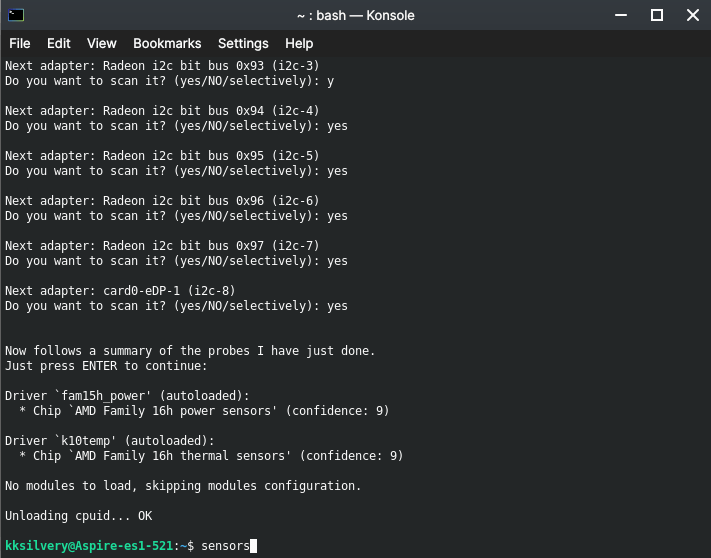
Step 9: Keep typing “yes” till the detection process ends.
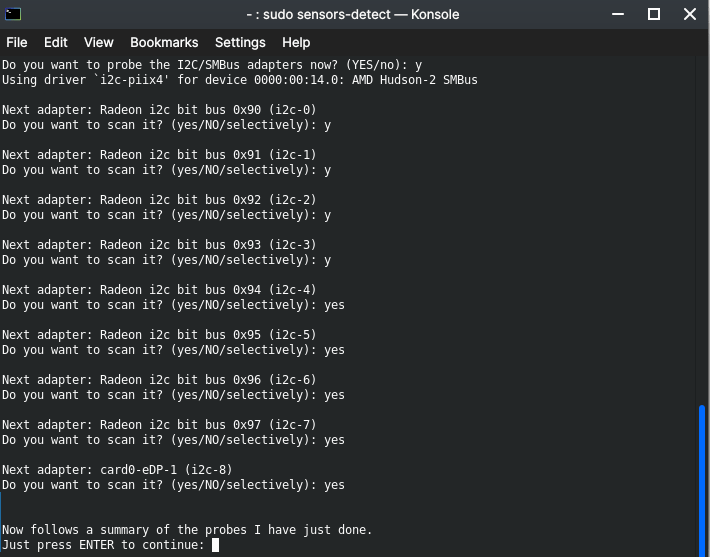
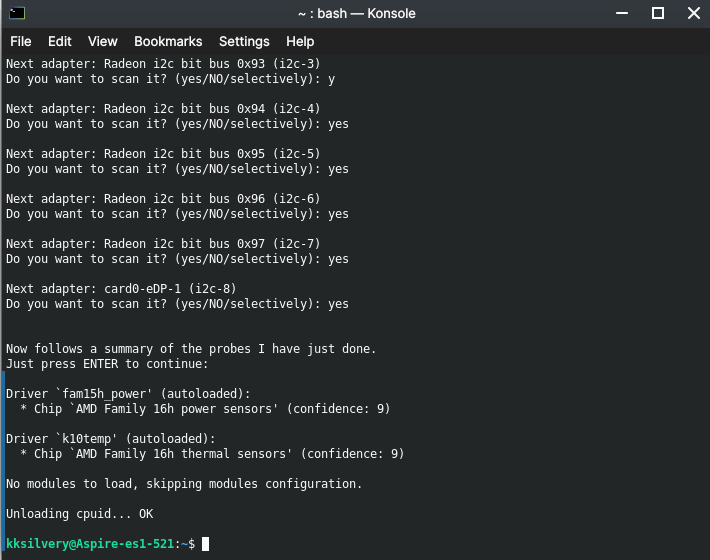
Step 10: Sensors detection is complete and LM Sensors know which sensor is available in the machine.
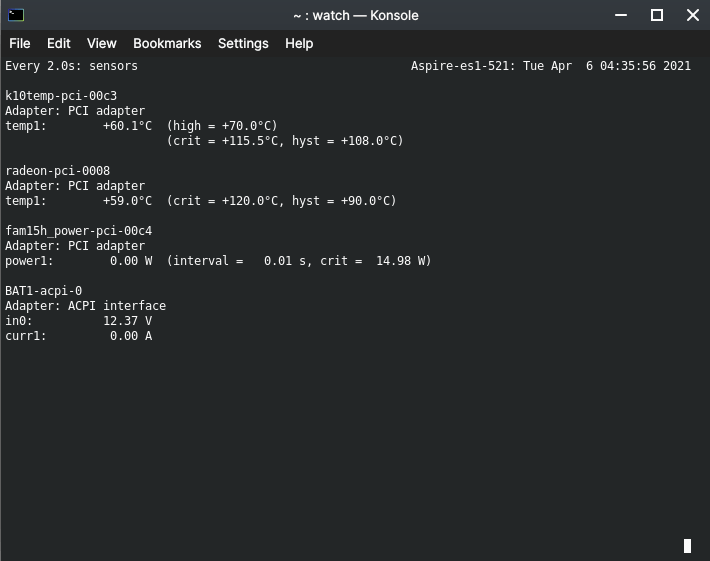
Step 11: Type “Sensors” in the Terminal to open it.
Step 12: Now, you can view the temperature in Celsius.
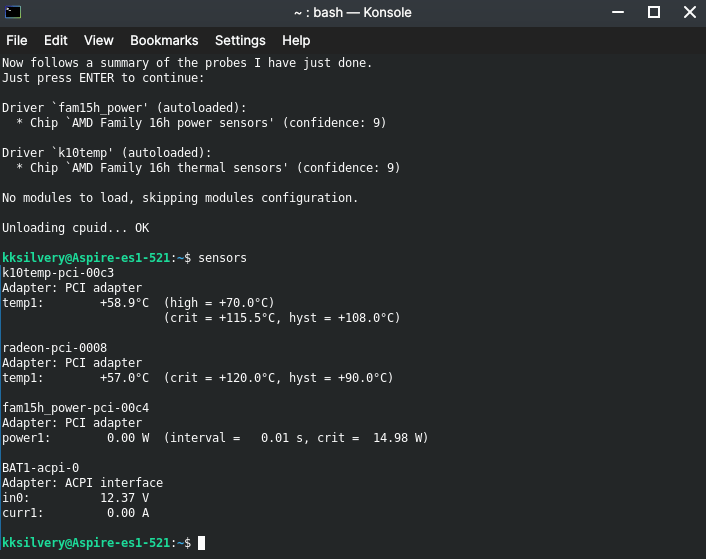
- K10temp-pci-00c3 = AMD Quad-Core CPU
- Radeon-pci-0008 = AMD APU/integrated GPU
The Acer skipped several sensors in the entry-level AMD laptop. It is one of the reasons why you don’t see other hardware components temperature like HDD, SSD, Motherboard, etc.
Hardinfo
LM Sensors doesn’t have a user-friendly UI and that is why I recommend Hardinfo because it has a user-friendly GUI. It’s easy to install and navigate, which is why I have listed it in the second position.
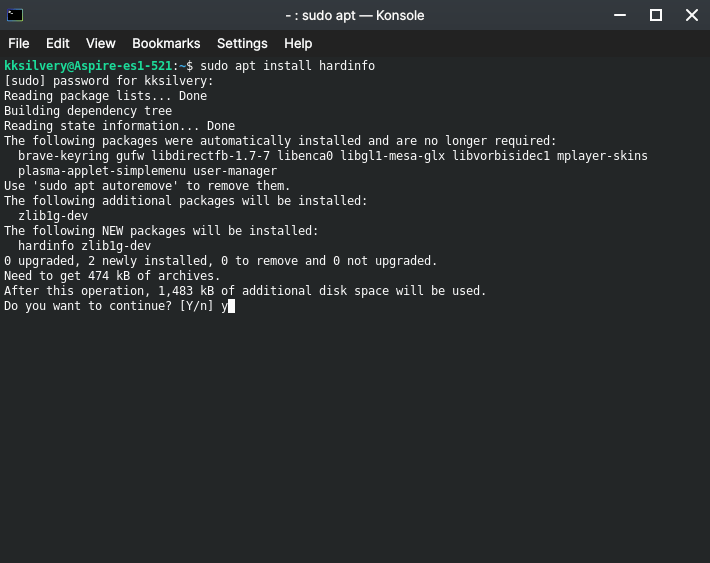
Step 1: Open “Terminal” and type “sudo apt install hardinfo” and then press enter.

Enter the machine password to allow “Terminal” to download dependencies.
Step 2: Press “y” to confirm the installation.
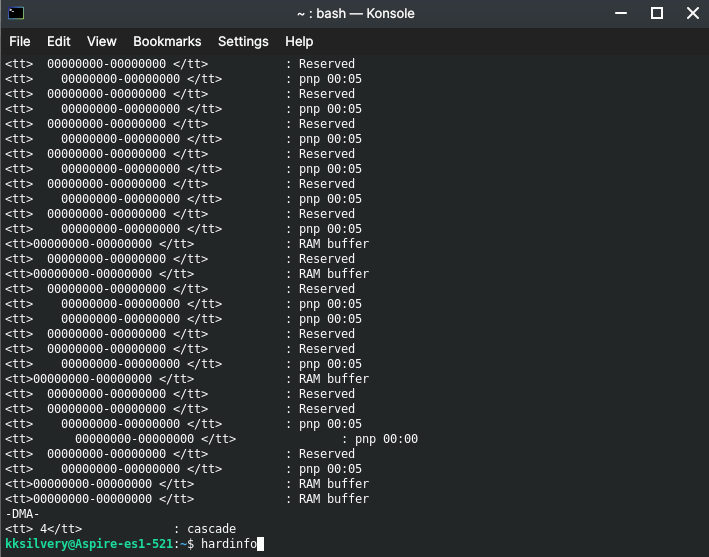
Step 3: Type “hardinfo -rma devices.co” and press enter button to continue.
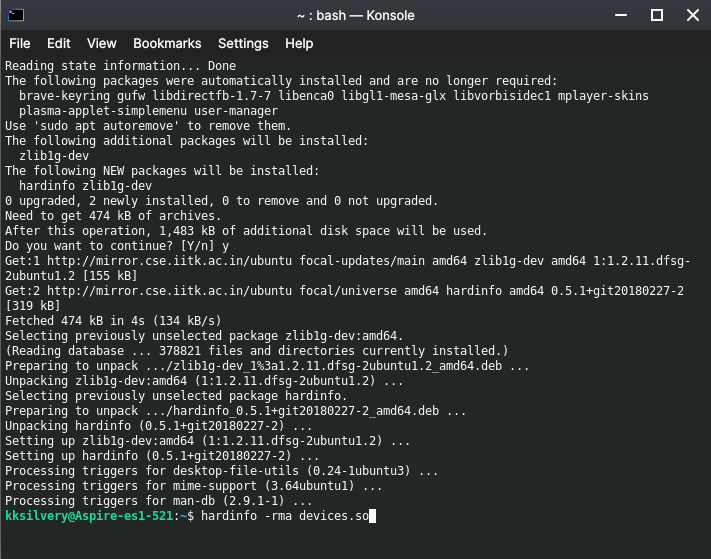
Step 4: Let the newly installed program scan the machine for sensors & other hardware.
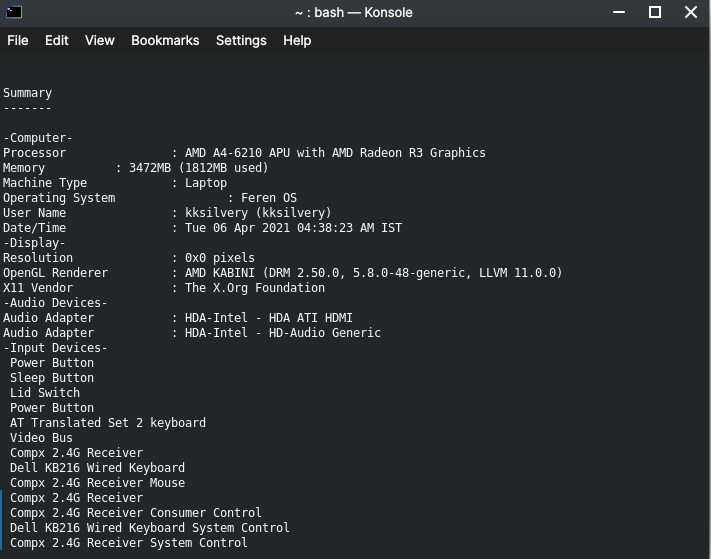
Step 5: Type “hardinfo” and press enter button to open the GUI.
Step 6: A new window will open and then click on “Sensors” to check the hardware temperature.
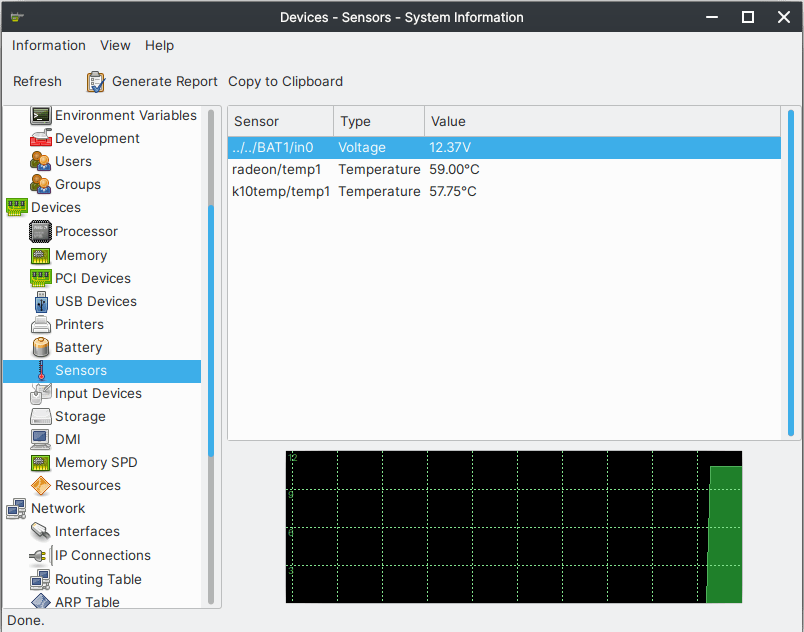
- K10temp/temp1 = AMD Quad-Core CPU
- Radeon/temp1= AMD APU/integrated GPU
Your PC might have more information than what I have in my AMD laptops such as fan speed, SSD, HDD, and other components. Hardinfo is a powerful tool with a user-friendly user interface, which makes it a reliable tool for beginners.
Glances
Glances is an advanced tool that displays system statistics in one place including temperature.
Step 1: Open “Terminal” and type “sudo apt install glances” and then press enter key.
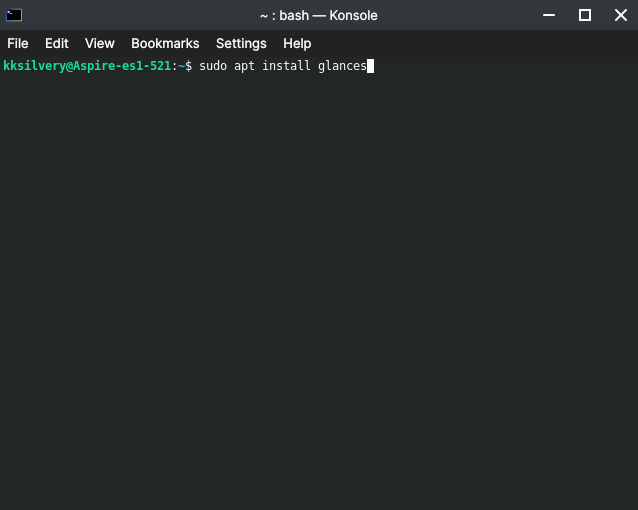
Confirm the action by tying the machine password.
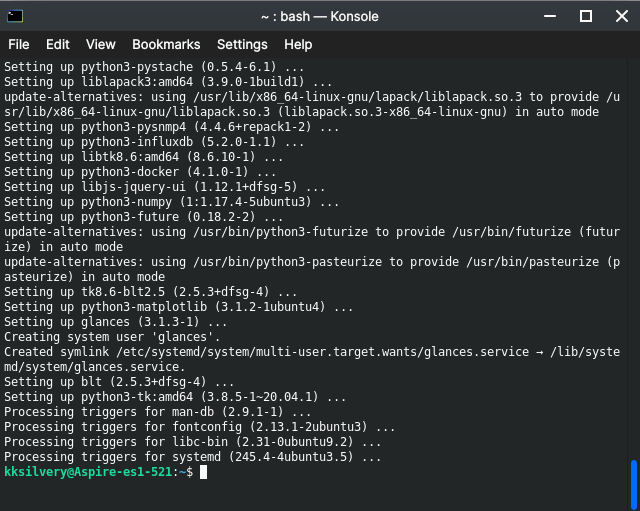
Step 2: Press “y” and then press enter key.
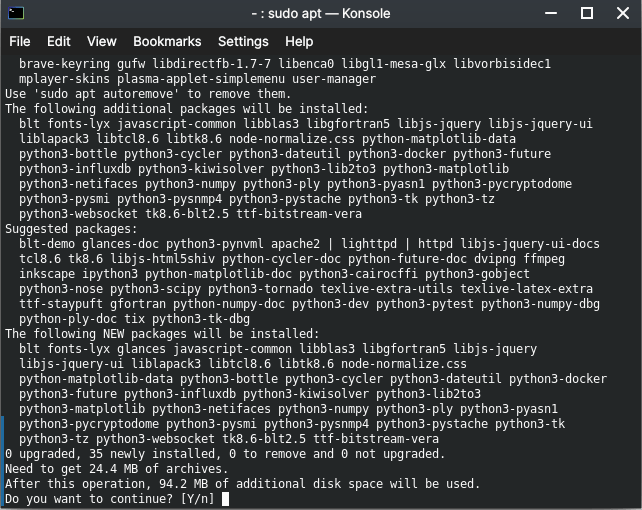
Step 3: Glances is installed in a couple of minutes.
Step 4: Type ”Glances” in Terminal and then press enter key.
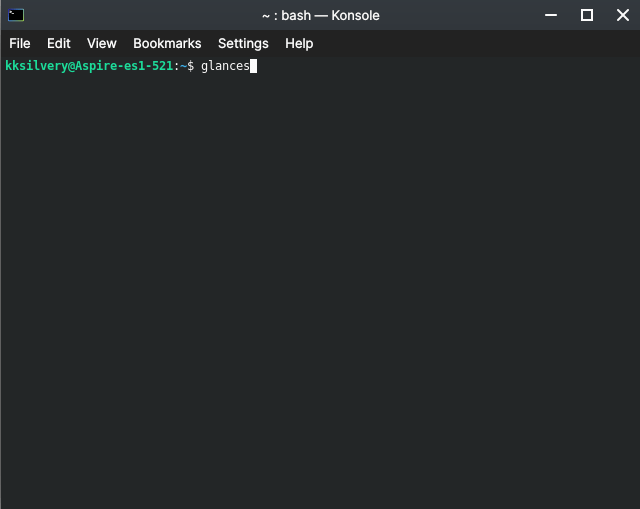
Step 5: The information is loaded on the screen.
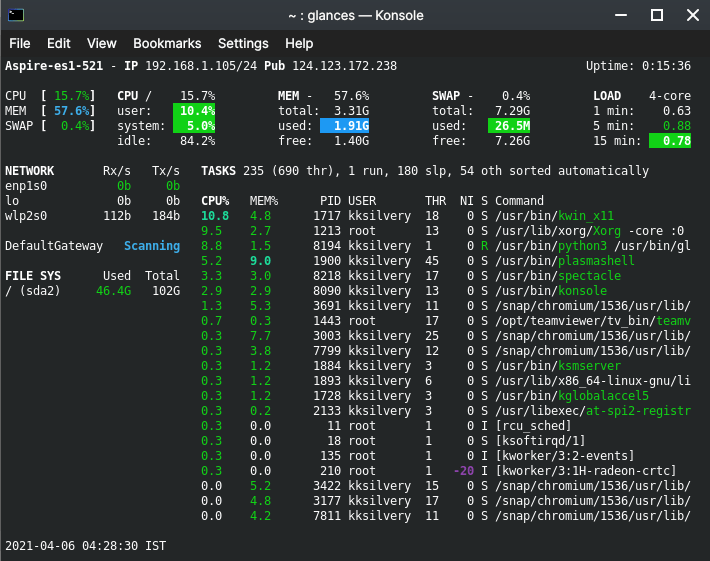
Press the F key to view the temperature of the components but it didn’t work in our case. We don’t know if it’s going to work on your Linux PC or not, but it is worth a shot.
i7z
i7z is a graphical frontend utility specifically designed for Intel processors. You can monitor Intel processor frequencies, boost clock and temperature using i7z. The program supports Core i3, Core i5, Core i7, and Core i9 processors.
Step 1: Open “Terminal” and type “sudo apt install i7z -y” and then press enter key.
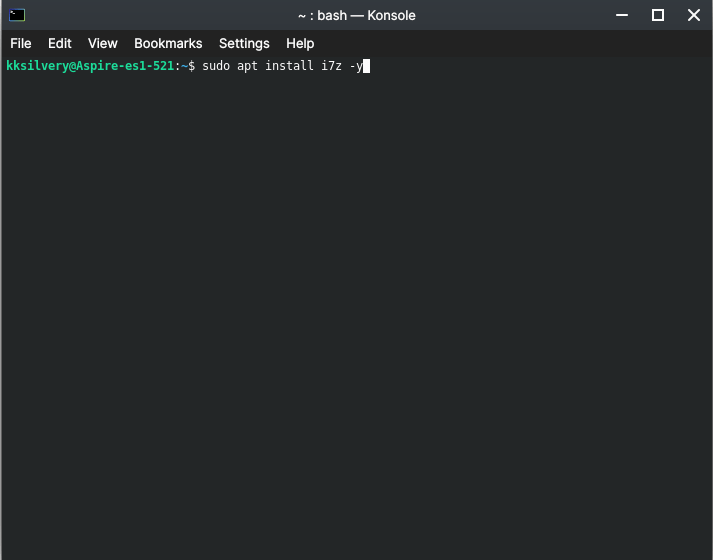
Enter the Linux PC password to confirm the action.
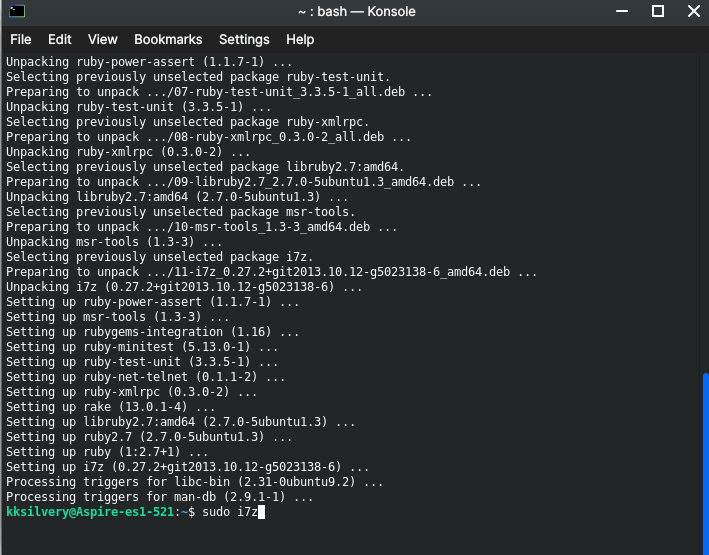
Step 2: Type “sudo i7z” and press enter key from the keyboard.
Step 3: The GUI will show up on the screen and you can look for the temperature at the end of the processor list.
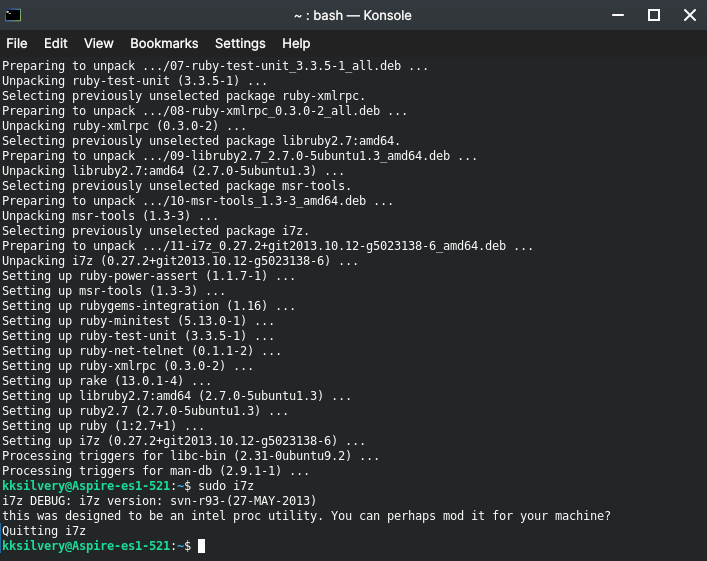
i7z acts as Intel Utility Tool and it won’t work on AMD-powered machines.
However, we were able to take a snap of the temperature stats on the official site.
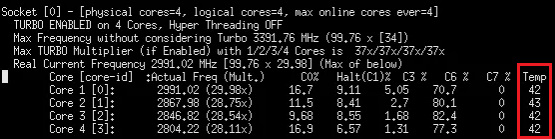
Users can monitor the temperature of each Intel processor’s physical core. Currently, i7z supports Core i3, Core i5, Core i7, and Core i9 processors, so do not worry about the lack of support.
Bottom Line
Now, you can find out the Linux desktop and laptop temperature in one command without worrying about the lack of inbuilt support. We recommend LM Sensors and Hardinfo because it is working flawlessly on our old AMD machine. The developers of the respective tools are updating the software from now & then for utmost compatibility. Let us know which temperature monitoring tool you have chosen for day-to-day usage in the comment section below.
If you've any thoughts on How to Check CPU and Hardware Temperature in Linux?, then feel free to drop in below comment box. Also, please subscribe to our DigitBin YouTube channel for videos tutorials. Cheers!