As everything has shifted over to online mediums, Google products like Google Docs, Sheets, Slides, etc. are playing an important role in completing one’s tasks. While everything works perfectly, there is some hassle involved in doing petty things like downloading images from Google Slides. Several users have been looking around for ways on how they can download an image from Google Slides. No. It is not as easy as right-clicking and downloading the image.
Google Slides doesn’t allow you to download images directly to a local folder on your computer. But there are a few workarounds that you can follow which will surely help you download the images from Google Slides. The best part is you do not require the installation of any third-party app or extension to get it done. If you are intrigued and are looking for ways to download or extract images from a Google Slides file, then you are at the right place. Having said that, let us check out the methods to extract an image from Google Slides.
1. Save Slides As Images (JPG/PNG/SVG)
One of the best ways and an official way which the Google Slides tool itself allows you to do is download or save the Slides as images. Google Slides lets you save slides as JPG, PNG, or even in SVG file formats. Here are the steps to save slides as images:
- Open the Google Slides file from which you wish to extract or download the image.
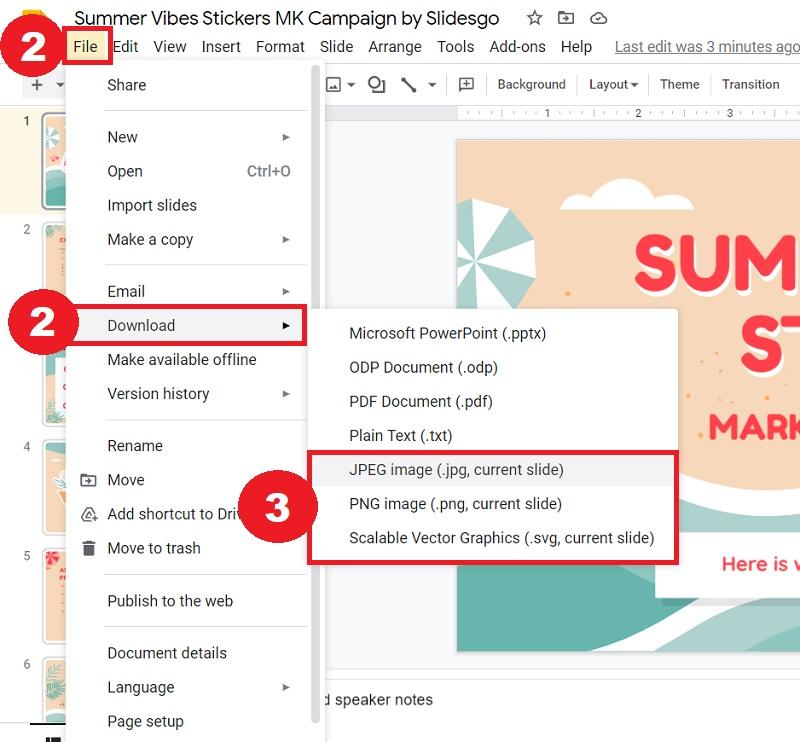
- Click on File > Download. Here you will be presented with a list of formats that you can select to download the slides in.
- Select any of the image formats, i.e. JPG, PNG, or SVG.

- Once done, the slide will be saved as an image on a local folder on your PC.
Later, you can either crop the exact part of the image using a photo editing tool or an online tool and download the image from Google Slides. Notably, downloading any slides in PDF format will download the entire presentation in PDF format and not just the selected slide.
2. Export Images to Google Keep
As we have mentioned already in the beginning, Google Slides doesn’t allow you to save images from a slide directly onto a local folder on your PC. However, you can copy the image and save the images to your Google Keep. From there, you can download or save the image as an image file to your PC. Here’s how you can do it:
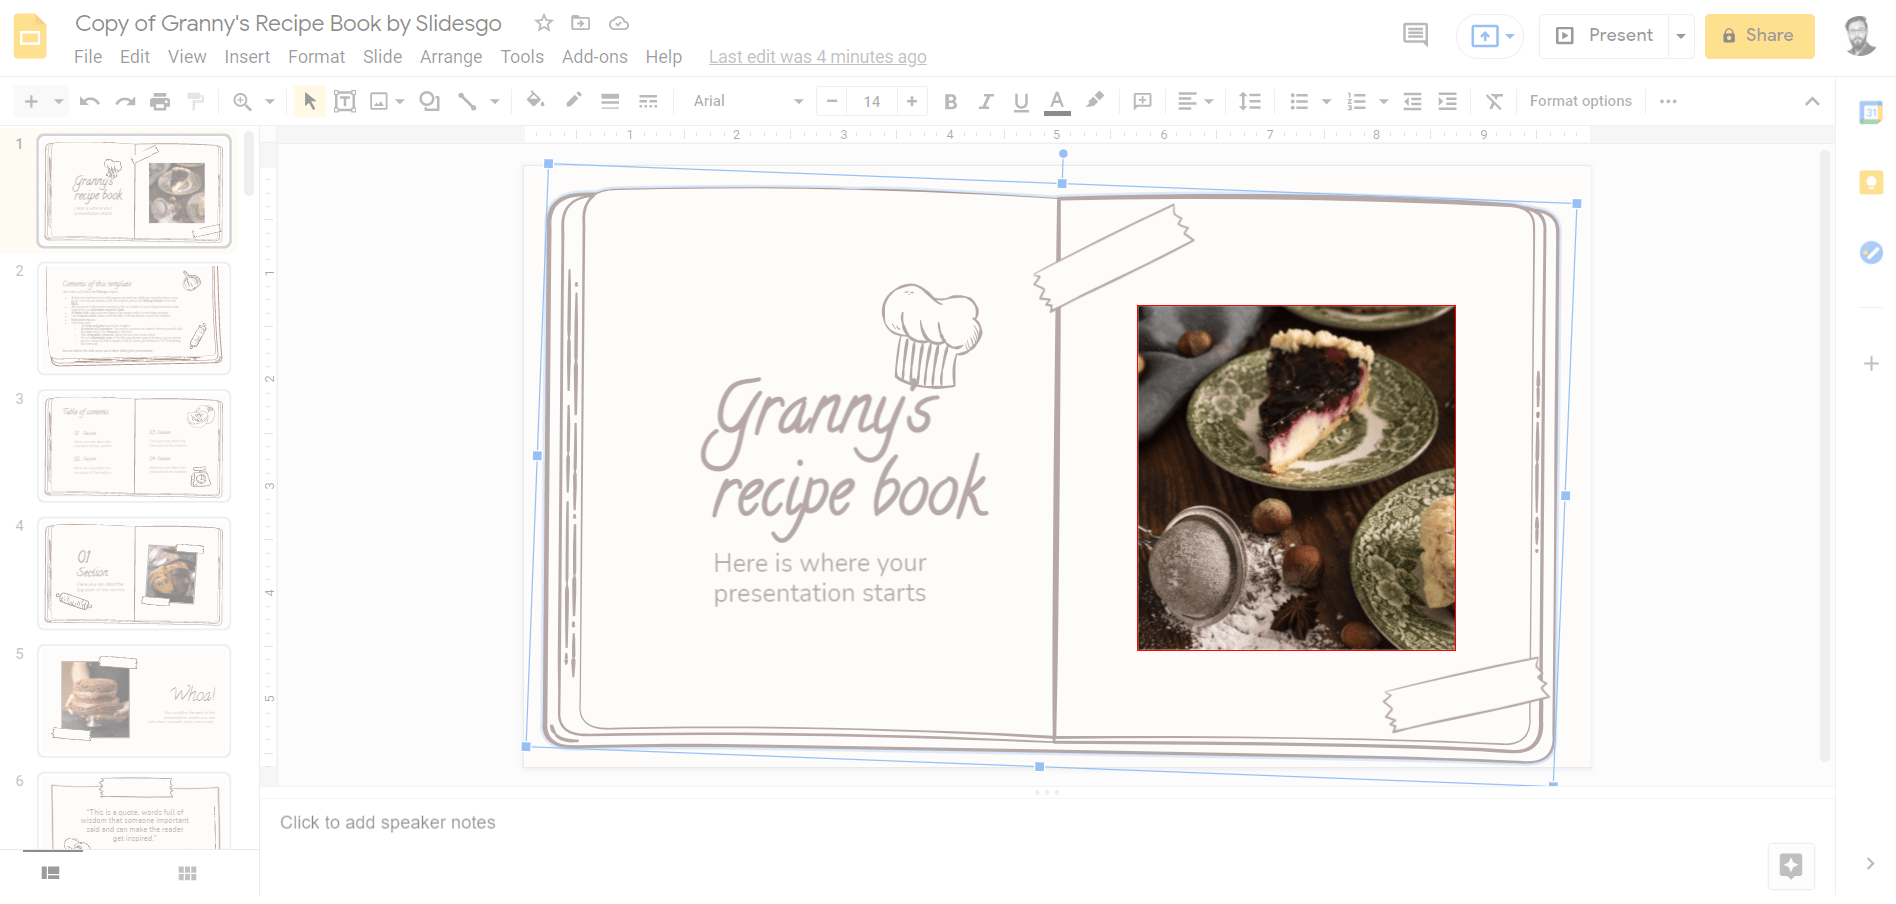
- Open the Google Slides presentation and head over to the slide that contains the image that you wish to download.
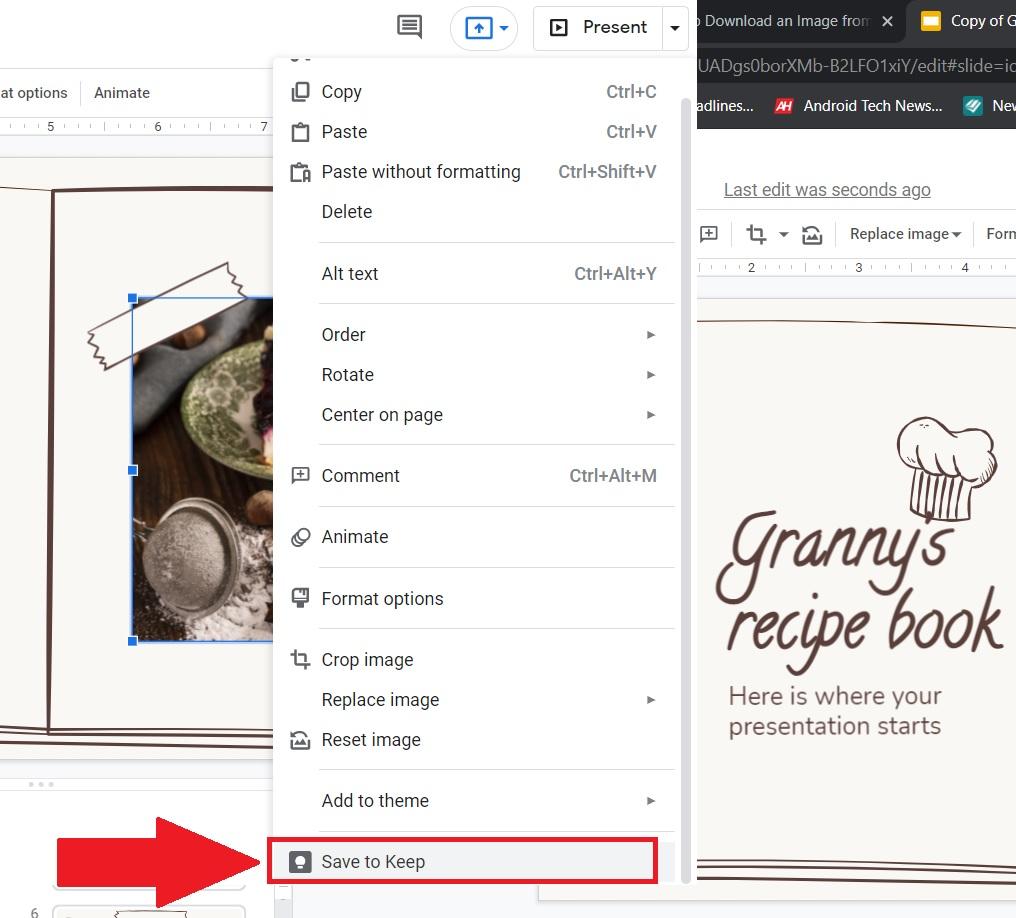
- Right-click on the image and click on the “Save to Keep” option.

- Now, open Google Keep, and the copied images will be shown in your Google Keep.
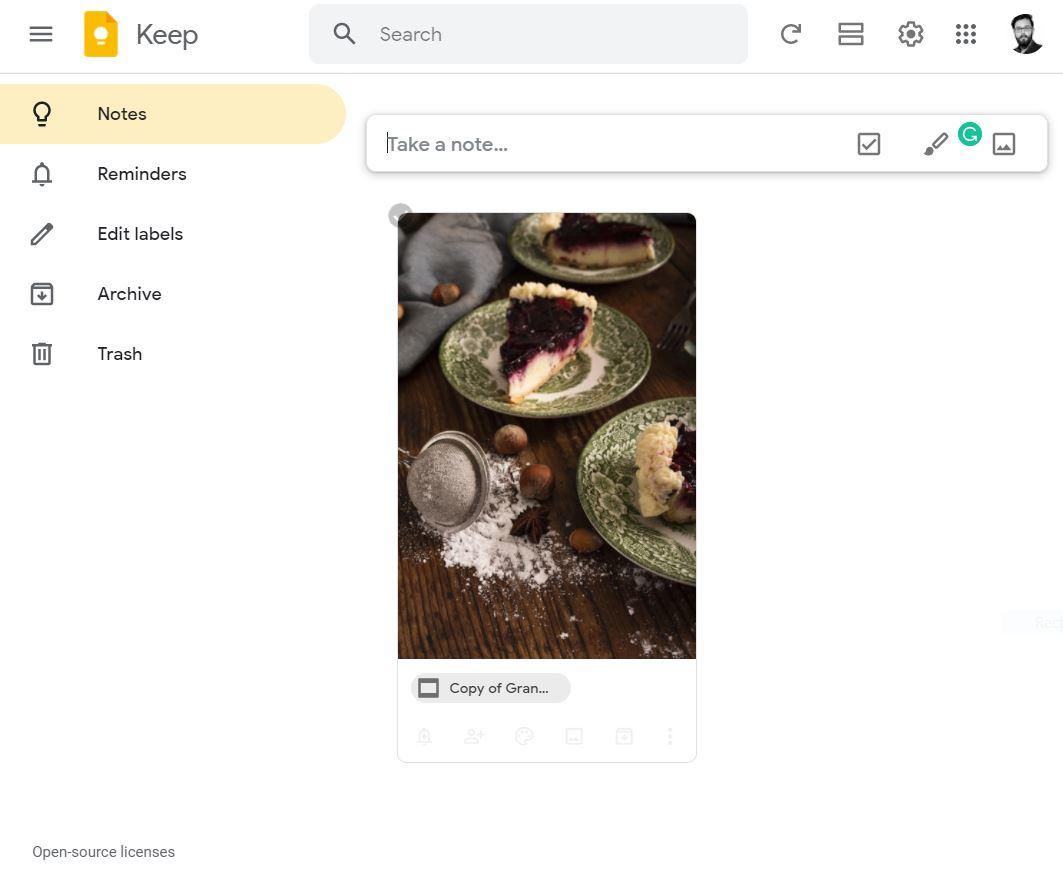

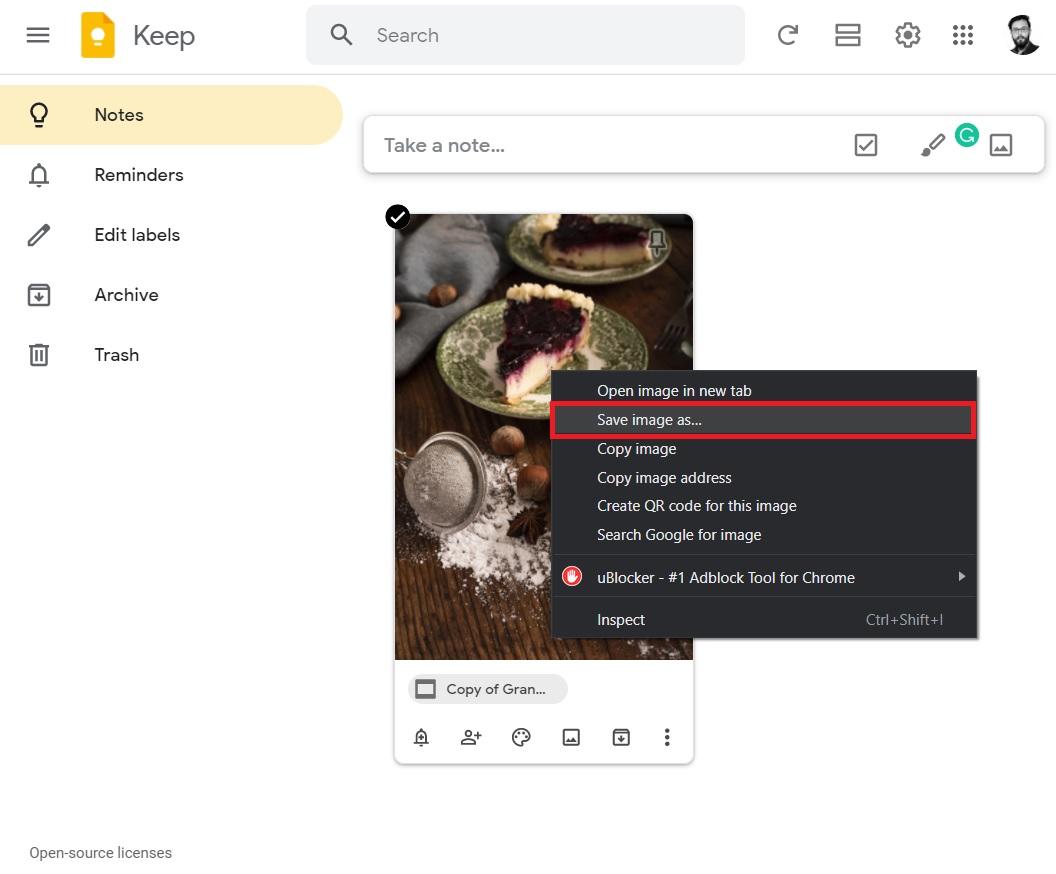
- As a final step, you can now directly interact with the image. Meaning you can right-click on the image and hit the “Save Image As” option. This will save the image on your PC.

3. Use a Snipping Tool
If you do not wish to go through the hassle, the first and second method involves, you can make use of the Snipping Tool that is available inbuilt with Windows 10. Apparently, this allows you to take a screenshot of the exact image that you wish to download from Google Slides. This is by far the easiest method to download an image.
- All you need to do is open the Google Slides and head over to the slide page which has the image that you want to download.
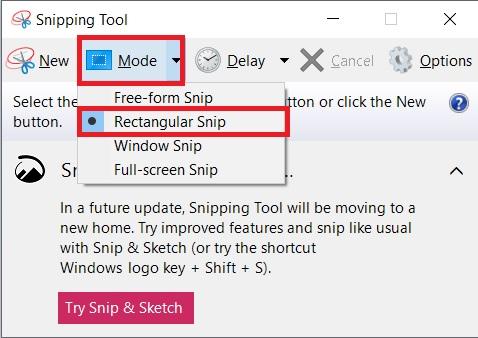
- Hit the Start menu and search for “Snipping Tool”.
- Open the tool and you need to select “Rectangular Snip” from the Mode.

- Afterward, make sure to open a slide that shows the image that you wish to download clearly.
- Click on the “New” menu option on the Snipping Tool. This will show you a “+” icon in place of your mouse cursor, indicating that you are ready to take a screenshot.

- Create a rectangle around the image on the slide.
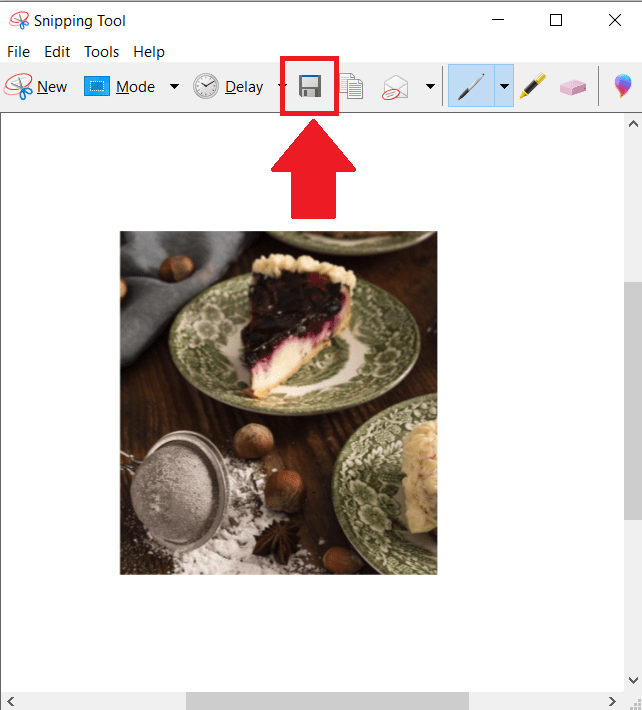
- Once done, release the mouse, and hit the Save button to download the image on your PC.

The third method is one of the easiest and timesaving ways to download or extract an image not only from Google Slides but from anywhere or any tool.
If you've any thoughts on How to Extract an Image from Google Slides?, then feel free to drop in below comment box. Also, please subscribe to our DigitBin YouTube channel for videos tutorials. Cheers!